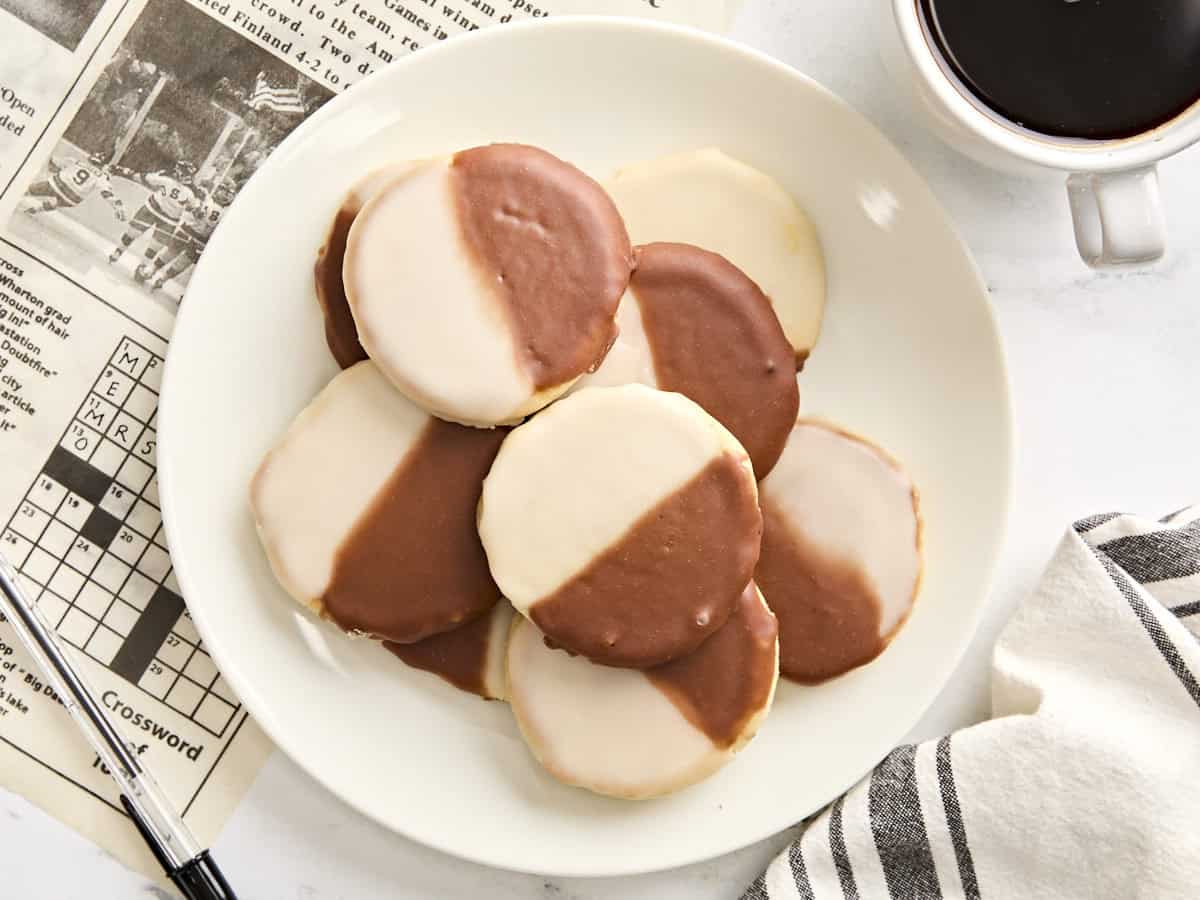
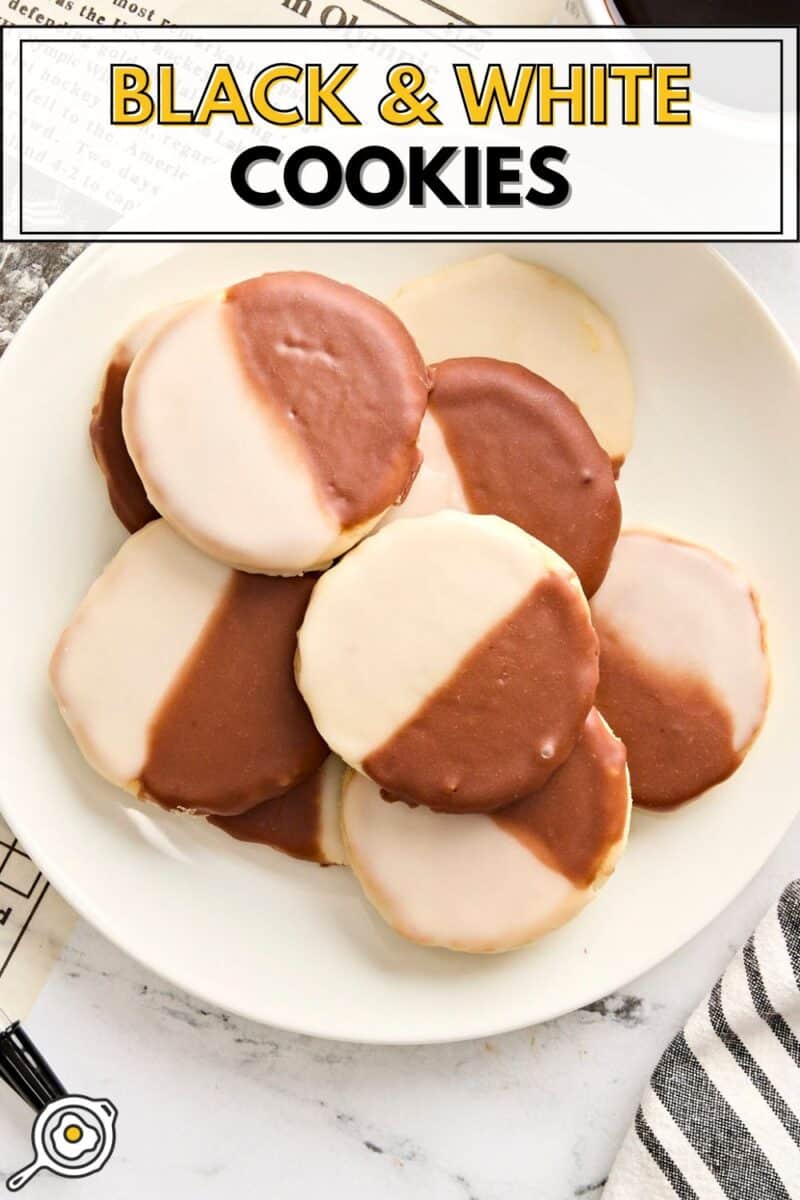
For me, the only thing that’s more nostalgic “New York” than watching the ball drop in Times Square on New Year’s Eve are these Black and White Cookies! They’re pillowy and sweet like a slice of cake but easy to eat by hand like a cookie, decorated half and half with vanilla and chocolate icing. These cookies are the perfect marriage of two of the best sweets of ALL TIME! They were my favorite afternoon treat when I lived in New York in my early 20s, and they always send me on a trip back down memory lane. And because this recipe is so easy to make at home, I can bring a little taste of NYC into my kitchen anytime I want!
All recipes are rigorously tested in our Nashville Test Kitchen to ensure they are easy, affordable, and delicious.
When I think of black and white cookies, I think of my time interning with a PR firm in New York City roughly 1,000 years ago. My internship in the Big Apple predates my interest in ever becoming a professional chef, but it’s still a big part of my personal history that got me here! Why? It’s my opinion that New York City might be the most exciting city in the country when it comes to FOOD. You can easily take a trip around the world in one day by eating your way through the city. I’m more of a country mouse, so I was happy to move to Nashville at the end of my internship, but the flavors and hustle and bustle will always be a fond memory of mine.
Do you have any memorable culinary experiences while visiting or residing in New York City? Share them with your review!
What are Black and White Cookies?
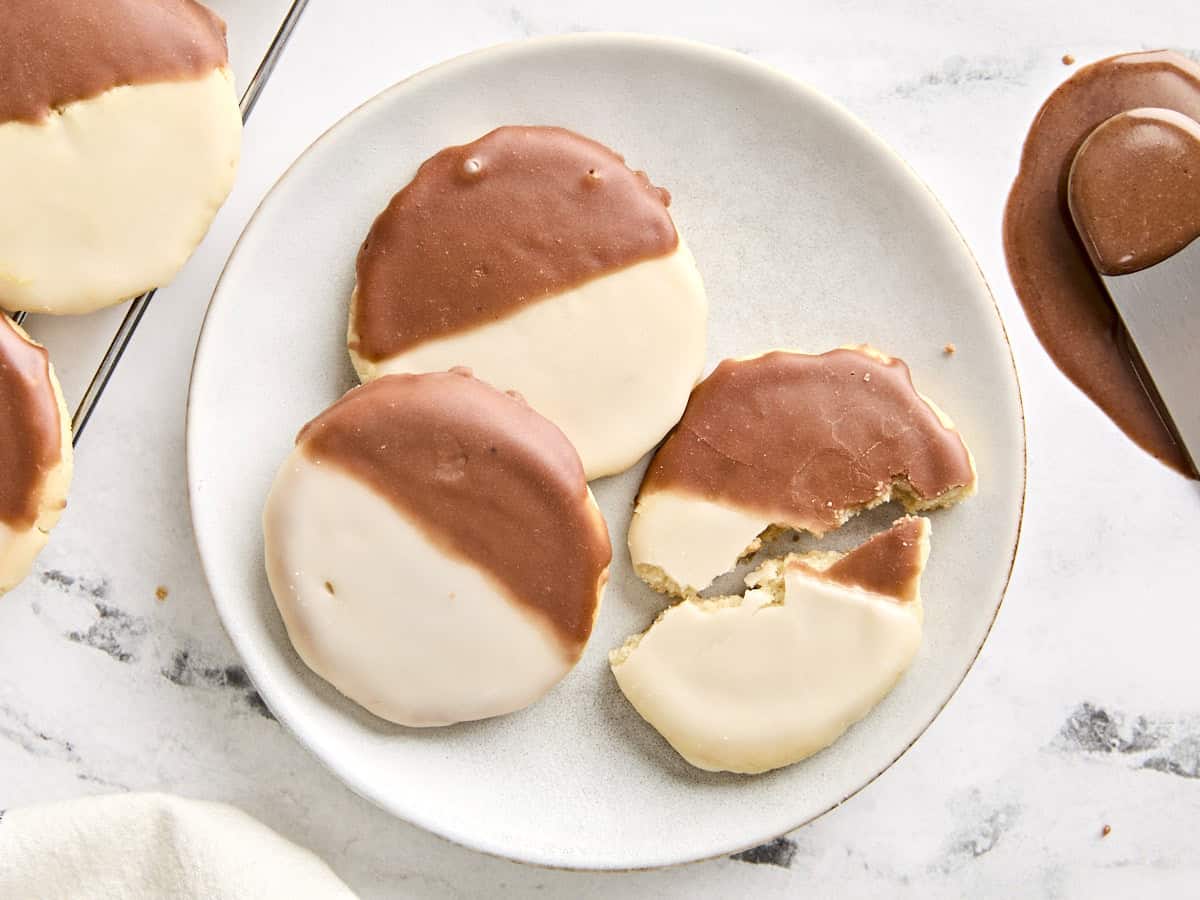
Black and white cookies are a classic New York City bakery treat. They’re soft, cake-like cookies topped with vanilla and chocolate icing, giving them their iconic black-and-white look. The icing itself has a slight lemon flavor and hardens as it dries. When you bite into it, the icing crackles, creating the most satisfying texture along with the sweet, buttery flavor of the cakey cookie base!
These cookies date way back to the early 20th century, with Glaser’s Bake Shop often credited as the originator. Over time, they’ve also become a staple in Jewish bakeries, and there’s a variation found across Germany called “Amerikaner.” Black and white cookies are also often referred to as a “half moon cookie,” which (depending on who you ask!) are technically another type of cookie closely associated with NYC, featuring a slightly different texture and a soft frosting.
Ingredients
Here’s what you’ll need to make these easy black and white cookies:
- All-Purpose Flour: The base of the cookie dough batter. Be sure to sift it BEFORE measuring out the amount specified in the recipe—more on this below!
- Milk & Distilled White Vinegar: I mix these ingredients together to make homemade buttermilk. This adds a little tang to the batter and also helps with the rise as it reacts with the baking soda. Making buttermilk this way also prevents you from having to purchase a whole carton that you may not use!
- Baking Soda: Creates the perfect rise for making the cake-like texture these cookies are famous for.
- Eggs: I use two large eggs as the binder to hold everything together.
- Unsalted Butter: I prefer unsalted butter so I can better control the amount of salt in this recipe. Be sure to melt your butter first and let it cool so it doesn’t cook the eggs when added to the batter.
- Granulated Sugar: Adds moisture and sweetness, of course!
- Vanilla Extract: Flavors the soft cookie base and the icing with a warm vanilla flavor.
- Salt: Just a pinch to balance out the sweetness.
- Unsweetened Cocoa Powder: Use unsweetened cocoa powder to make the chocolate icing half.
- Powdered Sugar: This is also known as confectioners sugar or icing sugar and is used to make the icing! I recommend sifting it before using it to avoid lumps.
- Light Corn Syrup: Helps to thicken the icing and adds a nice shine. Be sure to use light corn syrup, not dark. Dark corn syrup will change the color and flavor of the icing.
- Hot Water & Lemon Juice: These liquids mix with the powdered sugar to create the white glaze icing. I use hot water because it dissolves the sugar more easily and makes it much easier to mix with the thick corn syrup. The lemon juice also adds a subtle lemon flavor, which helps these homemade black and white cookies taste just like the real thing!
What’s the Difference Between Frosting and Icing?
This recipe uses an icing, not a frosting. Icing is typically thinner and glossier and is used as a glaze on top of baked goods. It also usually hardens as it dries, making it perfect for creating a smooth finish. Our sugar cookies are another example of a recipe made with icing rather than frosting! On the other hand, frosting is thicker and creamier, like what I use in my eggnog cookies or in our strawberry sheet cake recipe. It can be spread or piped and stays soft and fluffy. Both are delicious, but for these cookies, I want a smooth, shiny finish (just like a real NYC black and white cookie!), so icing is the only way to go.
The Secret to the Best Black and White Cookie
When I first tried to recreate these cookies at home, I knew getting the cookie base was the most important part. It HAD to be perfect—soft, cakey, and sturdy enough to hold the icing. To achieve this texture, I use two things: buttermilk and SIFTED flour!
You must sift your flour before measuring out the 1.5 cups used in this recipe. This removes any lumps and aerates the flour, making it lighter (creating a softer cookie) and also stops you from accidentally packing too much flour into your measuring cup. And the homemade buttermilk activates the baking powder, giving the cookies a slight lift and helping them to stay soft and tender. Both are essential steps and make a huge difference—trust me!
Recipe Tips!
- Let your melted butter cool before mixing it into the cookie dough batter. I use melted butter to keep the cookies soft with a slightly chewier texture, but if it’s too hot when you mix it in, it might accidentally cook your eggs!
- Mix the dry and wet ingredients separately before slowly combining. This stops you from overmixing the dough, which can make the cookies dense and tough rather than soft and pillowy.
- Double-check that your baking soda isn’t expired! If you’ve had it for a while, I highly recommend checking the expiration date on your baking soda. Expired baking soda won’t give the same rise, and I don’t want that to ruin your homemade treats! You can also test the activeness of your baking soda by adding it to a small amount of vinegar—if it fizzes, it’s still good.
- Decorate the flat side of the cookies. Once they’re fully cooled, flip the cookies over so the bottom is facing up. This will give you a smooth surface to decorate with the chocolate and vanilla icing. If you want the colors to become more opaque and defined, I recommend letting the first layer of icing dry before adding more.
Storage Instructions
I like these cookies best within the first 24 hours of baking while they’re still super soft and fresh. However, they can be stored in an airtight container at room temperature for up to 3-4 days. You can also freeze them, without the icing, for up to 3 months and thaw at room temperature before decorating and serving!
Black and White Cookies Recipe

Ingredients
Cookie Ingredients
- ⅓ cup milk ($0.09)
- 1 tsp distilled white vinegar ($0.01)
- 1 ½ cups flour, sifted ($0.24)
- ¼ tsp salt ($0.01)
- ½ tsp baking soda ($0.01)
- 7 Tbsp unsalted butter, melted and cooled ($0.91)
- ¾ cup granulated sugar ($0.29)
- 2 large eggs ($0.66)
- 1 tsp vanilla extract ($0.64)
Icing Ingredients
- 2 ¼ cups powdered sugar, sifted ($0.99)
- 1 tsp lemon juice ($0.01)
- 1 Tbsp hot water ($0.00)
- ½ tsp vanilla extract ($0.32)
- 2 Tbsp light corn syrup ($0.14)
- 2 tsp unsweetened cocoa powder ($0.12)
Instructions
- Preheat oven to 350°F and combine milk and vinegar together to make buttermilk. Set aside. Then, sift flour in a mesh strainer (or a sifter if you have one) over a large mixing bowl. Measure out 1 ½ cups of sifted flour.
- Combine sifted flour, salt and baking soda in a mixing bowl, whisking to combine.
- Pour melted-but-cooled butter to a large mixing bowl with sugar. Mix with a hand mixer on low to combine.
- Then, beat eggs and vanilla together and add it to the sugar butter mixture.
- Add some of the sifted flour mixture to the wet mixture and mix on medium speed.
- Then, alternating with the flour mixture, add buttermilk. Do this back and forth until the flour mixture and buttermilk have both been used up and are completely combined.
- Cool the batter for 30 minutes to one hour in the refrigerator.
- Using a 1 oz cookie scoop, scoop cookie dough onto parchment-lined baking sheets, giving the cookies at least 2 inches of space between them.
- Bake for 15 minutes until the edges are just barely golden. Let them cool completely while you prepare the icing!
- Sift powdered sugar to get rid of any lumps.
- Combine the powdered sugar, lemon juice, hot water, vanilla extract and light corn syrup, stirring to combine. Equally divide the icing into 2 small bowls.
- To the second bowl, add the cocoa powder, stirring until smooth.
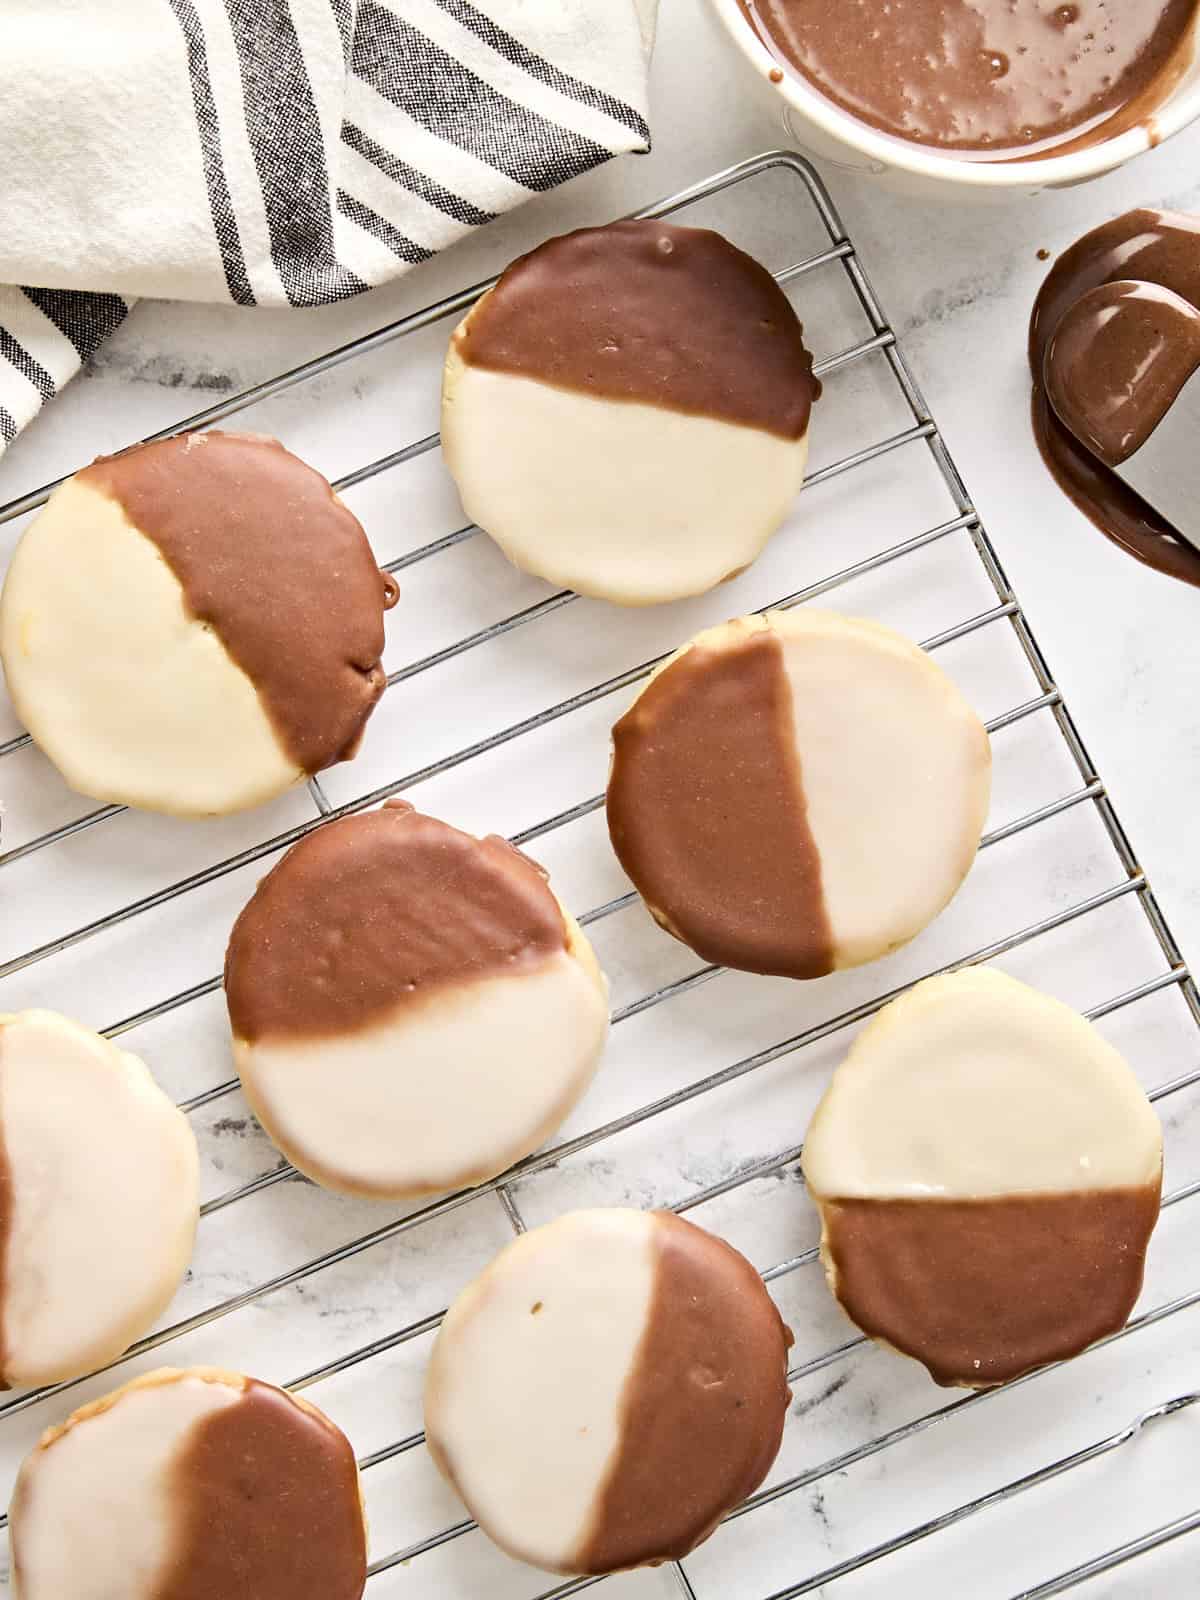
- Once your cookies have completely cooled after baking, frost the flat side of each cookie (yes, the side that was down on the baking sheet!) carefully with a butter knife or elevated spatula. You may need to ice them a couple times to tidy up the lines and have 2 colors that stand out.
- However, don't worry if the colors run into each other; your cookies will still taste delicious! Let them dry completely on a wire rack before serving.
See how we calculate recipe costs here.
Equipment
- Mesh Sieve
- Hand Mixer
- Wire Cooling Racks
Nutrition
how to make Black and White Cookies – step by step photos
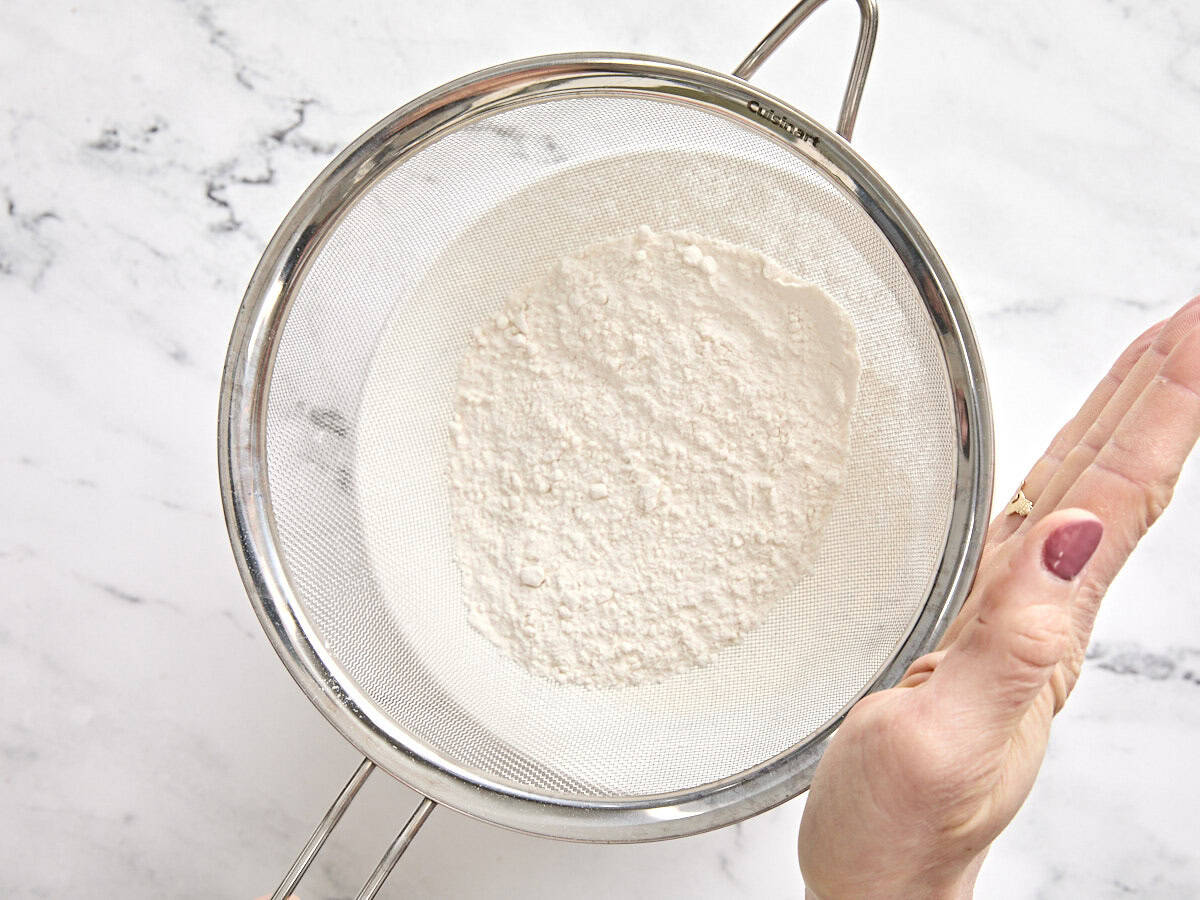
Preheat oven to 350F and combine ⅓ cup milk and 1 tsp distilled white vinegar together to make buttermilk. Set aside. Then, sift flour in a mesh strainer (or a sifter if you have one) over a large mixing bowl. Measure out 1 ½ cups of sifted flour.
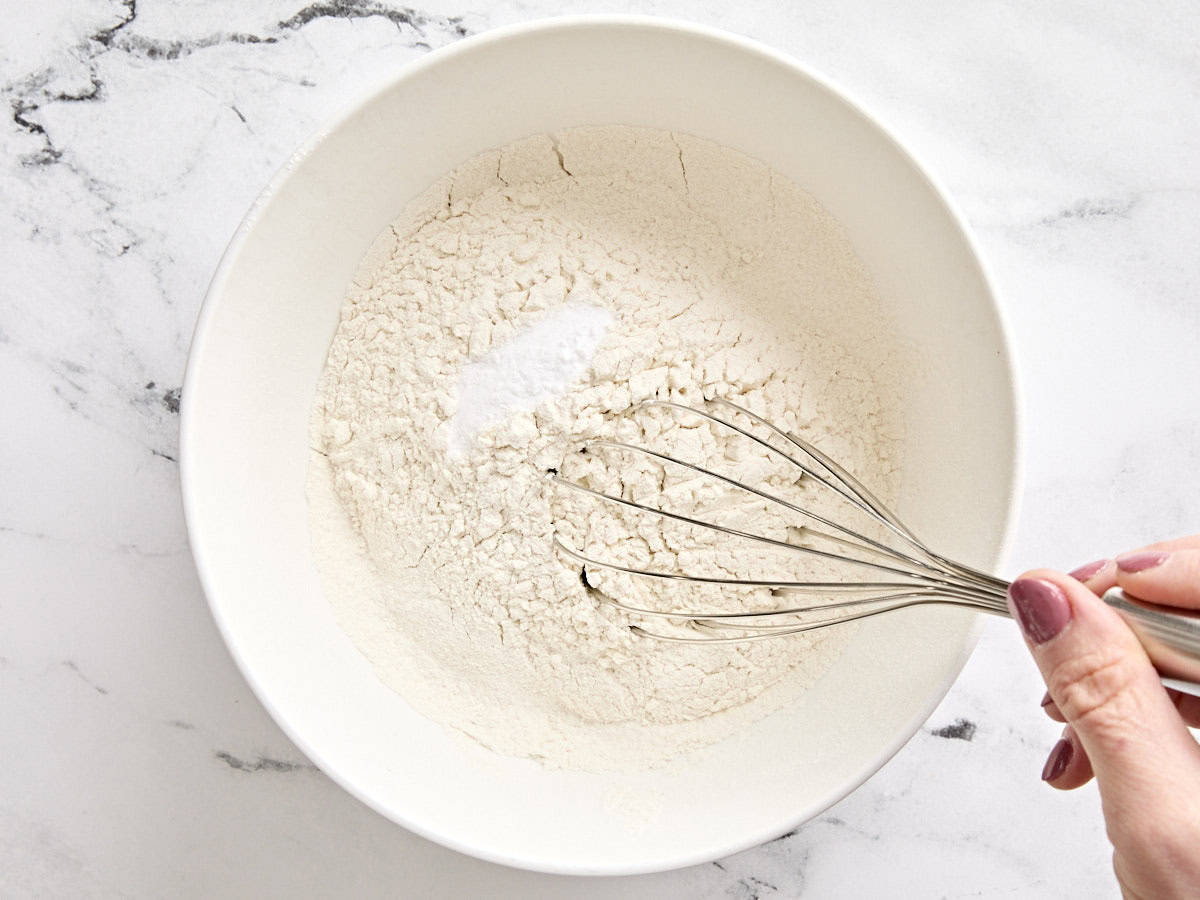
Combine sifted flour, ¼ tsp salt, and ½ tsp baking soda in a mixing bowl, whisking to combine.
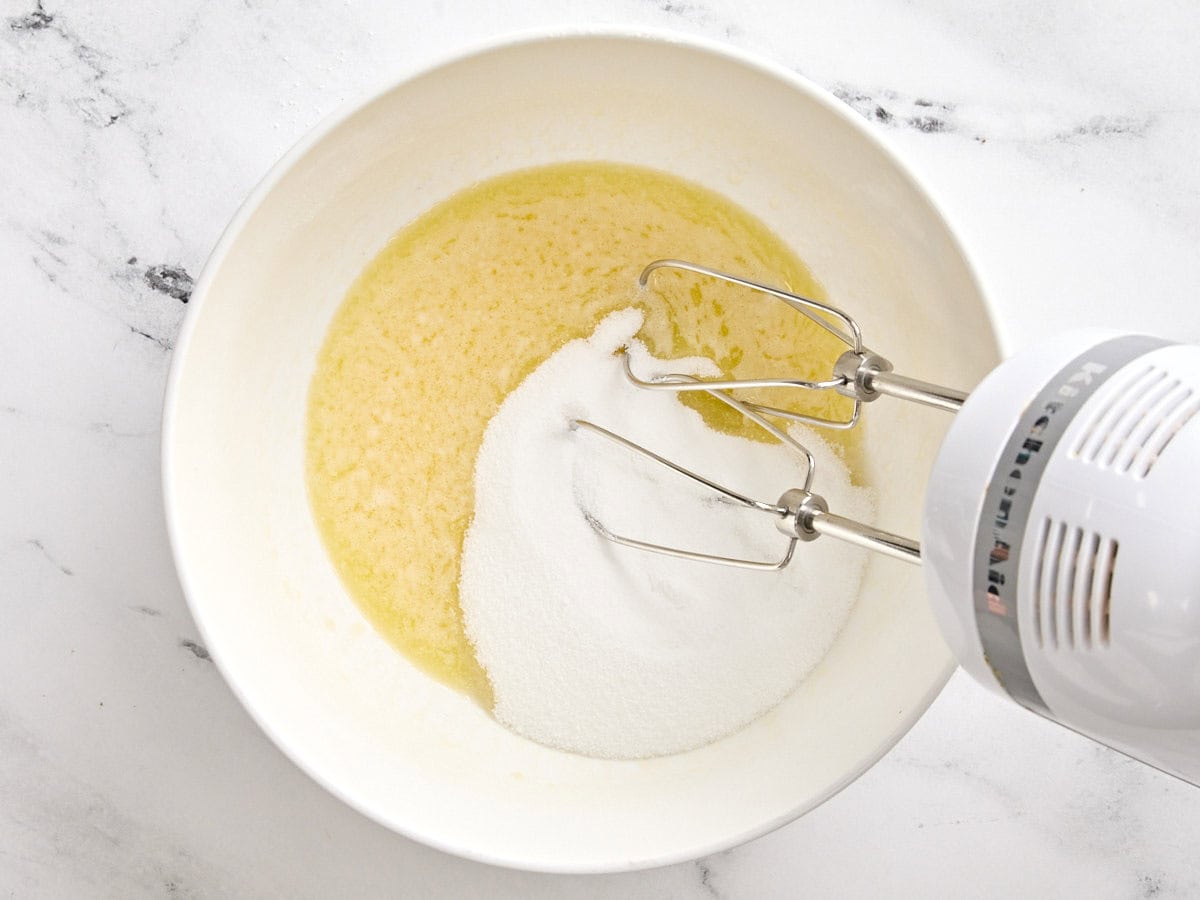
Pour 7 Tbsp of melted-but-cooled butter to a large mixing bowl with ¾ cup granulated sugar. Mix with a hand mixer on low to combine.
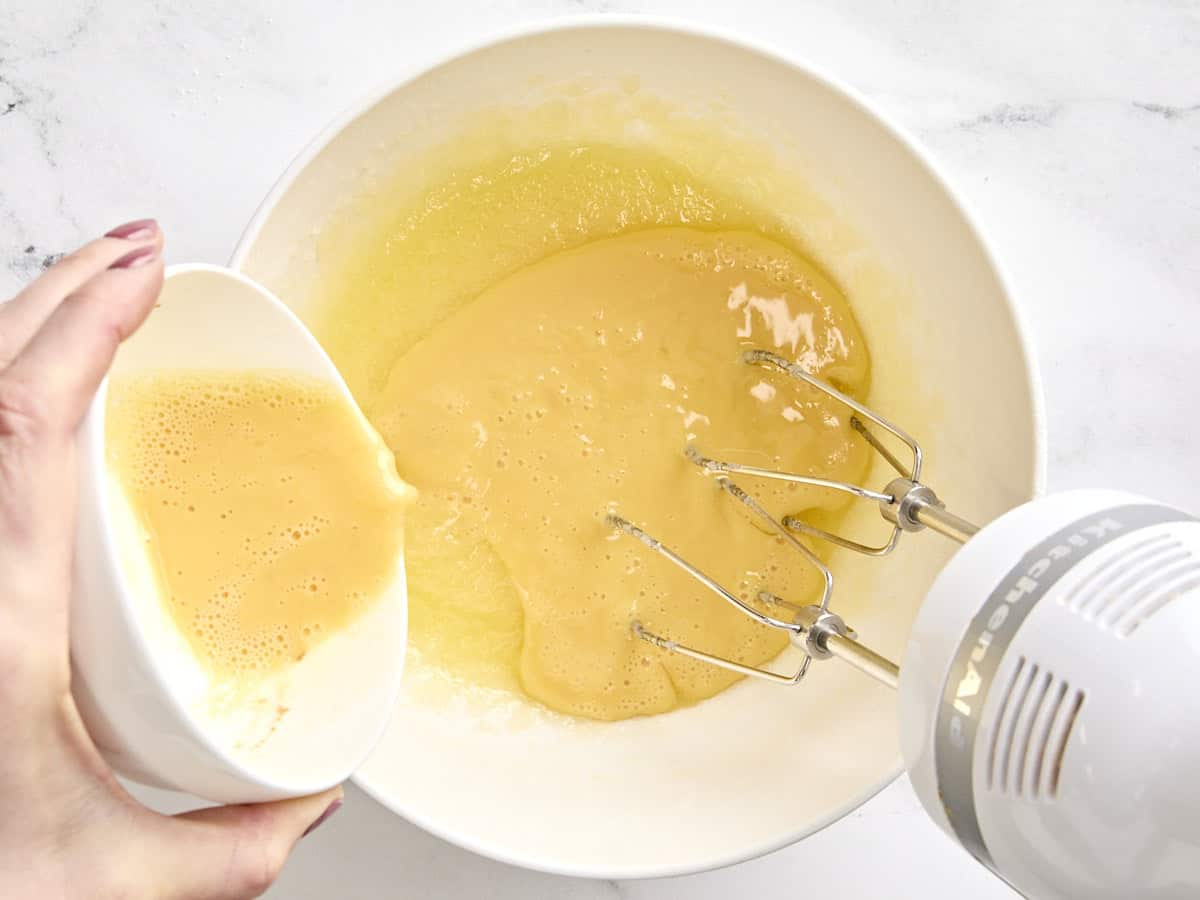
Then, beat 2 large eggs and 1 tsp vanilla extract together and add it to the sugar butter mixture.
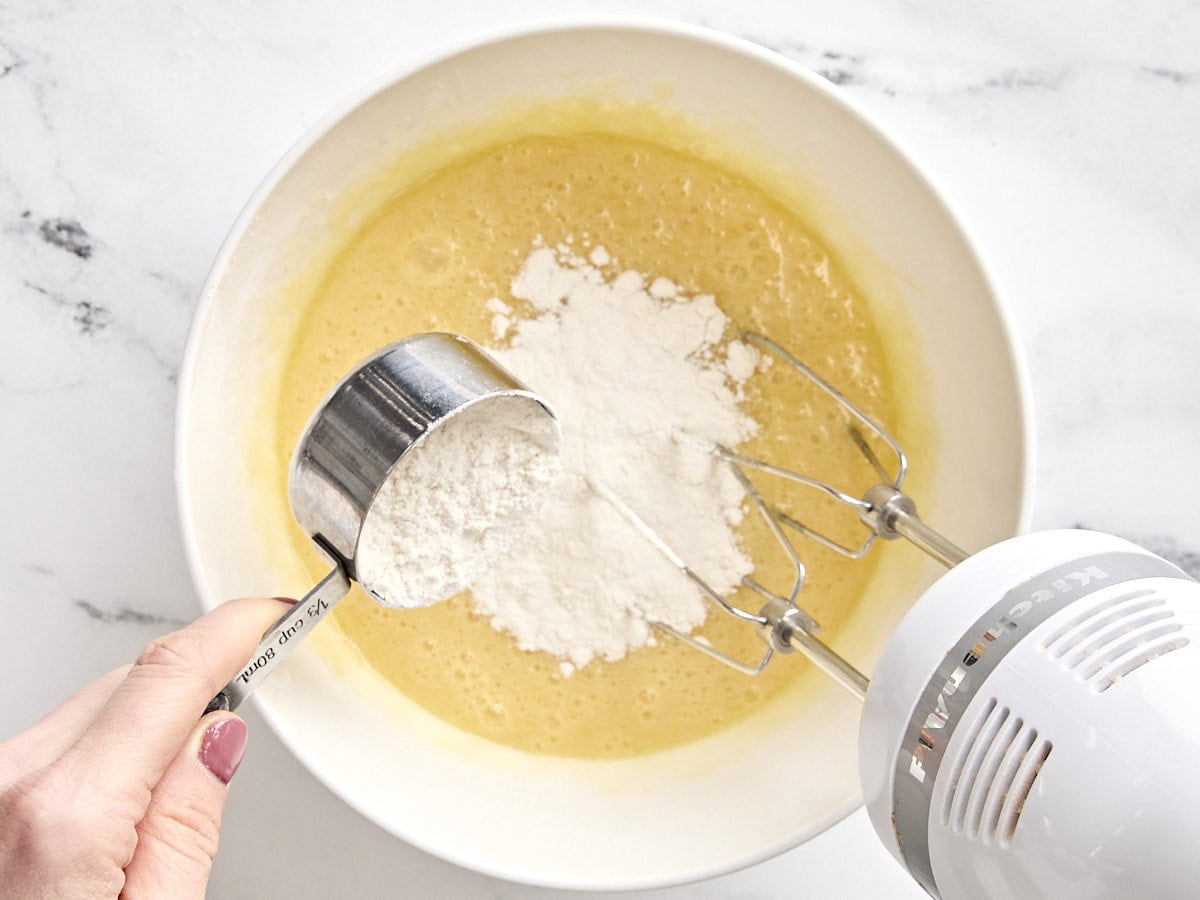
Add some of the sifted flour mixture to the wet mixture and mix on medium speed.
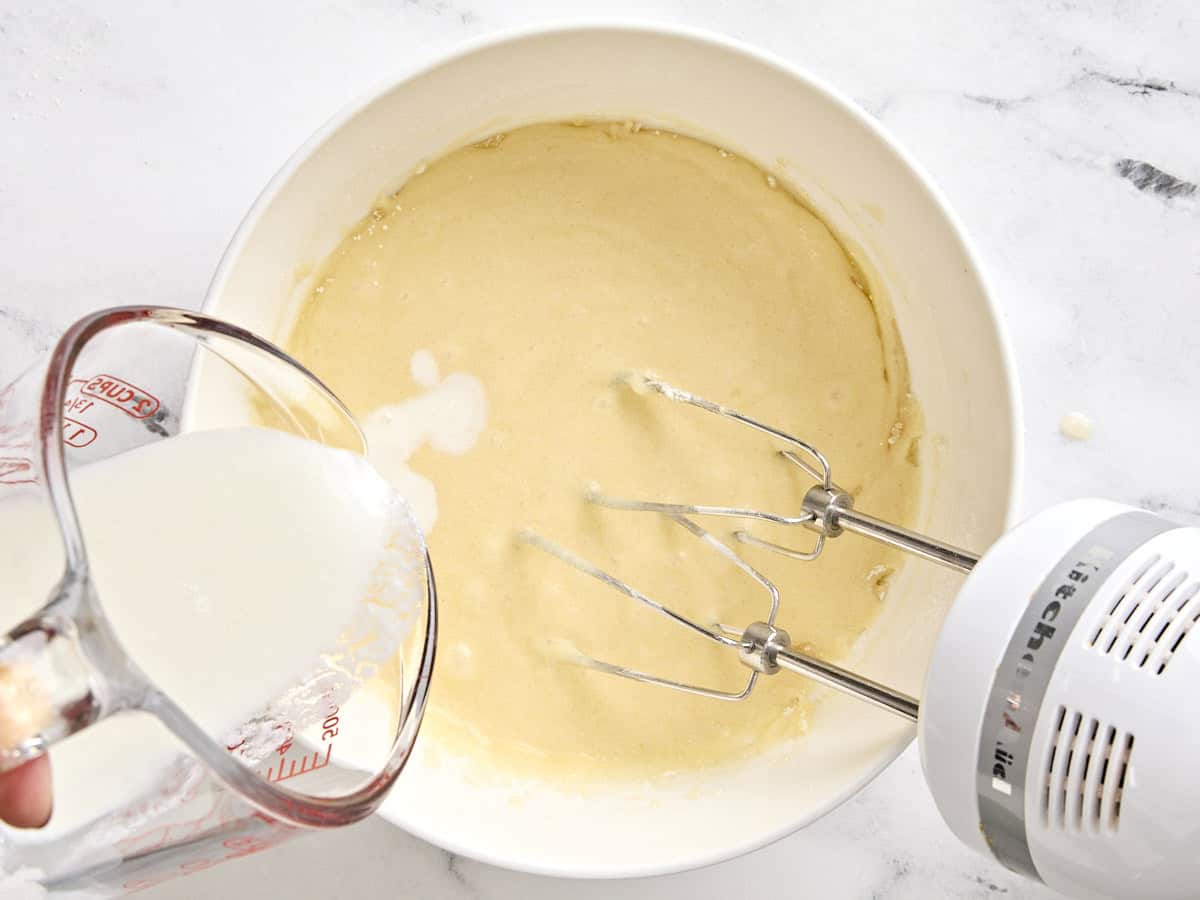
Then, alternating with the flour mixture, add buttermilk. Do this back and forth until the flour mixture and buttermilk have both been used up and are completely combined.
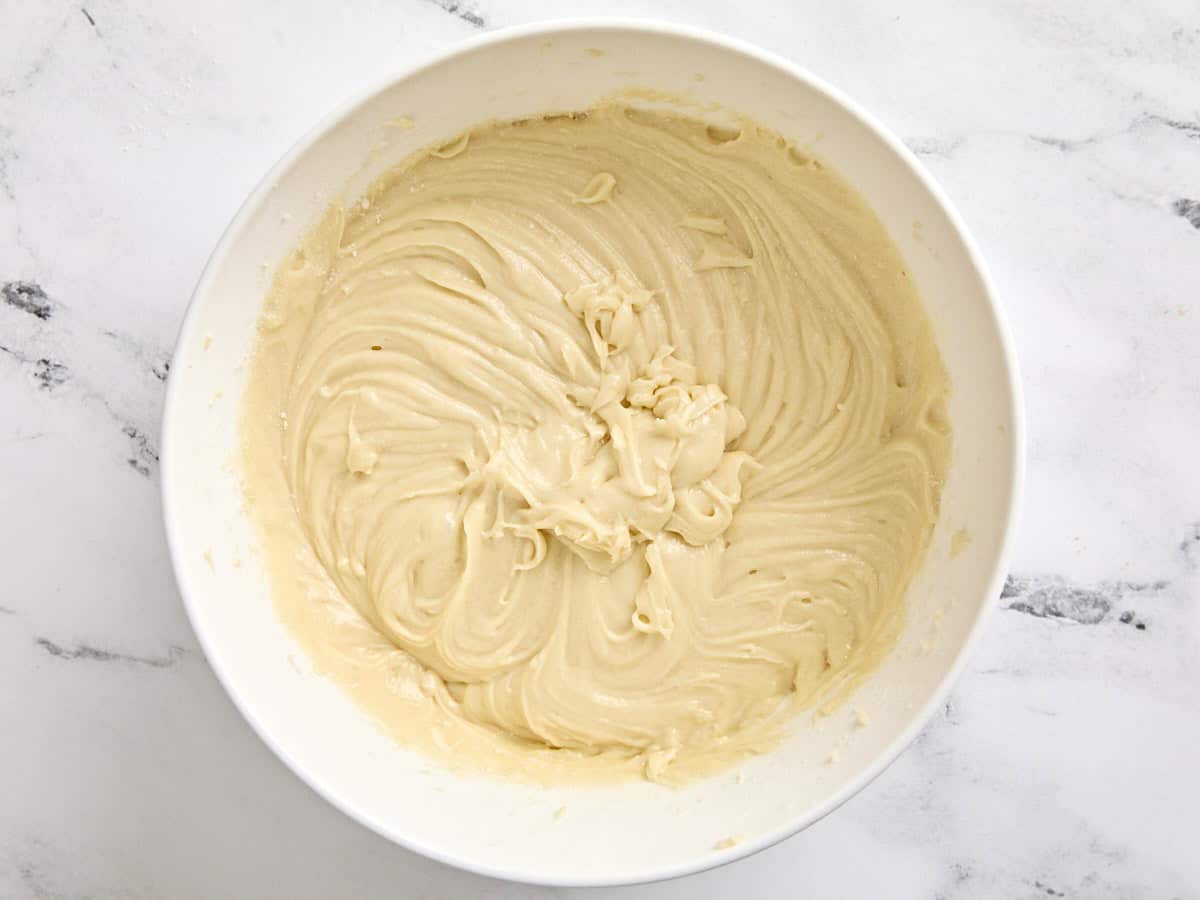
Cool the batter for 30 minutes to one hour in the refrigerator.
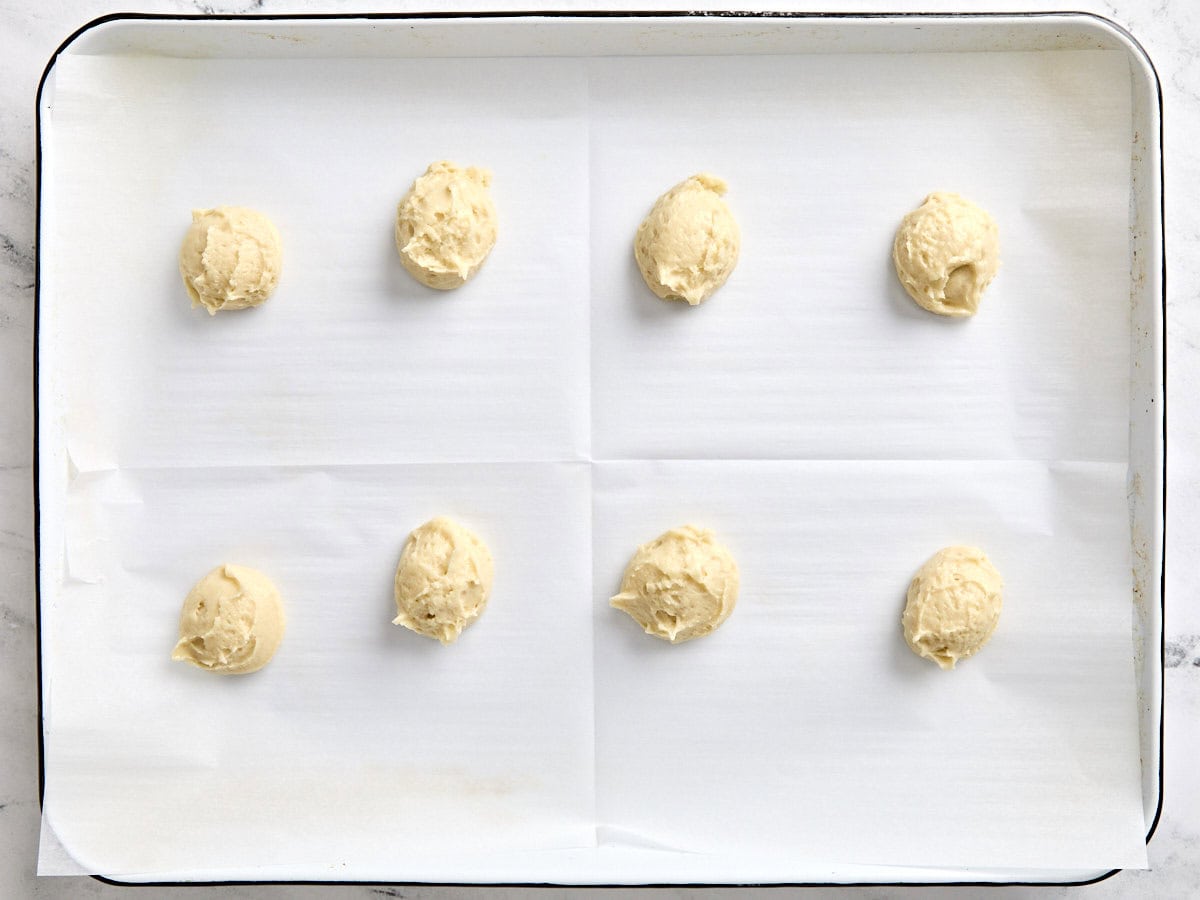
Using a 1 oz cookie scoop, scoop cookie dough onto parchment-lined baking sheets, giving the cookies at least 2 inches of space between them.
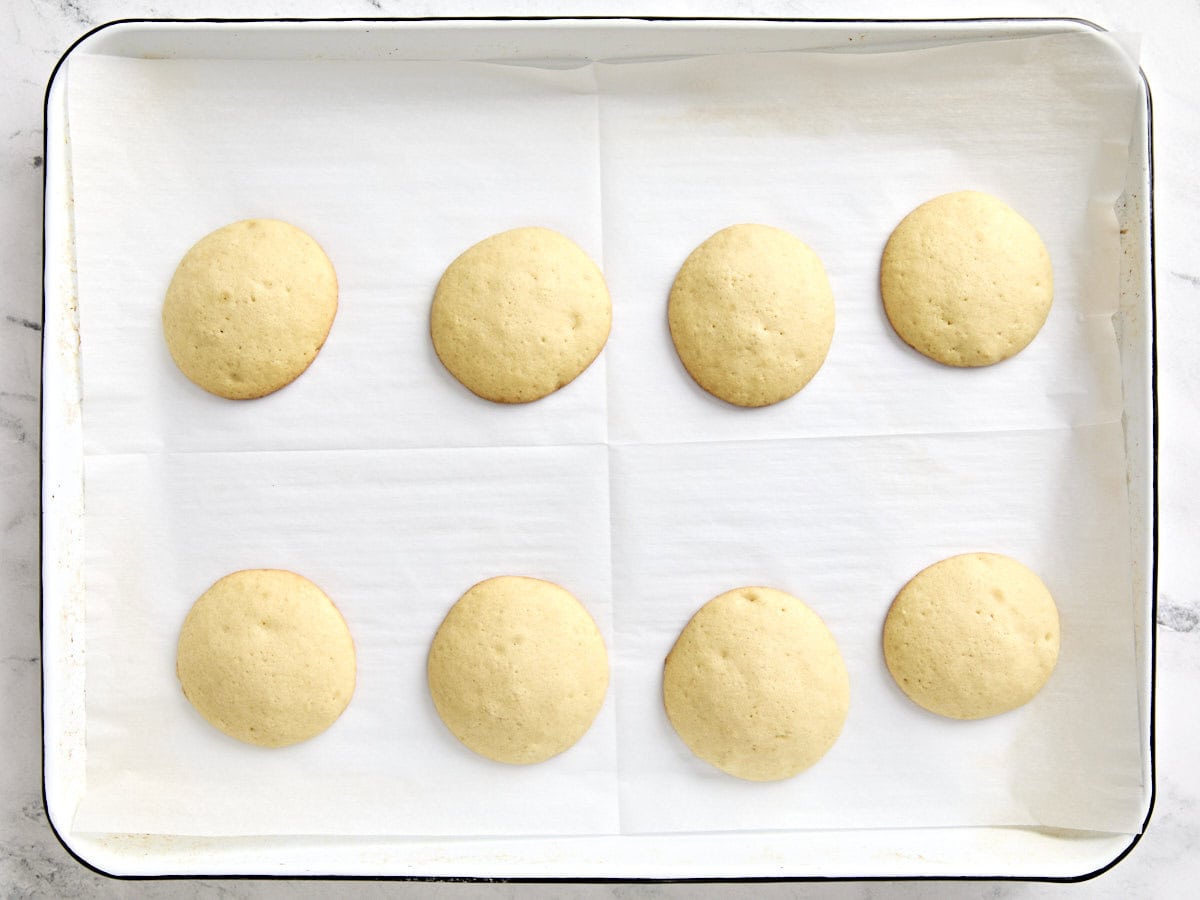
Bake for 15 minutes until the edges are just barely golden. Let them cool completely while you prepare the icing!
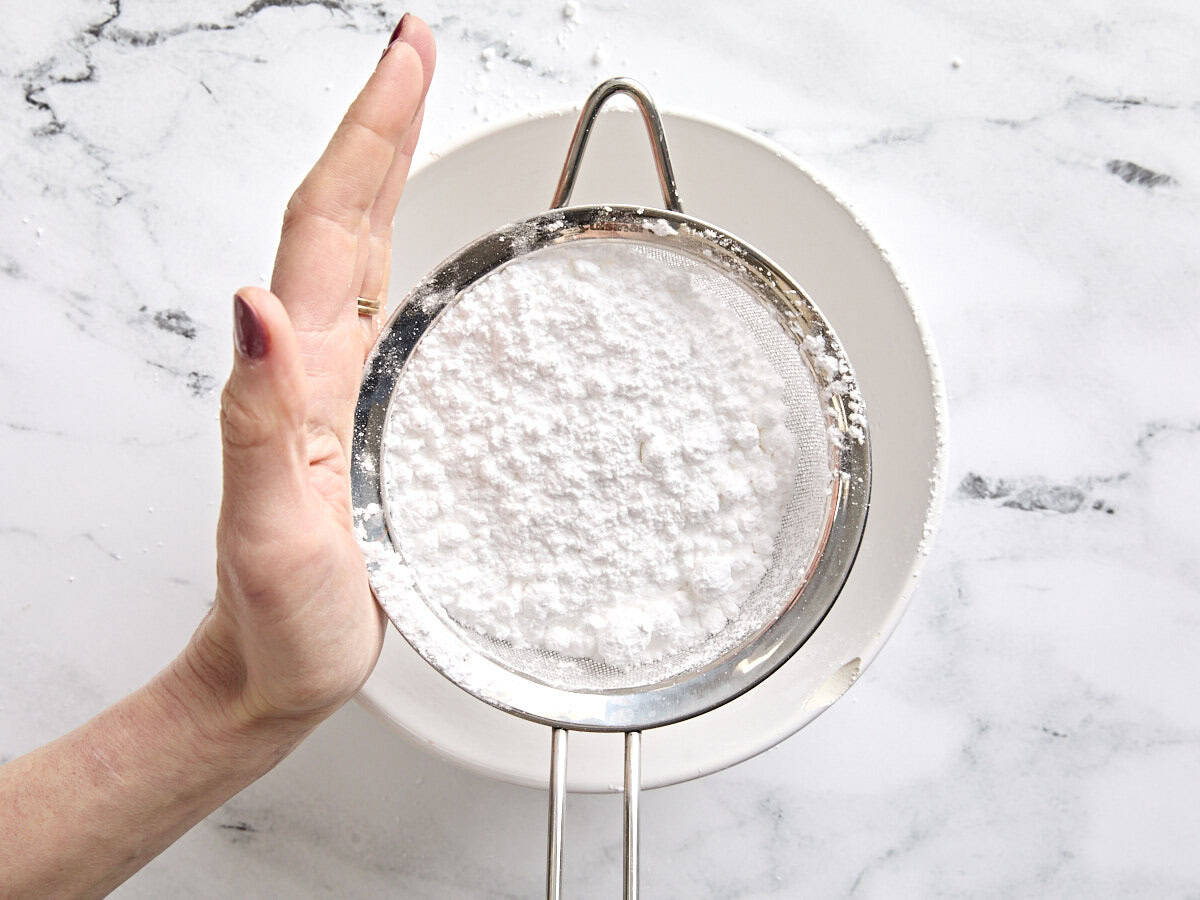
Sift 2 ¼ cups powdered sugar to get rid of any lumps.
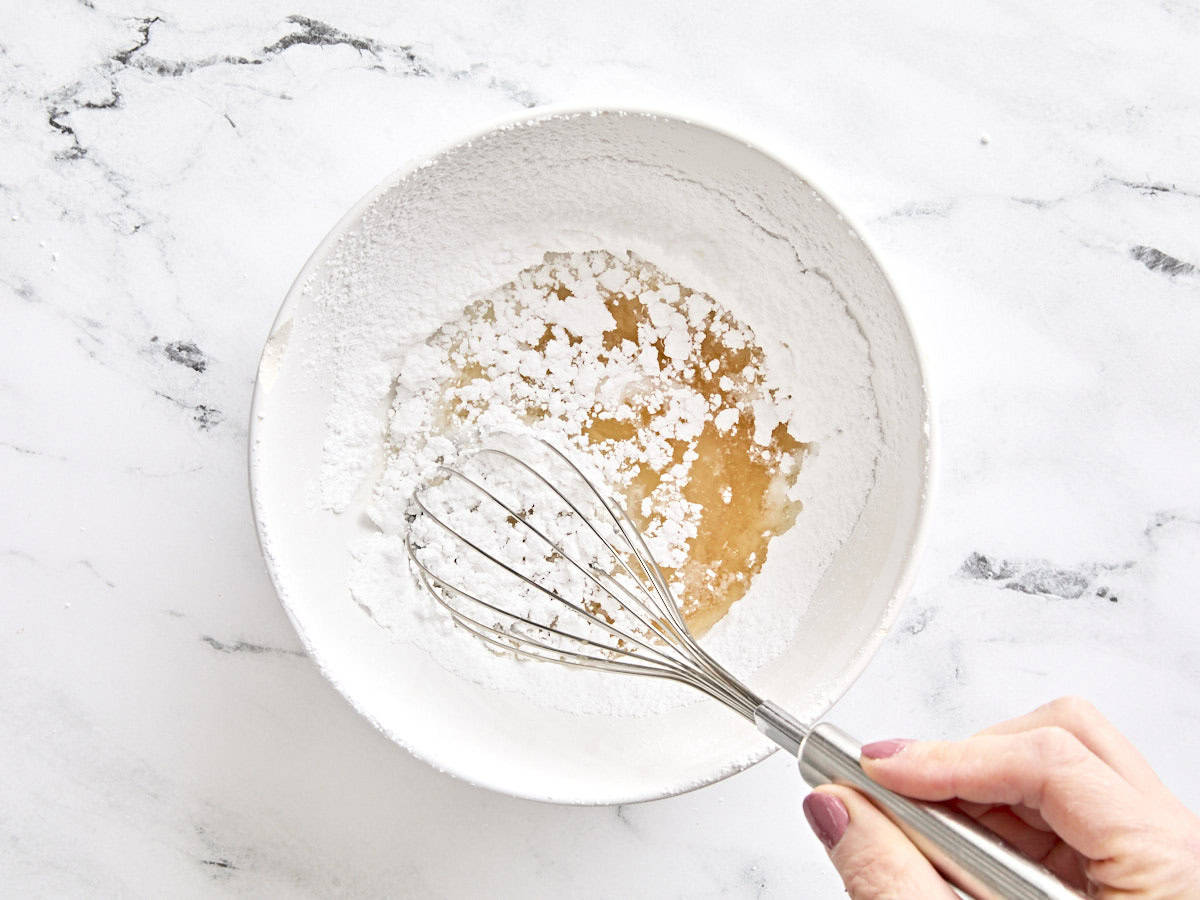
Combine the powdered sugar, 1 tsp lemon juice, 1 Tbsp hot water, ½ tsp vanilla extract, and 2 Tbsp light corn syrup, stirring to combine. Equally divide the icing into 2 small bowls.
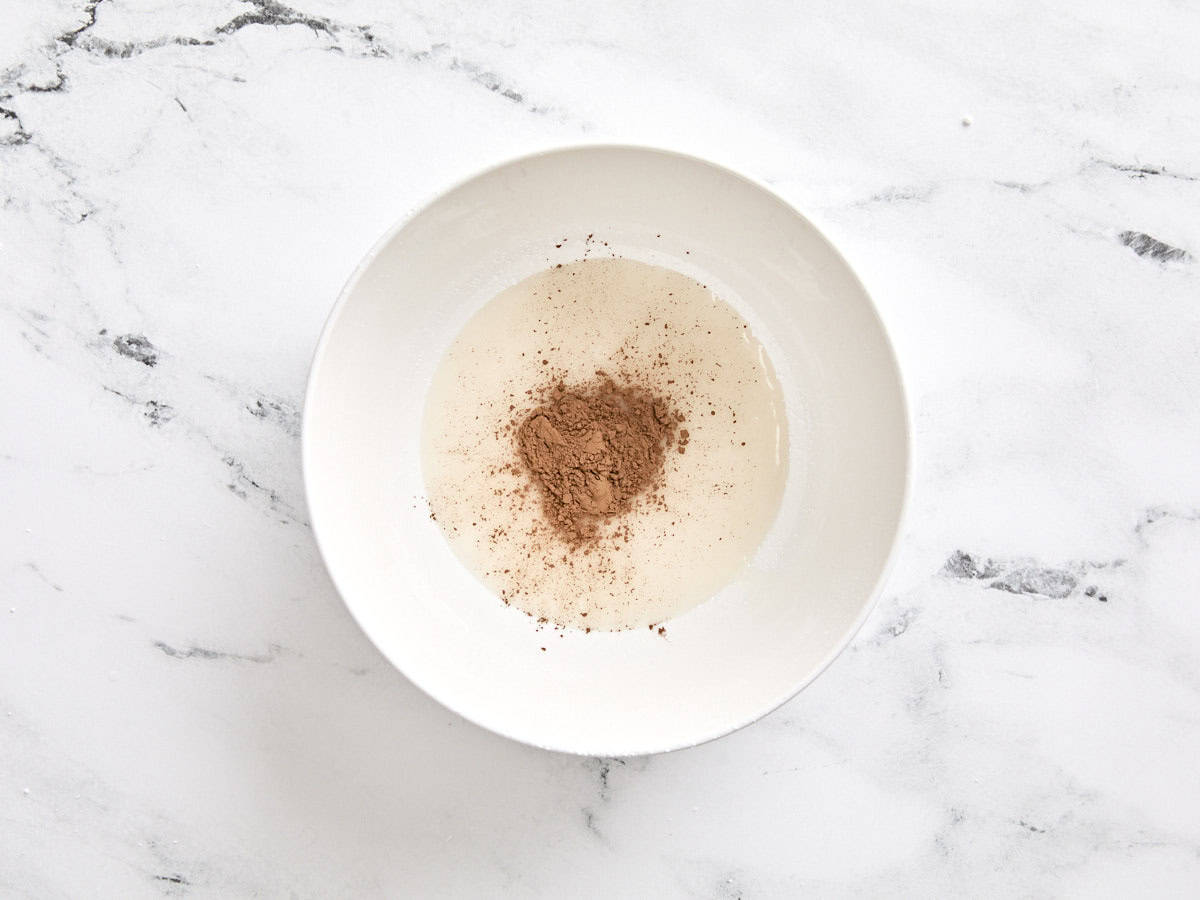
In the second bowl, add 2 tsp cocoa powder, stirring until smooth.
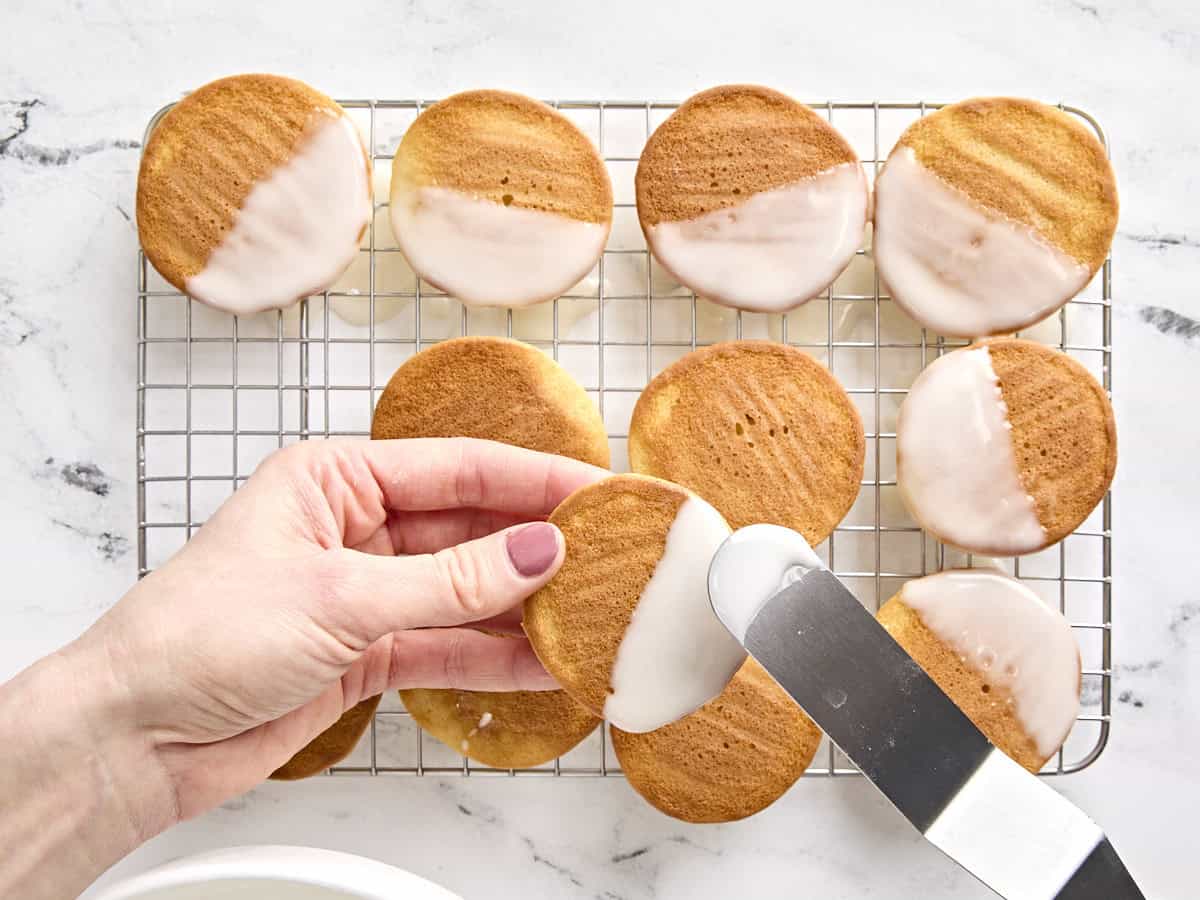
Once your cookies have completely cooled after baking, frost the flat side of each cookie (yes, the side that was down on the baking sheet!) carefully with a butter knife or elevated spatula.
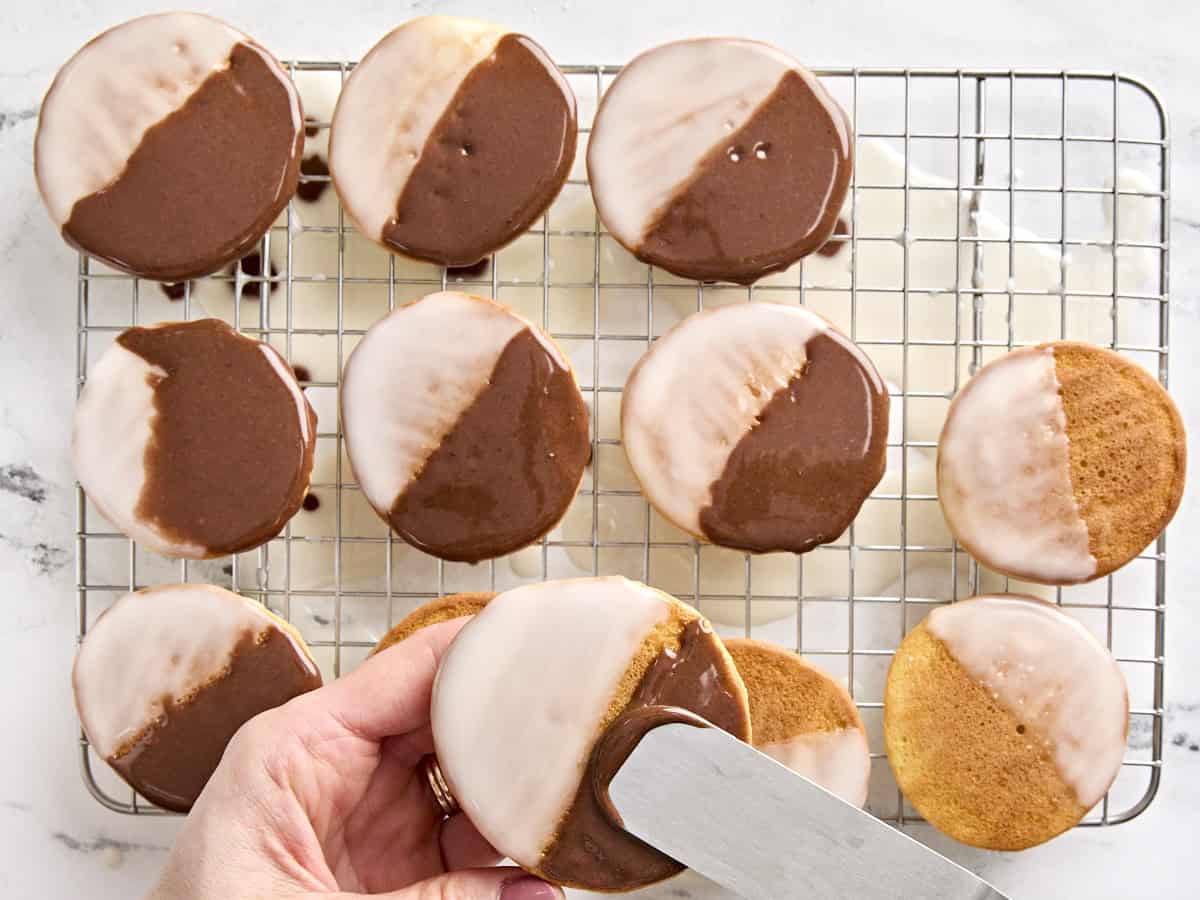
You may need to ice them a couple times to tidy up the lines and have 2 colors that stand out.
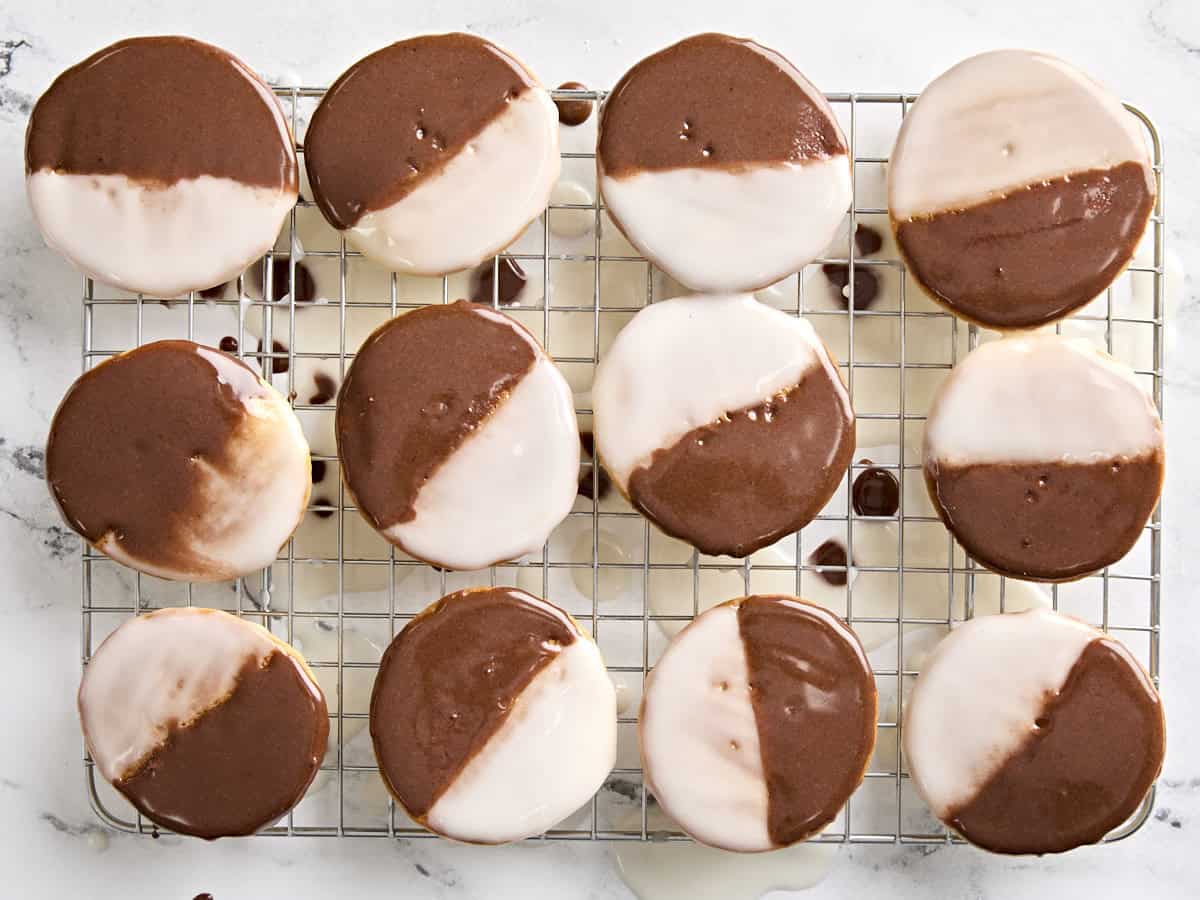
However, don’t worry if the colors run into each other; your cookies will still taste delicious! Let them dry completely on a wire rack before serving.
