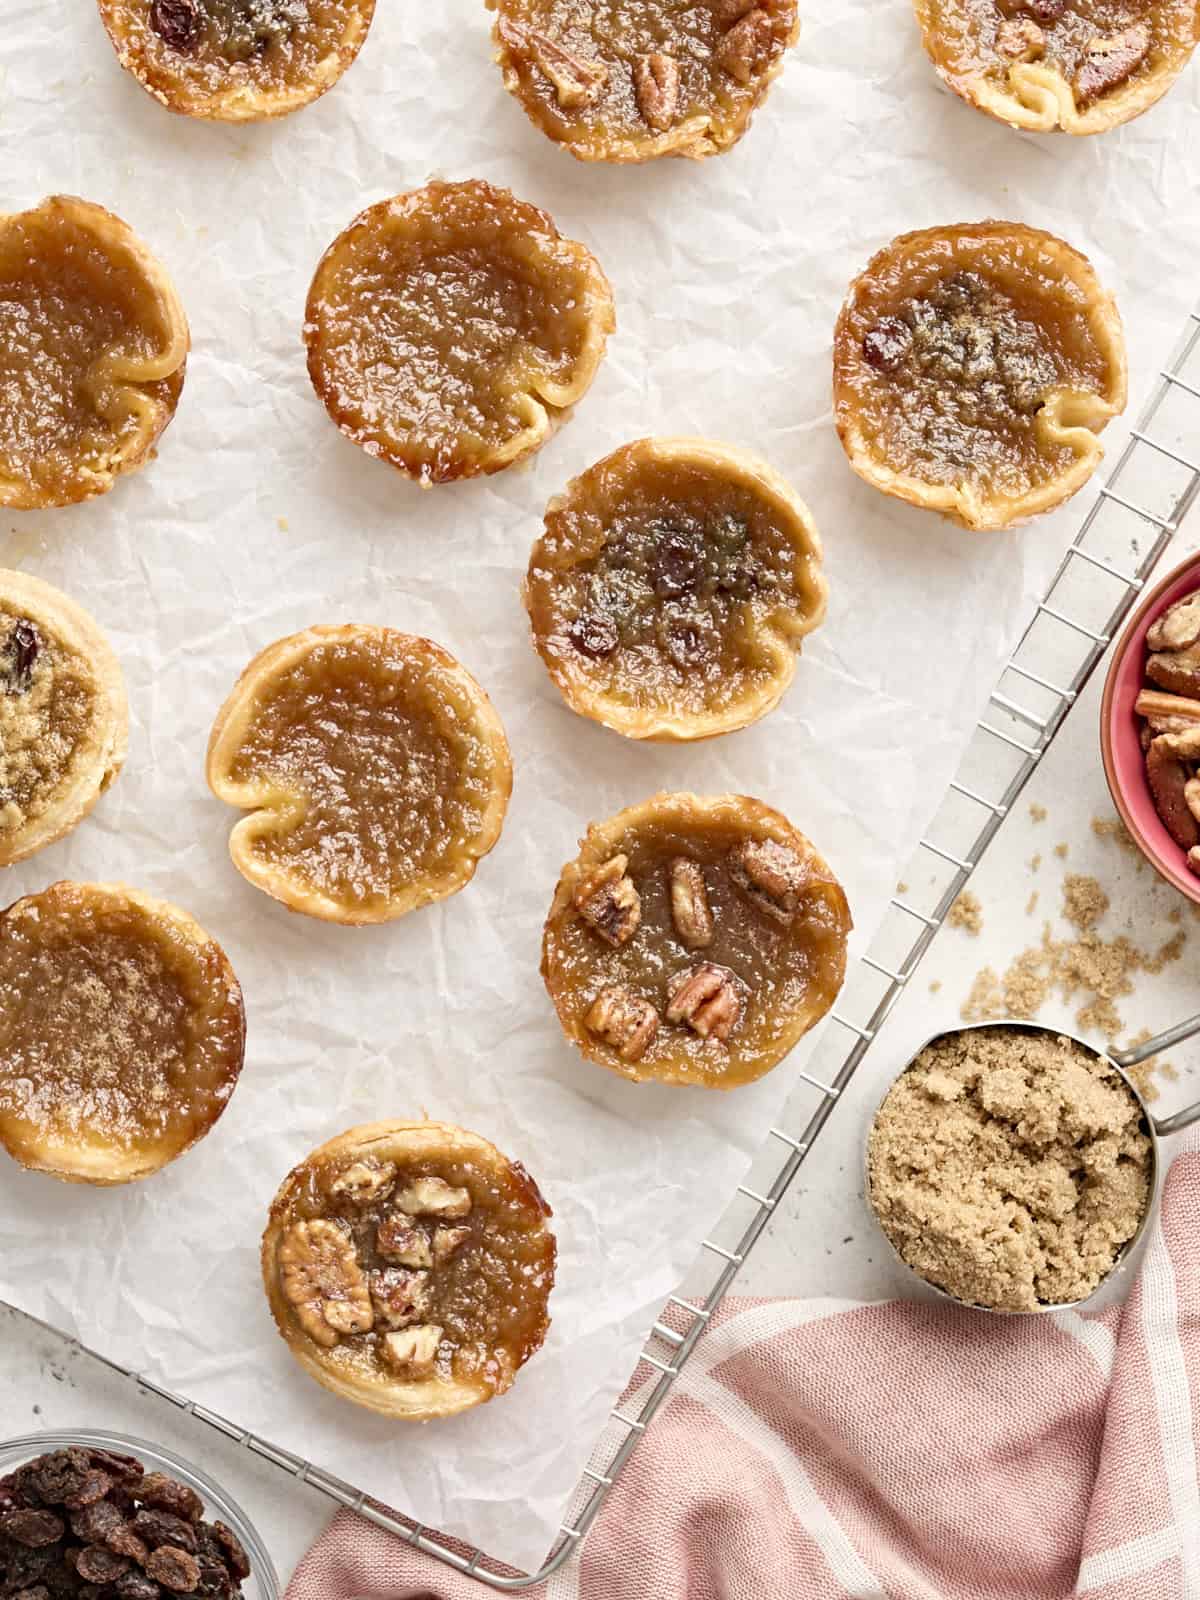
Butter Tarts are up there with poutine and maple syrup when it comes to Canadiana for me. The flaky pastry, gooey filling, and sweet buttery flavor all come together to create the perfect bite-sized dessert. I especially love making them around this time of year—when I’m dreaming about fall foliage and seeing my family for the holidays. Most of the ingredients needed are pantry staples, and the tarts themselves are easy to make, so it’s the perfect recipe for any home baker. Make them to celebrate Canadian Thanksgiving or to enjoy with a hot cup of coffee on a chilly autumn day!
All recipes are rigorously tested in our Nashville Test Kitchen to ensure they are easy, affordable, and delicious.
One of my fondest memories of living in Canada was when I had my first butter tart from The Nutty Bean in Lakefield, Ontario. The Nutty Bean is the cutest locally-owned café (in the most picturesque Canadian town ever) owned by the loveliest person of all time. (Shout out to Sherry! I hope you read this!) Sherry just has this magical, cheerful personality that’s so warm and genuine… she’s like a butter tart personified!
What Are Butter Tarts?
Butter tarts are a quintessentially Canadian dessert with a delicious pastry crust filled with a rich mixture of butter, sugar, eggs, and syrup. They’re often enjoyed as a sweet treat during Canadian Thanksgiving, which falls on the second Monday of October each year. But, honestly, these delectable little tarts can be enjoyed all year round (not just during the holidays!)
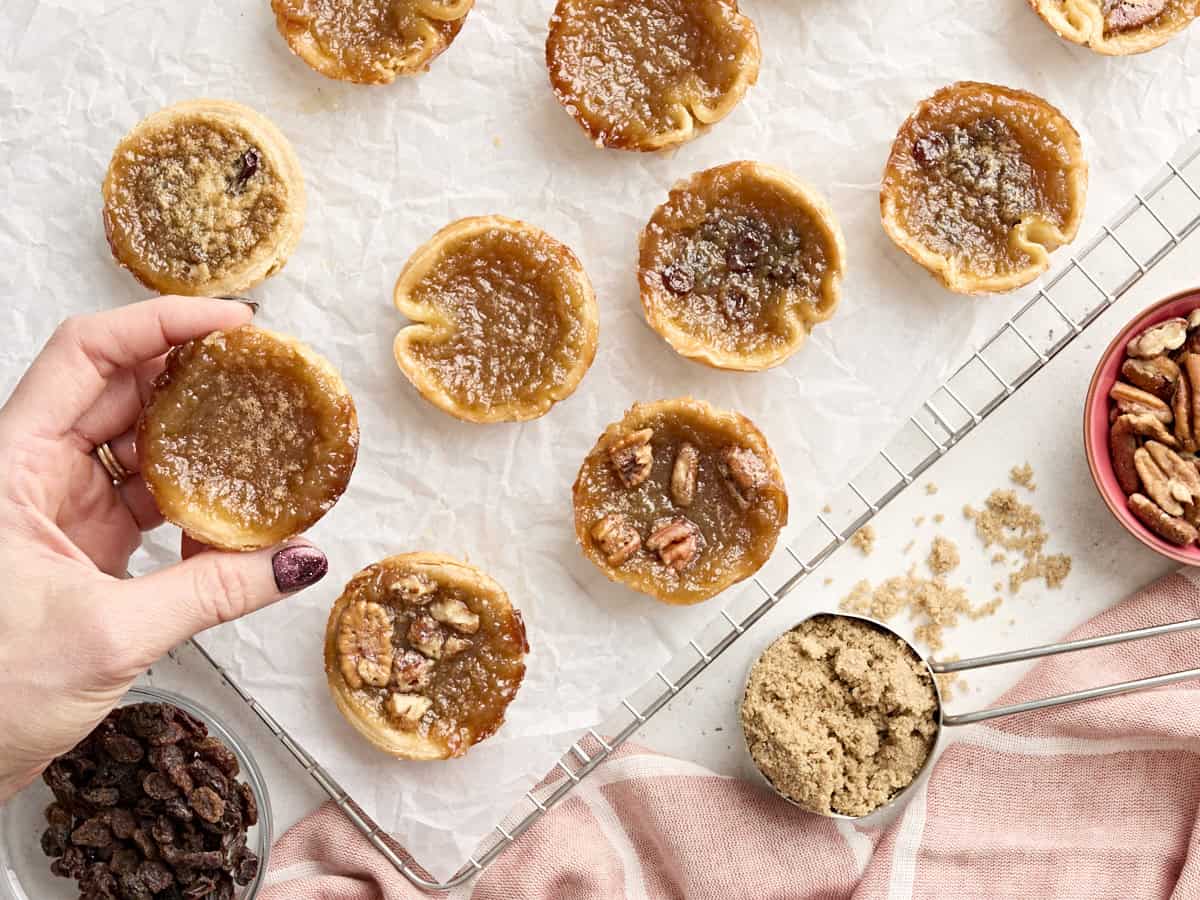
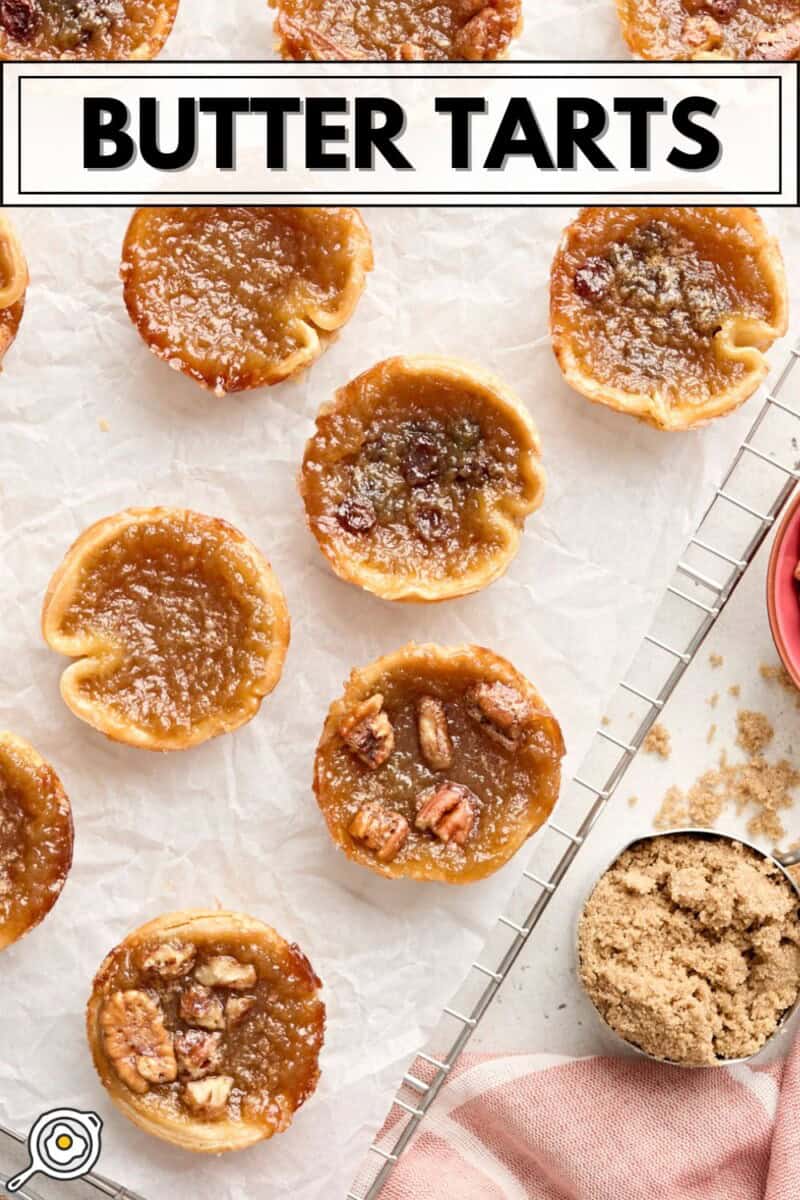
Some recipes also add nuts and raisins to the filling… but this is quite the controversial topic among butter tart enthusiasts. Traditionalists believe they should be simple and unadorned, while others enjoy the added texture and flavor nuts and raisins bring. As for me? I like to make some with raisins, some with a sprinkle of pecans, and then I leave the rest plain—meaning I get the best of all worlds! You do you, butter tart lovers.
Ingredients
Here’s what you’ll need to make my Canadian butter tarts recipe:
- Brown & White Sugar: Equal parts white and brown sugar create a gooey filling with a delicious caramel flavor.
- Salt: Just a pinch to enhance the flavors.
- Light Corn Syrup: Helps to create a smooth filling by stopping the sugar from crystallizing.
- Salted Butter: Using salted butter creates a salty-sweet flavor profile and adds a buttery richness.
- Eggs: Gives structure to the filling.
- White Vinegar: I know it might seem odd to use vinegar in a dessert recipe, but trust me, it helps balance the sweetness and adds a subtle tanginess. The acidity also helps to prevent the sugar from crystallizing.
- Vanilla Extract: Adds a warm, sweet flavor.
- Premade Pie Crust: If you can only find the premade pie crusts in packs of 2, I recommend freezing the spare (for more tart making in the future!) or using it for a different recipe like these mini dark chocolate pecan pies. Alternatively, our 3-ingredient pie crust is a great choice if you prefer homemade!
- Cooking Spray: For greasing the muffin tin.
- Raisins & Pecans: Add-ins that taste amazing in this recipe.
What’s The Difference Between Pecan Pie and Butter Tarts?
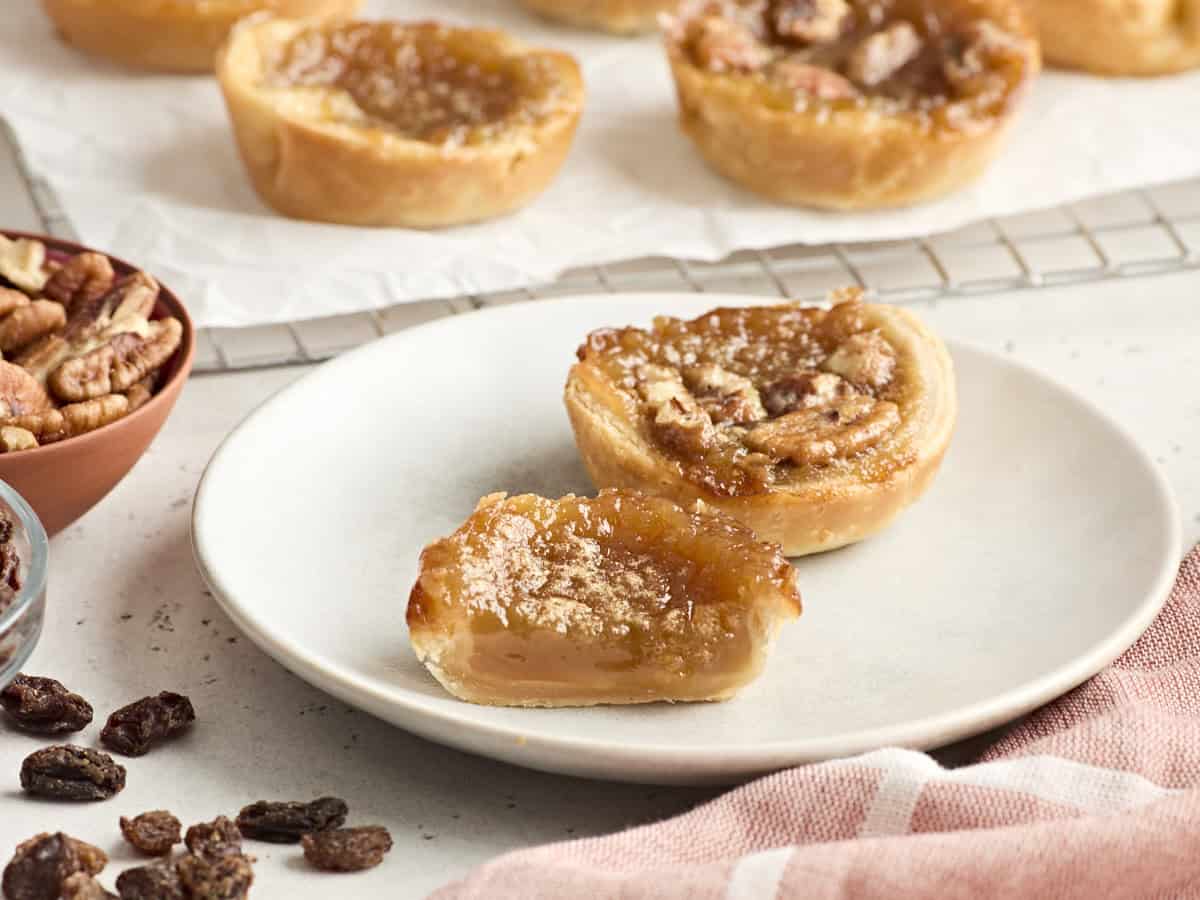
I see many people comparing these tarts to the American pecan pie, and I can understand why. Both are sweet and delicious and usually made with similar ingredients. The main difference is that pecan pie has a firmer filling with chopped pecans on top, while butter tarts have a softer filling, which can be left plain with no toppings. Pecan pies are also traditionally larger and served in slices, while the tarts are smaller and eaten in individual portions. Both are delicious in their own way, but they’re not the same!
Should the filling be runny, soft, or firm?
Again, this is another topic that sparks a lot of debate! Different families have their own preferences regarding the texture of the filling. Some like a runnier filling, while others prefer a firmer consistency. Personally, I think the perfect butter tart has a soft, custard-like filling that’s just starting to set—not too runny and definitely not too firm. Avoid overcooking them if you also prefer a softer filling.
Storage Instructions
Let your tarts cool before storing them in an airtight container at room temperature for 2-3 days or in the fridge for up to 5 days. For longer storage, you can freeze them for up to 3 months. Let them thaw in the fridge before enjoying. You can also reheat them in the oven at 300 degrees to help bring back that freshly baked taste.
Butter Tarts Recipe
Ingredients
- ½ cup brown sugar, packed ($0.34)
- ½ cup white sugar ($0.36)
- ½ tsp salt ($0.01)
- ½ cup light corn syrup ($0.63)
- ¼ cup salted butter, melted ($0.60)
- 2 eggs ($0.44)
- 1 teaspoon white vinegar ($0.01)
- 1 teaspoon vanilla extract ($0.47)
- 1 9'' premade pie crust, thawed ($1.38)
- cooking spray ($0.01)
- 3 Tbsp raisins ($0.36)
- 2 Tbsp pecans ($0.72)
Instructions
- Preheat the oven to 375°F. Combine brown sugar, white sugar, and salt in a large mixing bowl and whisk to combine.
- In a separate mixing bowl, combine corn syrup, melted salted butter, eggs, white vinegar, and vanilla extract. Whisk to combine.
- Pour liquid mixture into the sugar mixture and whisk to combine. Set aside.
- Roll out the premade pie crust on parchment so it is flat and even. You’re not really rolling it out to make it much thinner, just to make it all consistently the same. Sometimes, I find the premade dough has thicker edges.
- Using a large cookie cutter or the jar of a large mason jar (about 3.5" to 4" diameter–that’s what I did!) cut out mini crusts. You can use all of the dough scraps, so keep them to make more tart crusts!
- Lightly grease a cupcake tin with cooking spray. Gently press the tart crusts into each cup and gather the raisins and pecans. Add a few raisins and/or pecan pieces to each crust. I like to leave some plain, prepare some with raisins, and some with pecans. Then, fill each tart with the liquid filling mix. Leave about ¼ of the inch at the top of each tart crust when filling, if possible. I overfilled a few, which caused them to overflow during baking. Oops!
- Before popping them in the oven, add a few more raisins and/or pecan pieces to each tart.
- Bake for 20 minutes. They may still be a little jiggly when you take them out of the oven, but they will firm up. They are best when the center is custard-like, so don’t overcook.
See how we calculate recipe costs here.
Equipment
- Mixing Bowls
- Muffin Pan
Nutrition
how to make Butter Tarts – step by step photos
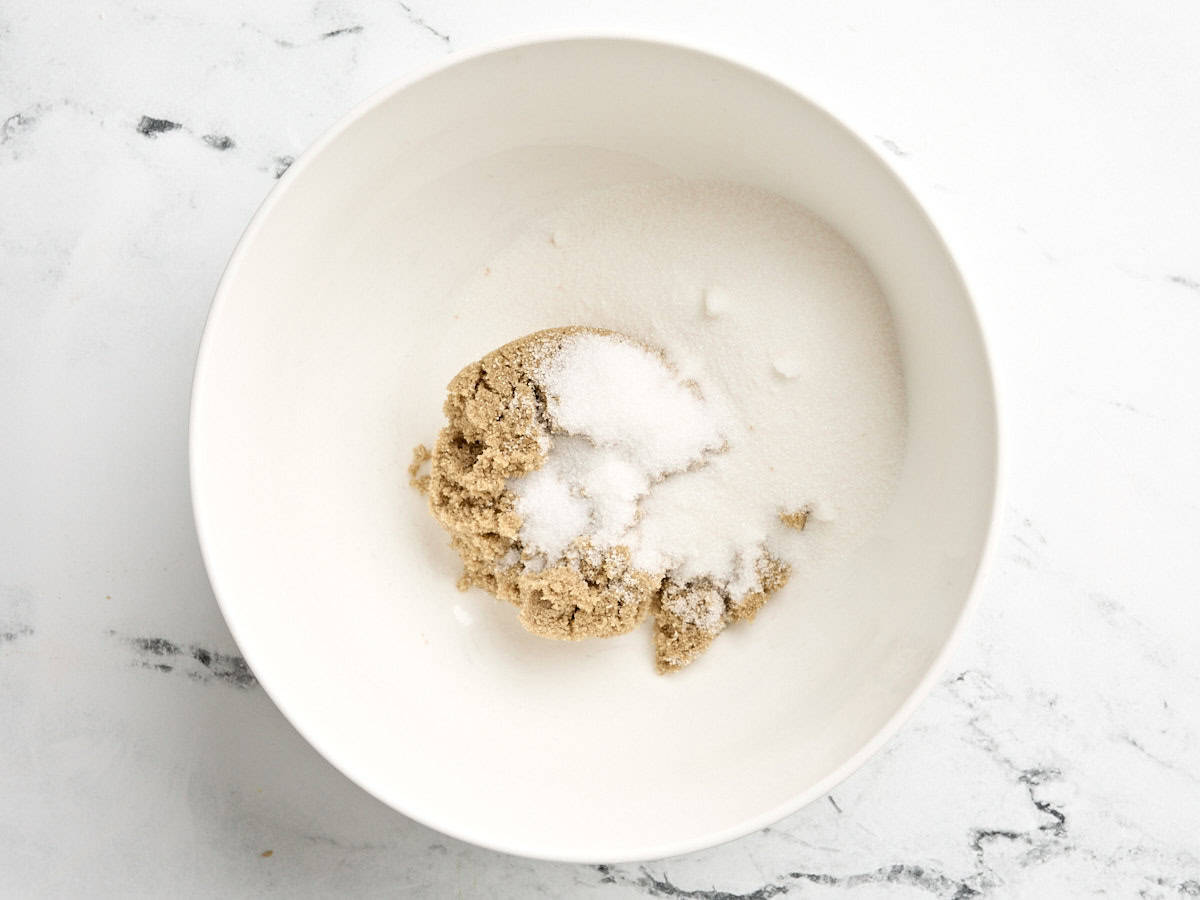
Preheat the oven to 375°F. Combine ½ cup brown sugar, ½ cup white sugar, and ½ tsp salt in a large mixing bowl and whisk to combine.
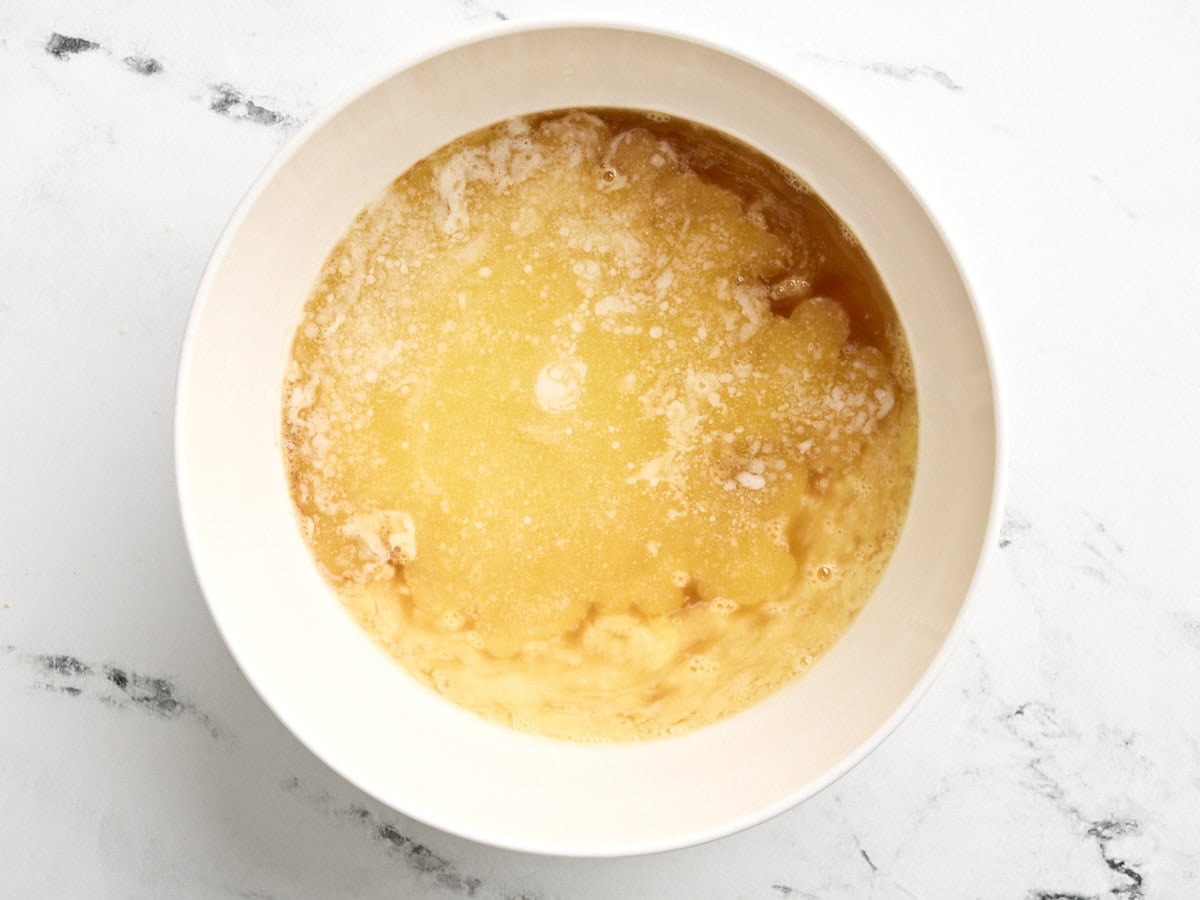
In a separate mixing bowl, combine ½ cup corn syrup, ¼ cup melted salted butter, 2 eggs, 1 tsp white vinegar, and 1 tsp vanilla extract. Whisk to combine.
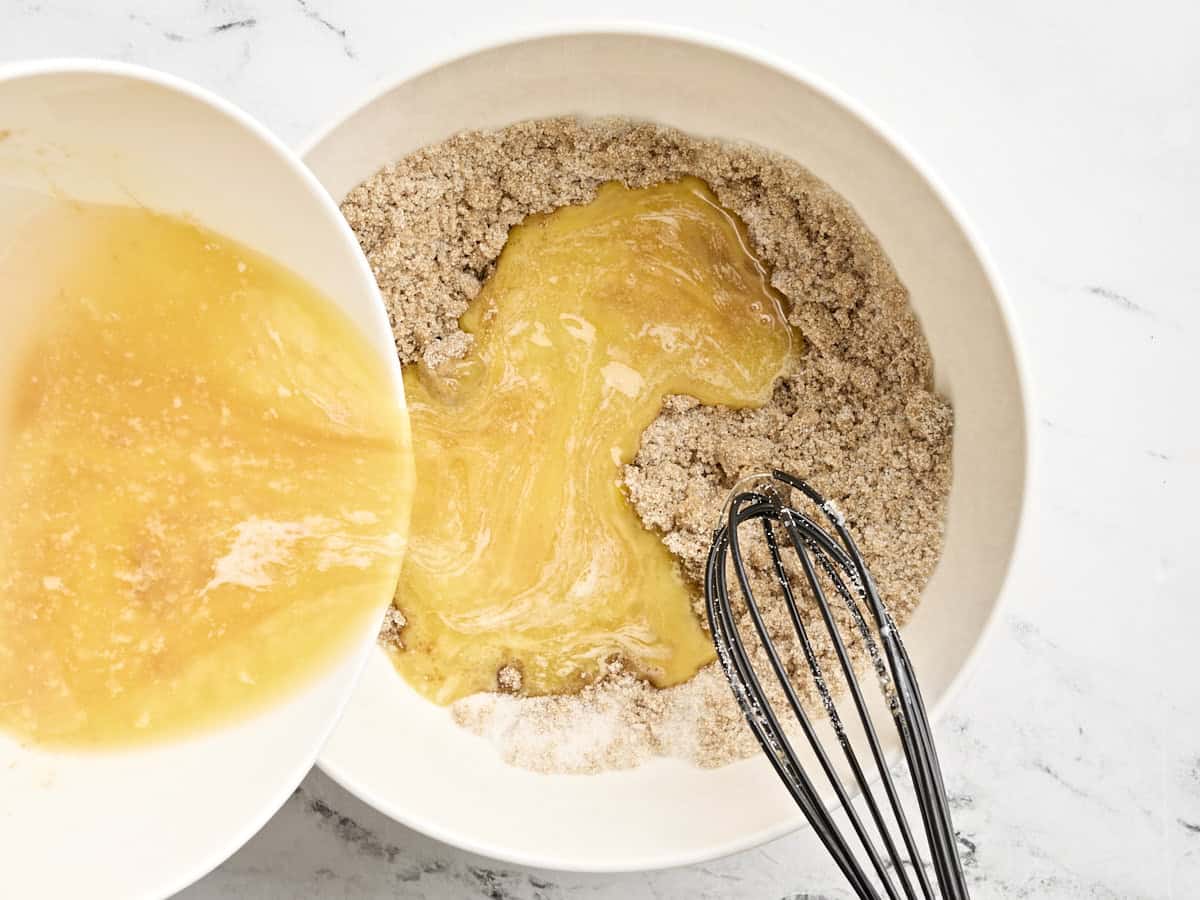
Pour liquid mixture into the sugar mixture and whisk to combine. Set aside.
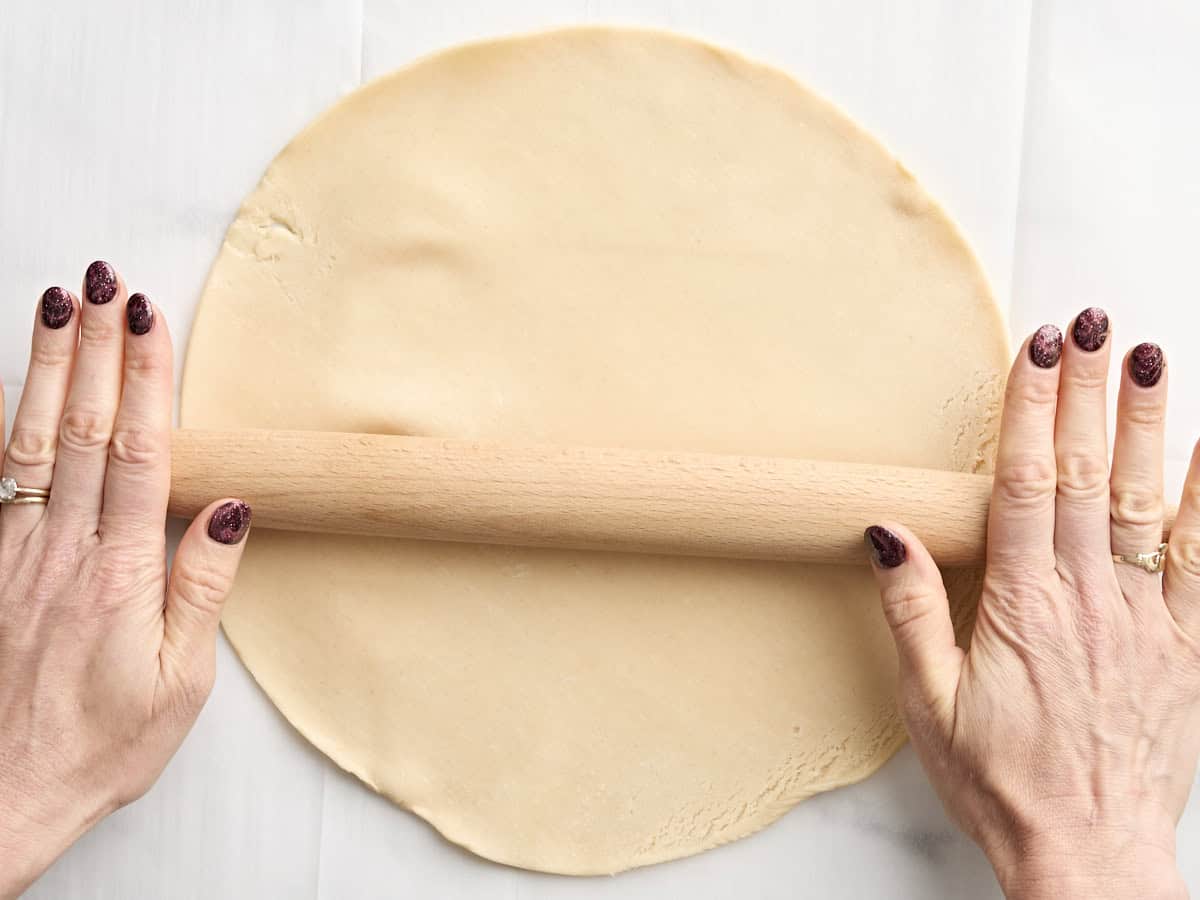
Roll out 1 pre-made pie crust on parchment so it is flat and even. You’re not really rolling it out to make it much thinner, just to make it all consistently the same. Sometimes, I find the premade dough has thicker edges.
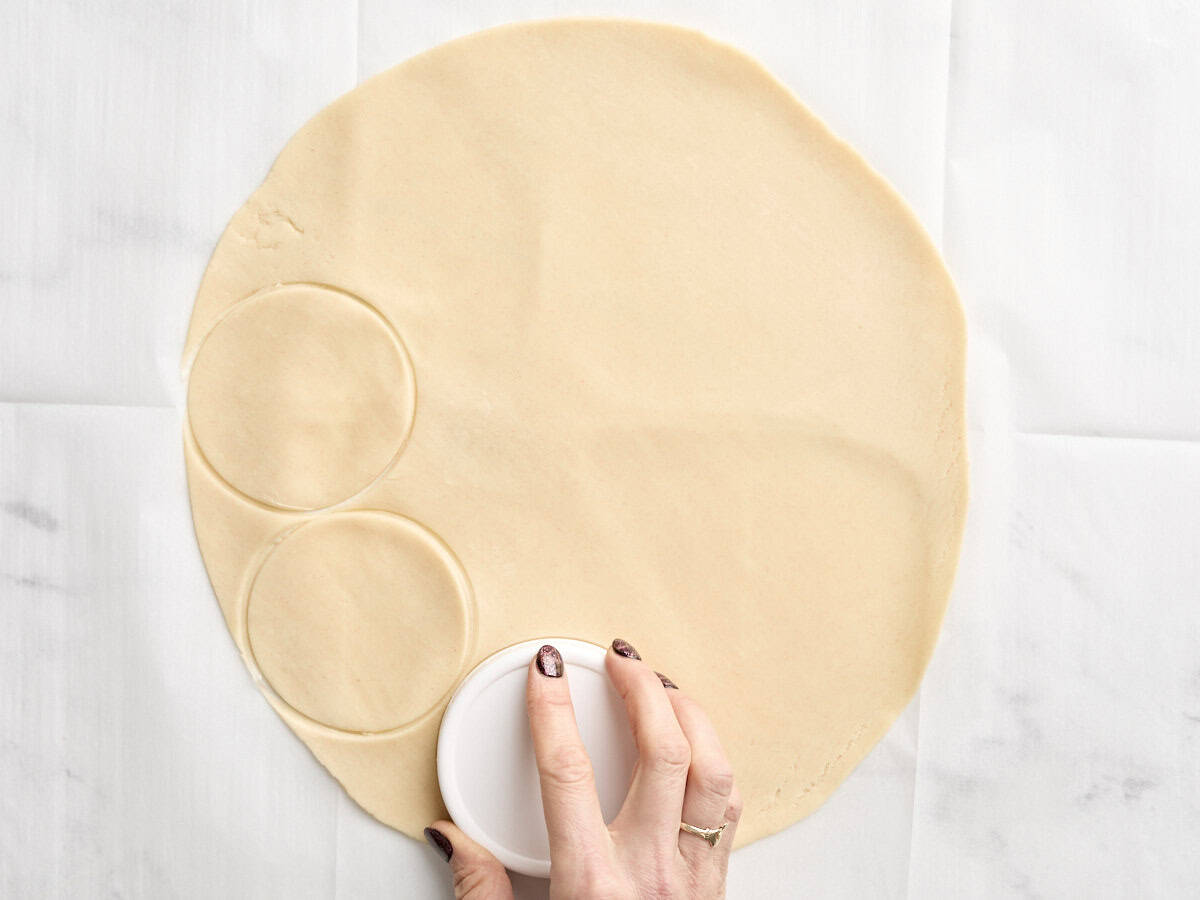
Using a large cookie cutter or the jar of a large mason jar (that’s what I did!) cut out mini crusts. You can use all of the dough scraps, so keep them to make more tart crusts!
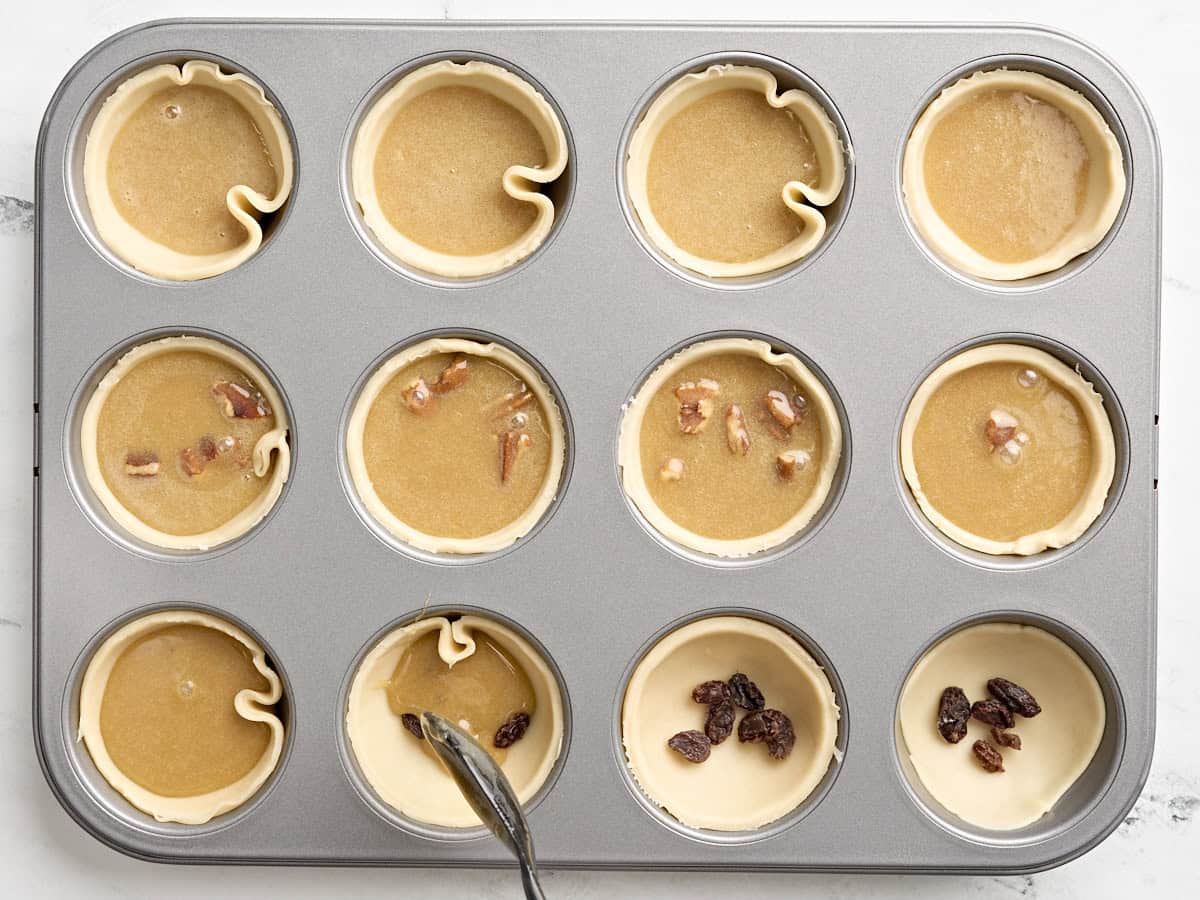
Lightly grease a cupcake tin with cooking spray. Gently press the tart crusts into each cup and gather 3 Tbsp raisins and 2 Tbsp pecans. Add a few raisins and/or pecan pieces to each crust. I like to leave some plain, prepare some with raisins, and some with pecans. Then, fill each tart with the liquid filling mix. Leave about ¼ of the inch at the top of each tart crust when filling, if possible. I overfilled a few, which caused them to overflow during baking. Oops!
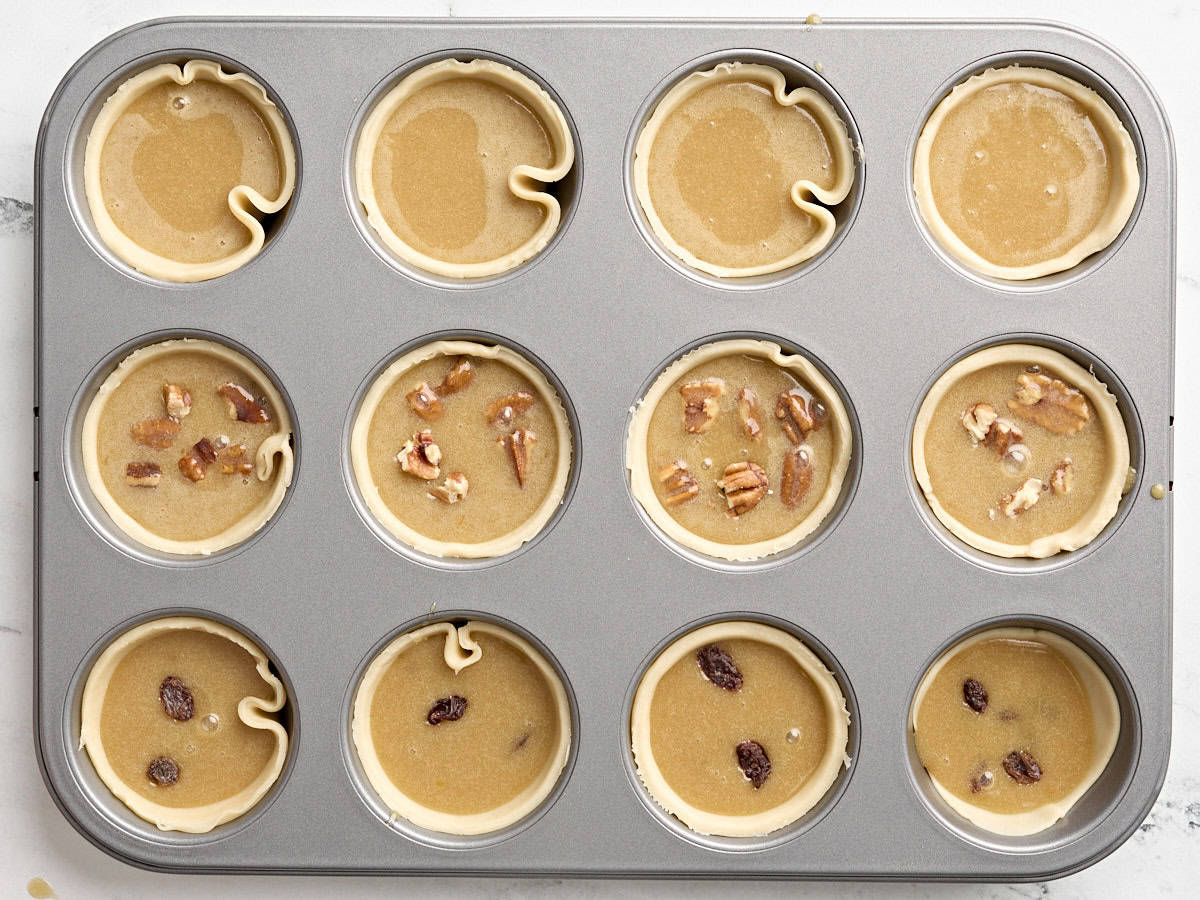
Before popping them in the oven, add a few more raisins and/or pecan pieces to each tart.
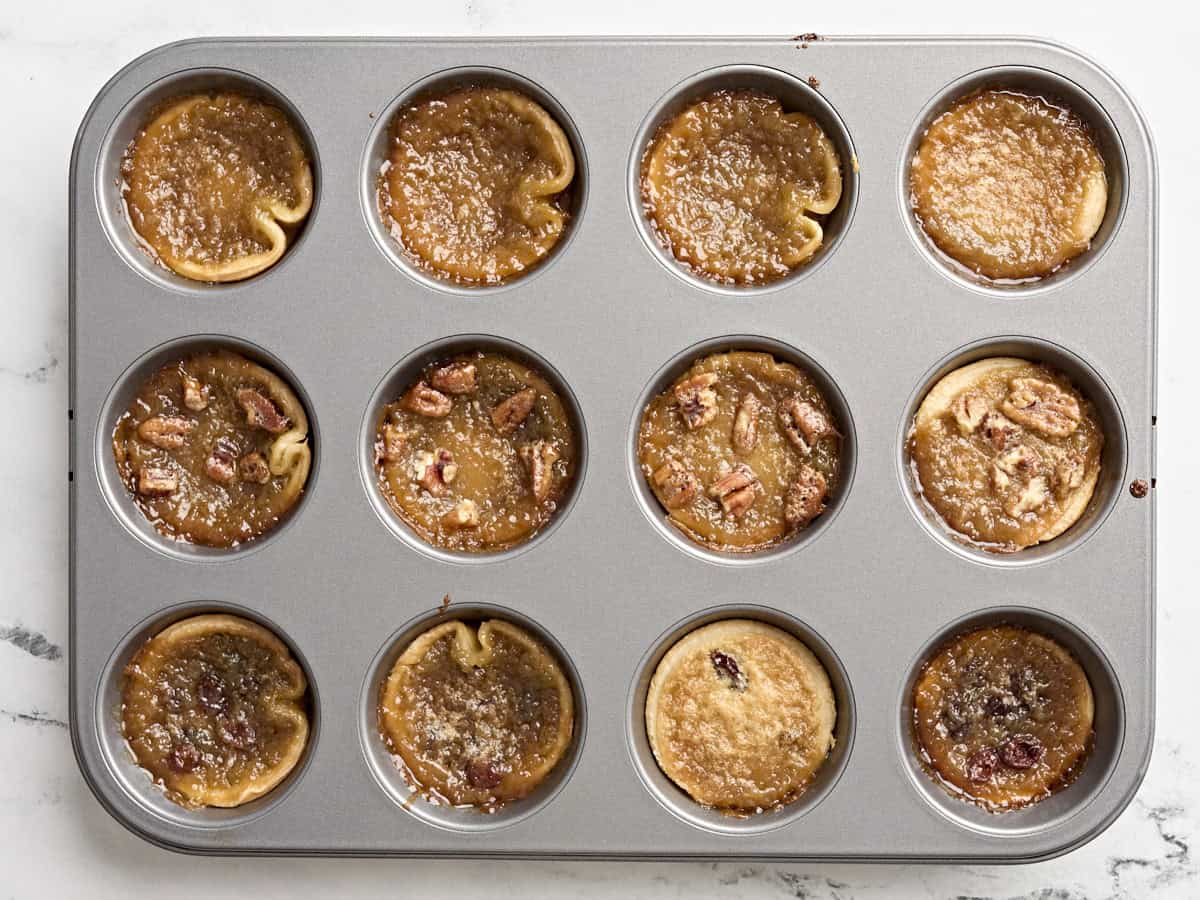
Bake for 20 minutes. They may still be a little jiggly when you take them out of the oven, but they will firm up. They are best when the center is custard-like, so don’t overcook.
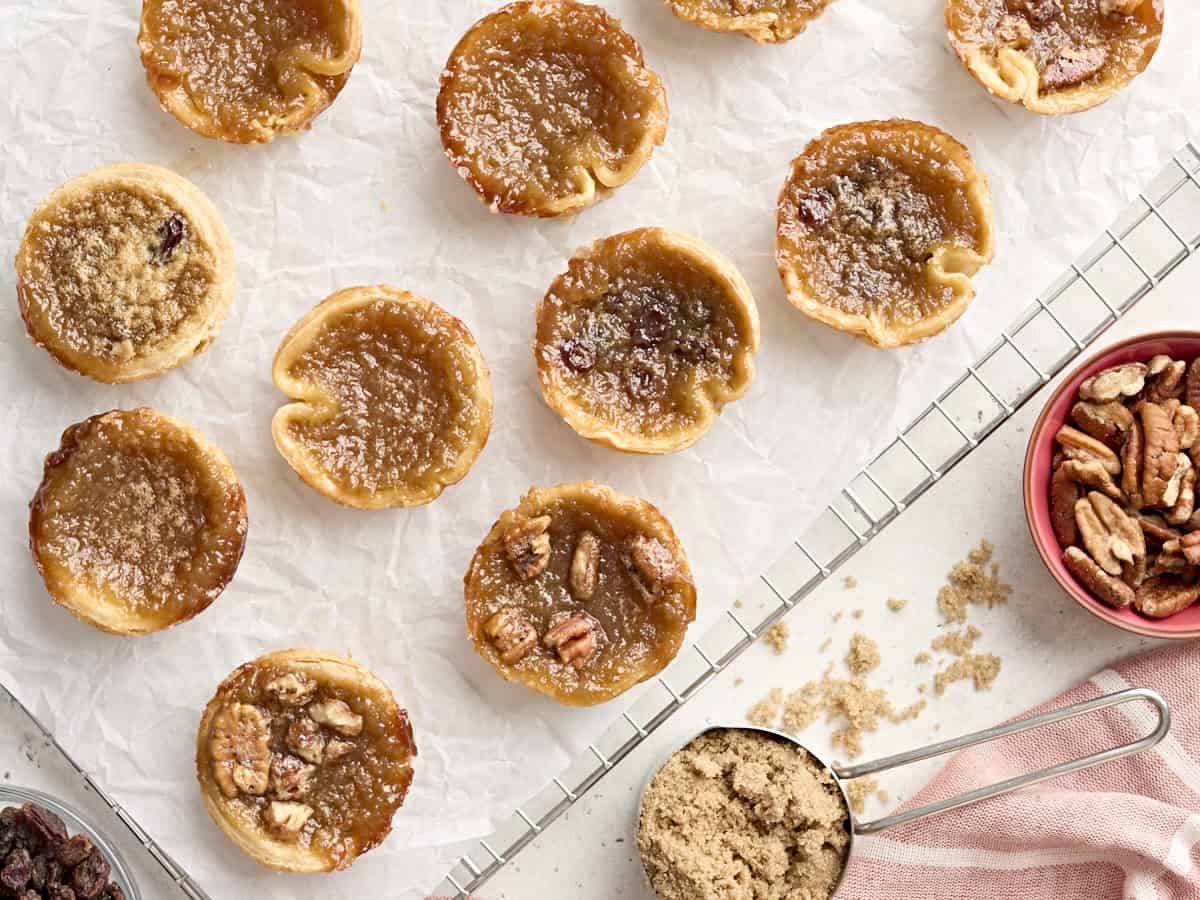
These Canadian butter tarts couldn’t be easier to make and are always a hit with anyone who tries them!


Hey these are to die for! The problem I ran into was the tarts stuck to the pan too much and I ruined a bunch trying to get them out. Would cupcake papers work for this?
I’m not sure that would work, Jessica! I think what you’d end up with is trying to rip paper off of the sticky filling and that would be even more of a mess! (and you might end up eating some paper!) I would just make sure you’re not overfilling the crust so that the filling doesn’t boil over too much because it can be like glue!
What Paige said, but— I find letting them cool and then running a butter knife around them and being careful whenever you get to a sticky spot helps them pop right out! I hope that works for you (plus Paige’s advice) the next time you make them. They are insanely good and I can’t control myself whenever I make a batch!
I’m so happy, I’ve been looking for this recipe for a while and couldn’t find it. In my family (Quebec) we used to make it with raisins and it is called « tarte à la farlouche ». Same soft texture for the filling, but made in one big pie. I will definitely give it a try, thanks!
Bonne année et bonne santé, Isa! I hope your family loves it.
My granny made her butter tarts with currants, pre-plumped in boiling water. But we live in decadent times and I used the raisin/pecan combo suggested here and it was delicious. I used medium sized frozen tart shells and there was enough filling for 16 tarts. Great recipe! Perfect for our Thanksgiving dessert tonight and some leftovers for the freezer.
Can you put the filling in pre-made mini pie crusts frozen?
100% yes!
3 stars because I see the potential. I need a cooking temperature, I guessed and boy was I wrong. Also when I cut out 12 discs from my pie crust, using a quart mason jar lid approx 2.75” across they barely came up on the sides they were so short. I also had a ton of filling leftover, probably due to how little of the filling I could actually put in. A few more details would assure a success for more people.
Hi Katherine! So sorry about that. We’ve updated the recipe card, but the oven temp is 375℉! Hopefully you can give it another try!
Hey, Katherine. Thanks for your feedback. Did you roll out the pre-made dough to be a bit thinner/more consistently thick? 2.75″ is too small. The lid I used to cut out crusts was 3.5″. I will add that note.
Oven temperature was not located in published article. Please edit or provide.
Cheers!
Thanks for the heads up! Bake at 375°F. It’s fixed now.
Wow–faste, yummy, and inexpensive dessert with stuff most of us already have in our fridges and pantries. It’s reminiscent of those delicious little Portuguese custard tarts, but much easier and a bit cheaper to make. A hint–coming up on Thanksgiving, premade pie crusts are likely to be on sale in most supermarkets. I always pick up an extra couple of packages to stick in the freezer, even though making scratch pie crust is pretty easy for me. Corn syrup is often “on special” this time of year, too.
Hi I don’t think this is an actual recipe for what you’re offering you’re only giving us the inside the dough is the most important part if you don’t have the dough all you have is soup in a gel form that’s sweet could you please redo the recipe and include a crust because without the crust all you have is a filling and that’s not a recipe that’s just half a recipe can you please put that as an addendum thank you nothing’s worse than coming in to find a recipe when it’s a pie recipe or a cake recipe and only part of the recipe is there and then they say well you know what you can just go and buy some fake crust or why don’t you buy a box of cake and then you can add something to it and call it something else no it’s not a cake that you made or that you put together you bought something from the store and brought it home so it would be better if you actually included a recipe for crust when it calls for crust plain and simple thank you for the ingredients for the other part which you can find on a box in any store so you’re not really telling us anything special other than a basic thing but you’re missing out the most basic ingredients the bottom part that holds your whole recipe together sorry it’s just so very irritating and I bet you I’m not the only person that that annoyed
Hey, Tammy. We included a link to our easy 3 ingredient pie crust in the recipe. Here it is again: https://vitalityholisticwellnessguide.com/3-ingredient-pie-crust/
Cheers!
You know what I’m annoyed by…your long rant. I found the 3 ingredient pie link right away. Look next time! They are always very helpful on this website.
Learn how to write paragraphs 🤡
Hi do you have an alternative substitute for that syrup,please
Hi, Tammy! There is no suitable substitute for the light corn syrup in this recipe that yields the exact same texture as a result.
These look great…..what temperature do you bake them at? The recipe doesn’t say.
Hi Shawn, bake at 375°F. Thanks for letting us know. It’s fixed now!
Oven Temperature?
Bake at 375°F. We’ve also updated the recipe card with this information. Thank you!
I usually make about 12 dozen during this time of the year
Ron, they are the perfect treat this time of year! Makes me miss living in Ontario. :)