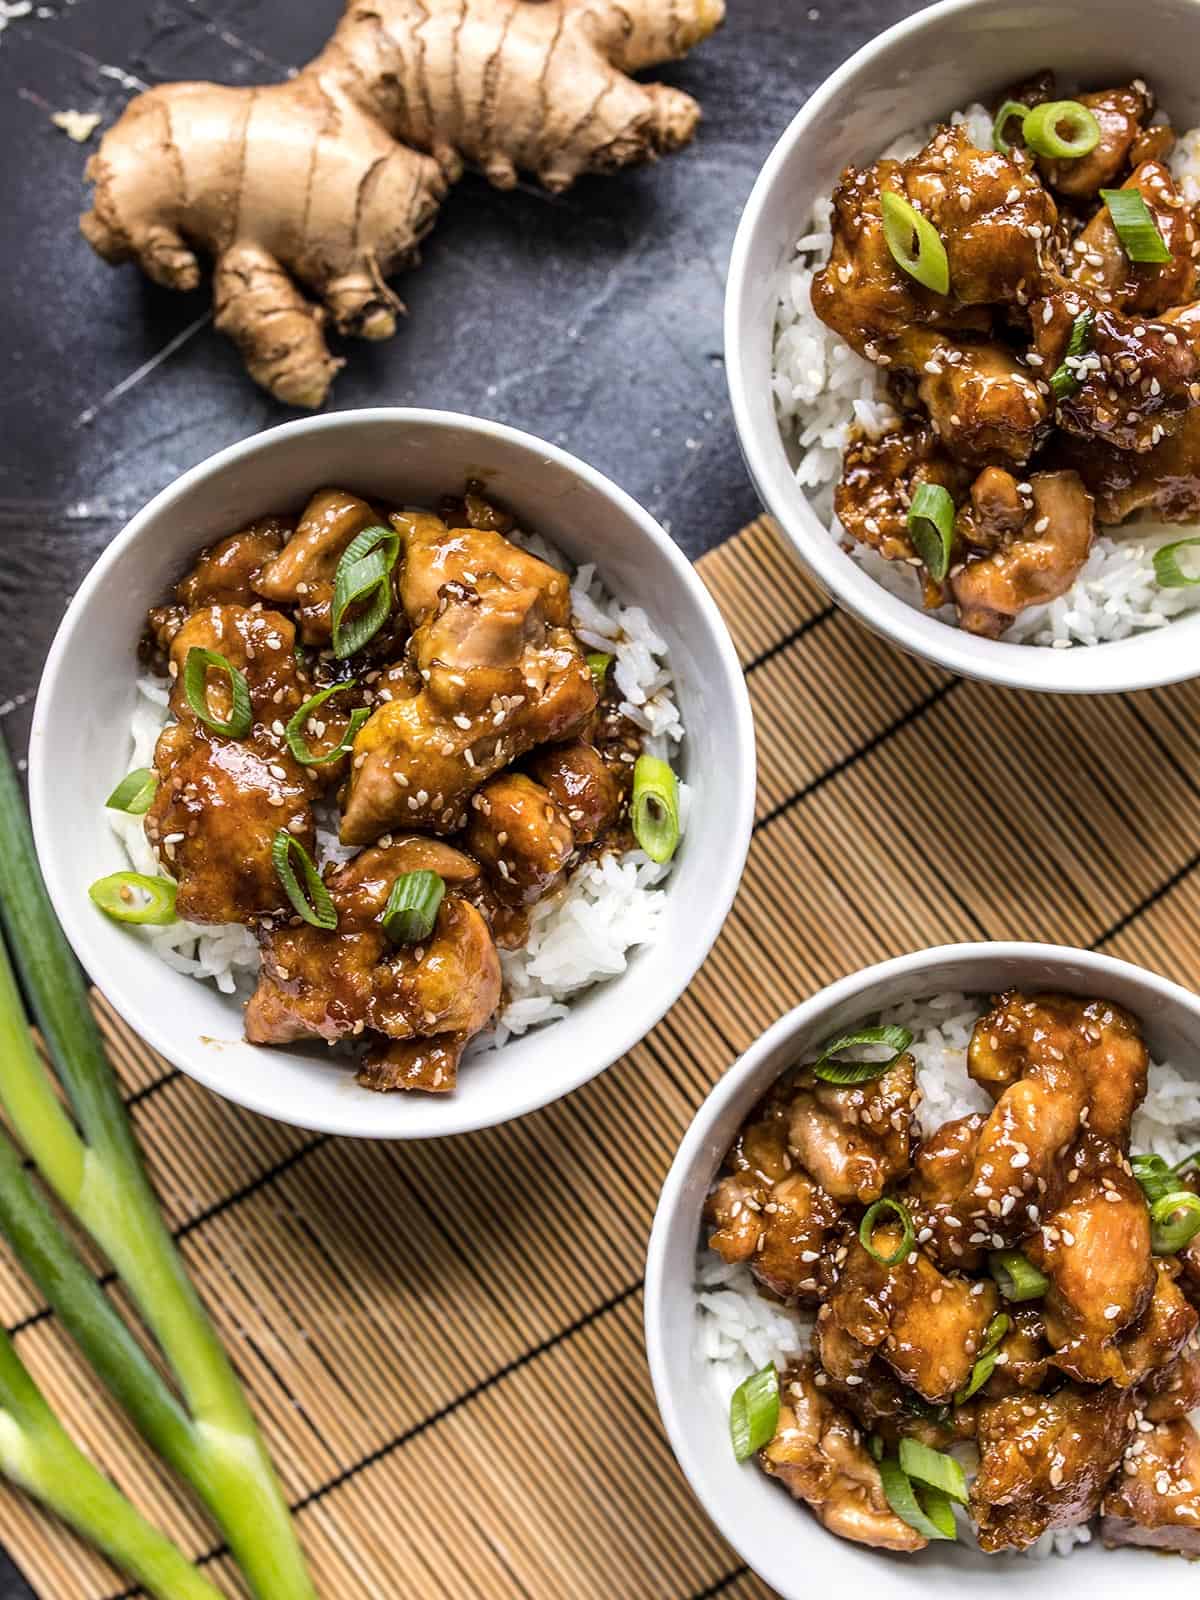
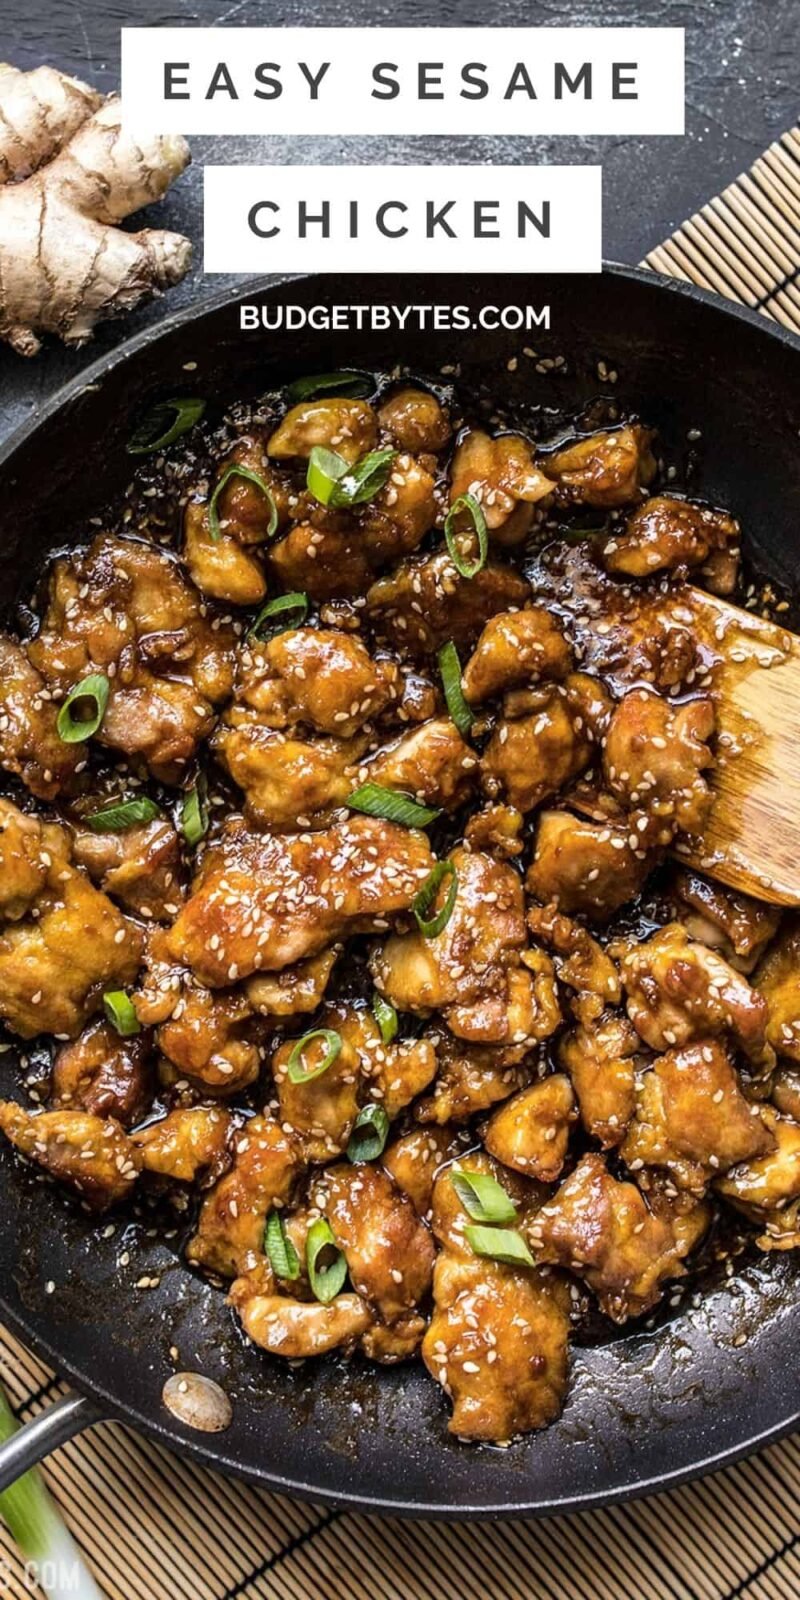
This Easy Sesame Chicken recipe is seriously so easy that you’ll be tempted to toss those take-out menus. The deliciously sweet and savory sauce takes only a few ingredients, all of which you can keep on hand indefinitely (keep your ginger in the freezer). You know, just in case you need some sesame chicken like, now. Oh, and this take-out fake-out sesame chicken works great for your weekly meal prep, too!
This post contains some affiliate links, which means that we make a small commission off items you purchase at no additional cost to you.
What is Sesame Chicken?
If you’re unfamiliar with this Chinese-American fast food classic, sesame chicken is small pieces of tender chicken that have been coated in an egg and cornstarch, deep-fried until crispy, and then coated in a deliciously sweet, salty, and tangy sauce. The sauce also has a light but toasty flavor thanks to sesame seeds. You’ll find this dish at most Chinese-inspired takeout restaurants across America.
Ingredients for Sesame Chicken
Here’s what you’ll need to make this easy sesame chicken recipe:
- Chicken Thighs: We use chicken thighs for this recipe because they stay juicy and super tender without fear of drying out, and they’re very budget-friendly. You can use chicken breast, if preferred, just be careful to not overcook the chicken.
- Cornstarch and Egg: The combination of cornstarch and egg coats the chicken, keeping it tender and providing something for the sauce to grab onto. This technique of coating meat in a cornstarch mixture is called “velveting.”
- Soy Sauce: The base for the sauce is soy sauce, which provides plenty of salt and umami flavor.
- Toasted Sesame Oil: Toasted sesame oil gives the sauce a deliciously nutty flavor. Make sure to get toasted oil, which has a deep amber color and a much more pronounced flavor.
- Brown Sugar: Brown sugar provides sweetness to balance the salt of the soy sauce and the acidity of the vinegar. Brown sugar has a deep flavor, compared to the more one-dimensional flavor of white sugar. You can also use honey in place of the brown sugar.
- Rice Vinegar: Rice vinegar gives the sauce a nice tangy flavor. Rice vinegar is milder than other vinegar types, which keeps the sauce in balance and not too harsh.
- Fresh Ginger: Ginger gives the sauce zing! Be sure to use fresh ginger, not dried ginger, as it has a much more peppery flavor. Keep fresh ginger in your freezer to always have it on hand without it going bad.
- Garlic: Garlic provides a nice savory base flavor for the sauce.
- Sesame Seeds: Sesame seeds add even more sesame flavor to the sauce and a delicious visual appeal.
- Cornstarch: Cornstarch thickens the sauce into a nice glaze with a translucent, glossy finish.
- Rice and Green Onions: Serve your sesame chicken over a bed of rice with sliced green onions on top for a well rounded meal.
No Deep Frying Required
I specifically wrote this recipe for those of you out there who hate deep frying as much as I do. This recipe uses a very small amount of oil to cook the chicken and because of that, you don’t get super crispy edges as you would with a deep fry, but the trade-off is well worth it in my opinion. No leftover oil to deal with, no cooking oil smell filling your house, and no splattering oil trying to kill you. So worth sacrificing crispy edges.
What to Serve with Sesame Chicken
I like to pair my Easy Sesame Chicken with jasmine rice and a little steamed broccoli. It’s a super simple meal that is very satisfying, and stores well for meal prep! It also goes great with Crunchy Cabbage Salad, Sesame Cucumber Salad, Easy Egg Drop Soup, Savory Coconut Rice.
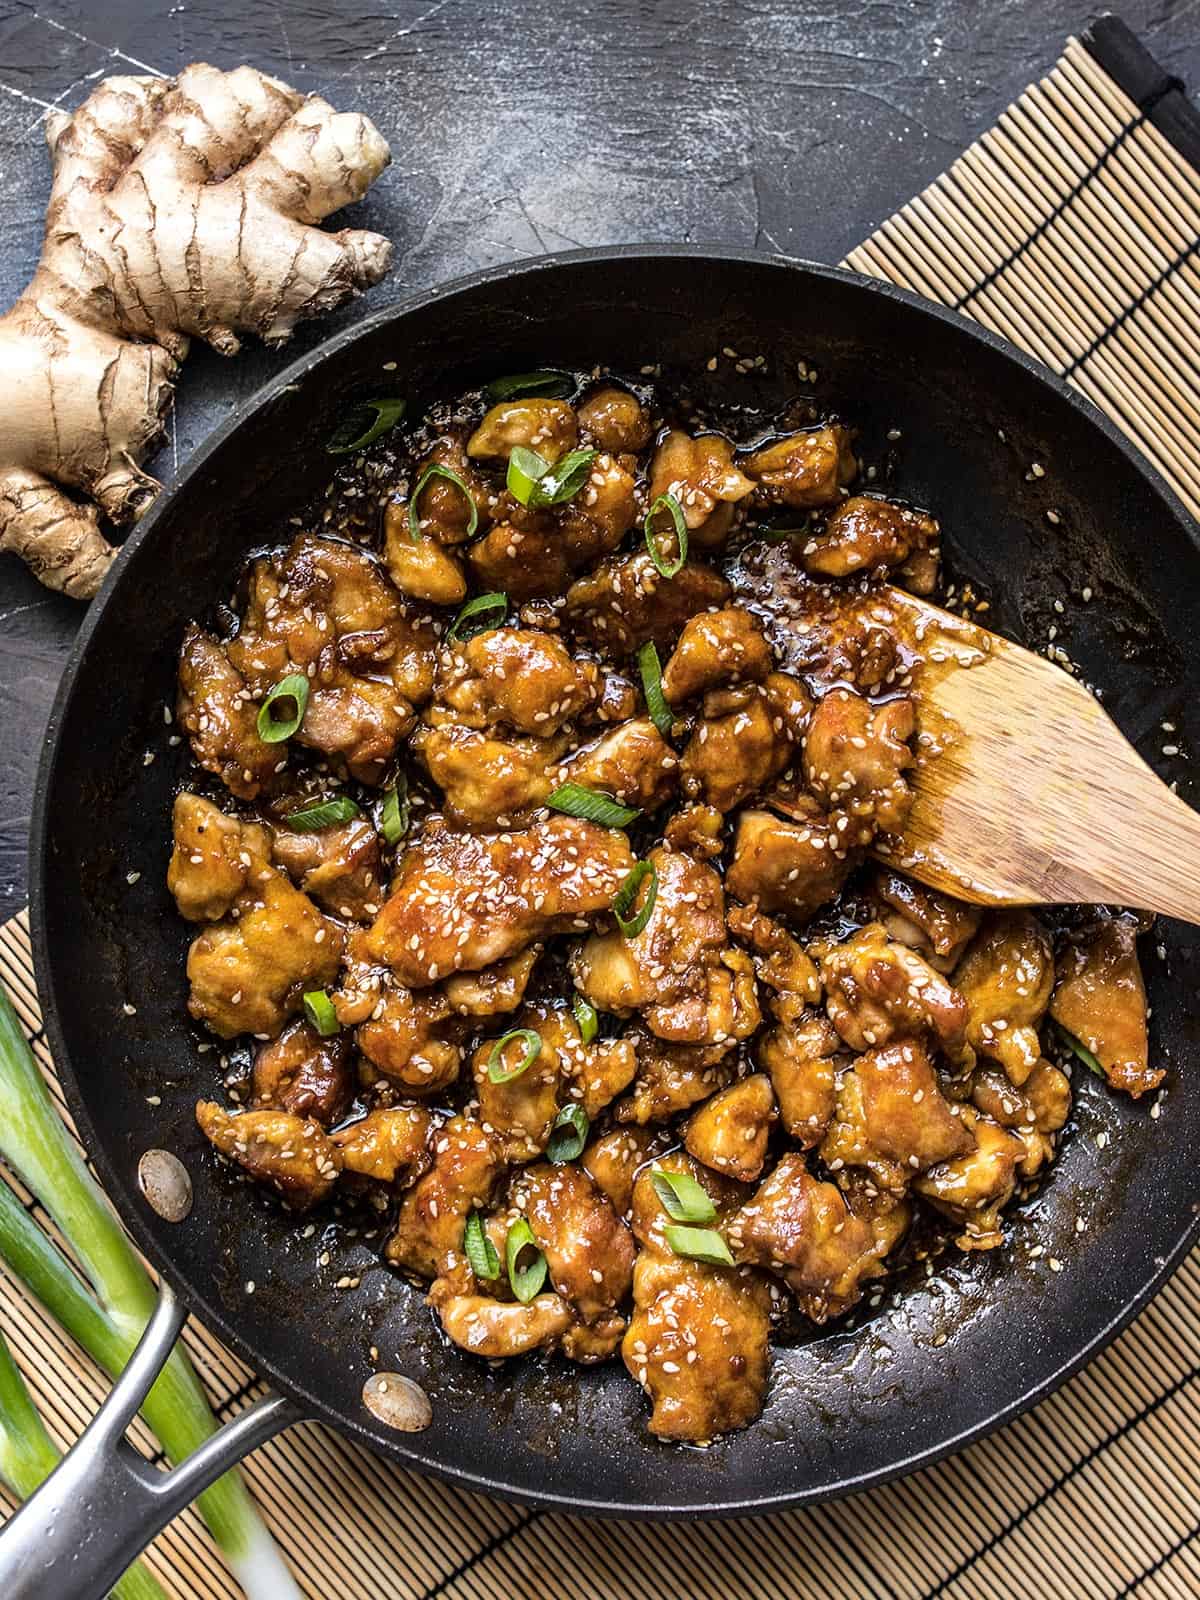
Easy Sesame Chicken
Ingredients
Chicken
- 1 large egg ($0.23)
- 2 Tbsp cornstarch ($0.06)
- 1 pinch each salt and pepper ($0.05)
- 1 lb boneless skinless chicken thighs ($3.23)
- 2 Tbsp cooking oil ($0.08)
Sauce
- 1/4 cup soy sauce ($0.24)
- 2 Tbsp water ($0.00)
- 1 Tbsp toasted sesame oil ($0.33)
- 3 Tbsp brown sugar ($0.12)
- 1 Tbsp rice vinegar ($0.12)
- 1 tsp grated fresh ginger ($0.10)
- 2 cloves garlic, minced ($0.16)
- 1 Tbsp sesame seeds ($0.8)
- 1/2 Tbsp cornstarch ($0.02)
For Serving
- 4 cups cooked jasmine rice ($0.70)
- 2 whole green onions ($0.22)
Instructions
- First, prepare the sauce. In a small bowl stir together the soy sauce, water, sesame oil, brown sugar, rice vinegar, fresh ginger, minced garlic, cornstarch, and sesame seeds. (Grate the ginger with a small-holed cheese grater). Set the sauce aside.
- In a large bowl, whisk together the egg, 2 Tbsp cornstarch, and a pinch of salt and pepper. Trim any excess fat from the chicken thighs, then cut them into small 1 inch pieces. Toss the chicken in the egg and cornstarch mixture.
- Add the cooking oil to a large skillet and heat it over medium flame. Wait until the skillet is very hot, then swirl the skillet to make sure the oil coats the entire surface. Add the batter coated chicken and spread it out into a single layer over the surface of the skillet.
- Allow the chicken pieces to cook, undisturbed, until golden brown on the bottom. Then, carefully flip the chicken, breaking up the pieces into smaller clumps as you flip. Continue to cook the chicken until golden brown on the other side. Stir the chicken as little as possible to avoid breaking the egg coating from the surface of the chicken.
- Once the chicken is cooked through and golden brown on all sides, pour the sauce over top. Toss the chicken to coat in the sauce. As the sauce comes up to a simmer, it will begin to thicken. Continue to gently stir the chicken in the sauce until it has thickened, then turn off the heat.
- Serve the chicken over a bed of rice and sprinkle the sliced green onions over top.
See how we calculate recipe costs here.
Equipment
- Non Stick Cookware
- Grater
- Color Cutting Boards
Nutrition
Video
How to Make Sesame Chicken
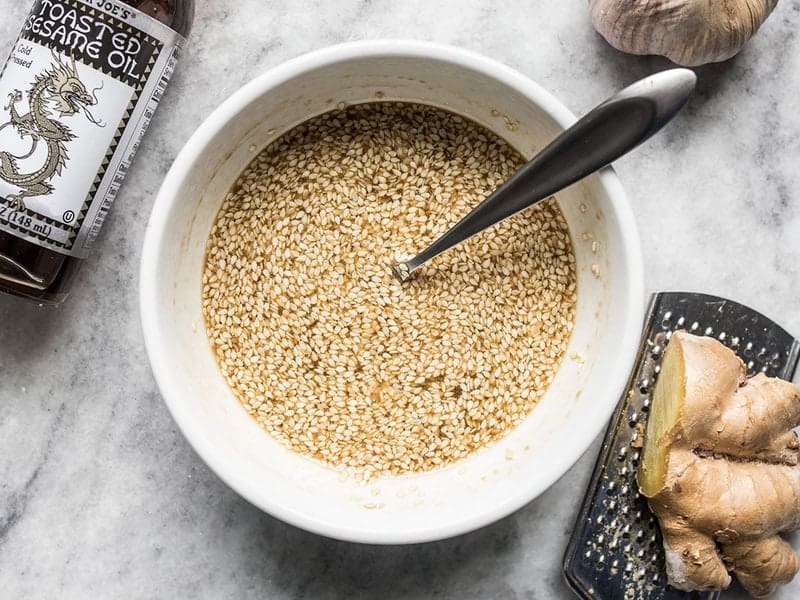
Make the sauce first, so it’s ready to go when you need it. In a bowl, stir together 1/4 cup soy sauce, 2 Tbsp water, 1 Tbsp toasted sesame oil, 3 Tbsp brown sugar, 1 Tbsp rice vinegar, 1 tsp grated fresh ginger, 2 minced cloves of garlic, ½ Tbsp cornstarch, and 1 Tbsp sesame seeds.
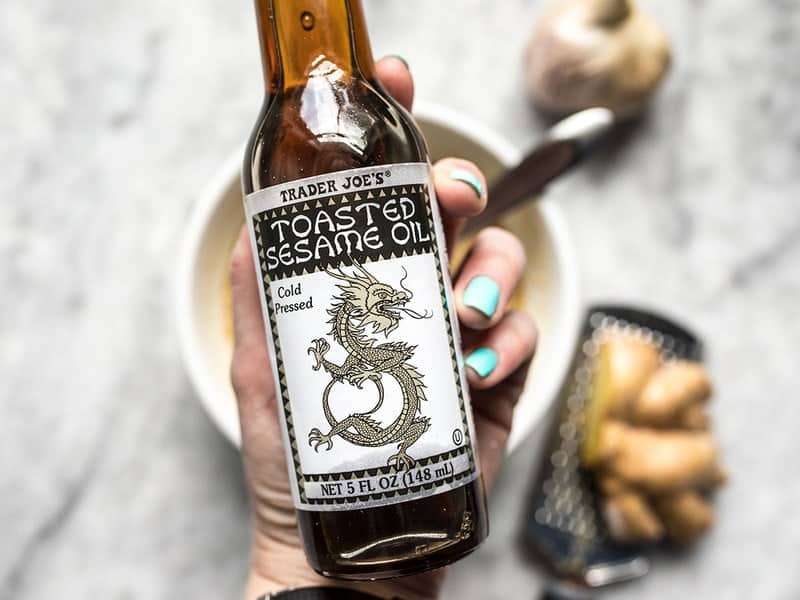
Let’s just talk about this toasted sesame oil for a second. You must get the kind that is toasted to get the super vibrant nutty flavor that you want in your sesame chicken. Not all brands actually say “toasted” on the bottle, but you can recognize the toasted variety by its deep brown color. Regular sesame oil will be the color of straw, like vegetable oil. You want the brown stuff. ;) It’s usually in the international foods aisle, instead of the baking aisle with the other oils.
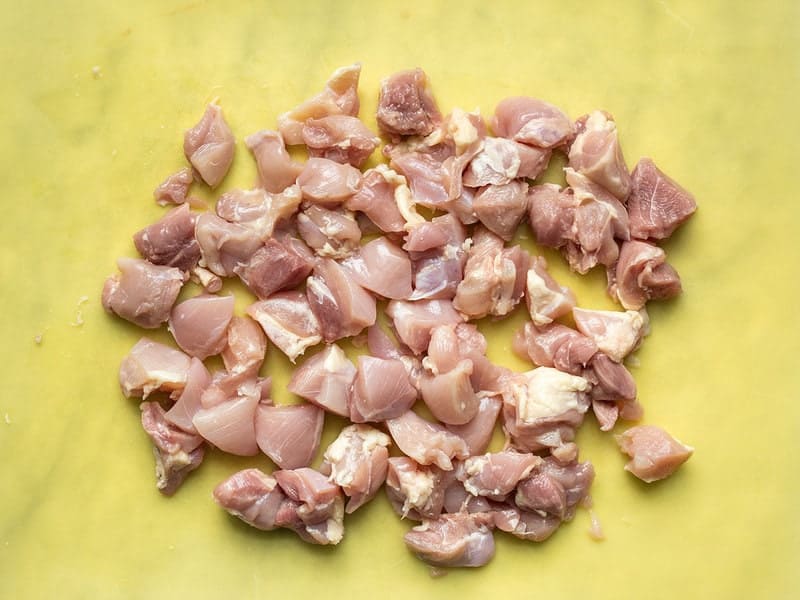
Next, trim any extra fat off of one pound of boneless, skinless chicken thighs, then cut them into small one inch cubes. One pound for me was about three chicken thighs.
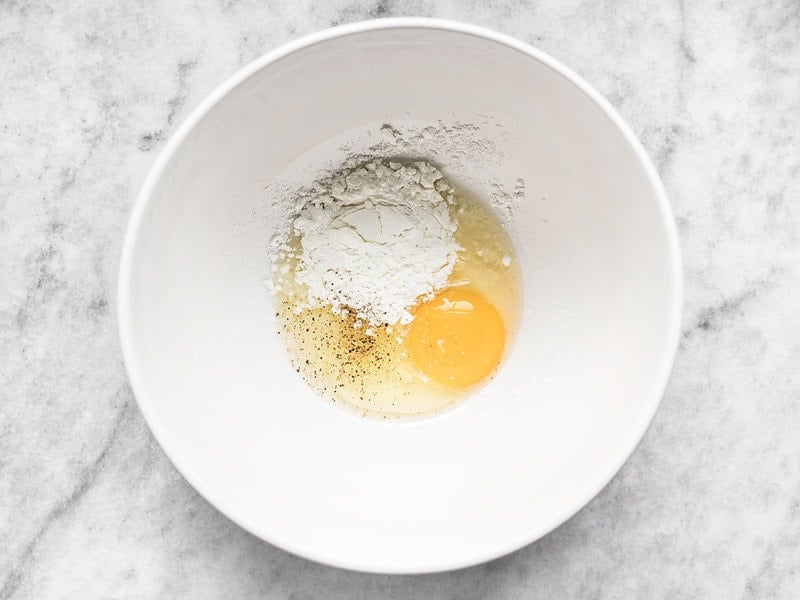
Add 1 large egg, 2 Tbsp cornstarch, and a pinch of salt and pepper to a medium bowl.
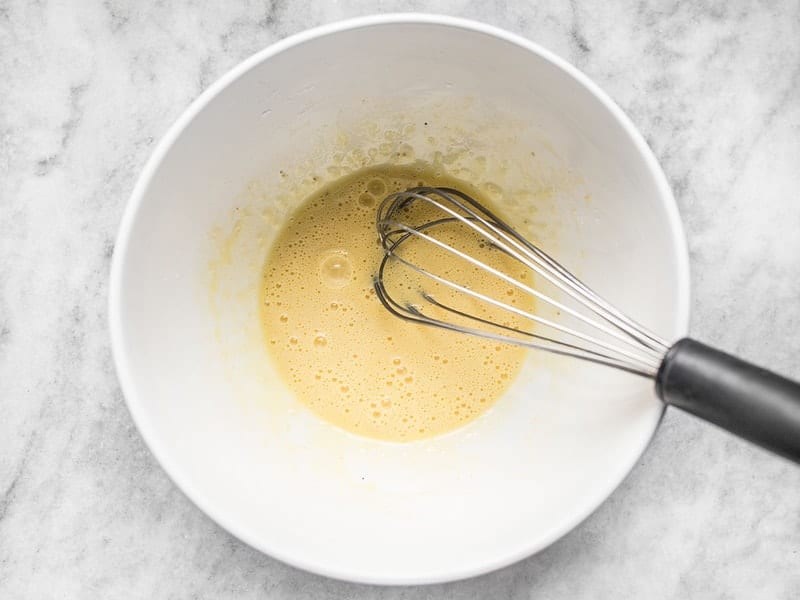
Whisk the egg and cornstarch together until it is light and frothy. It may seem thick at first, but as the cornstarch dissolves in the egg, it will thin out and get nice and frothy.
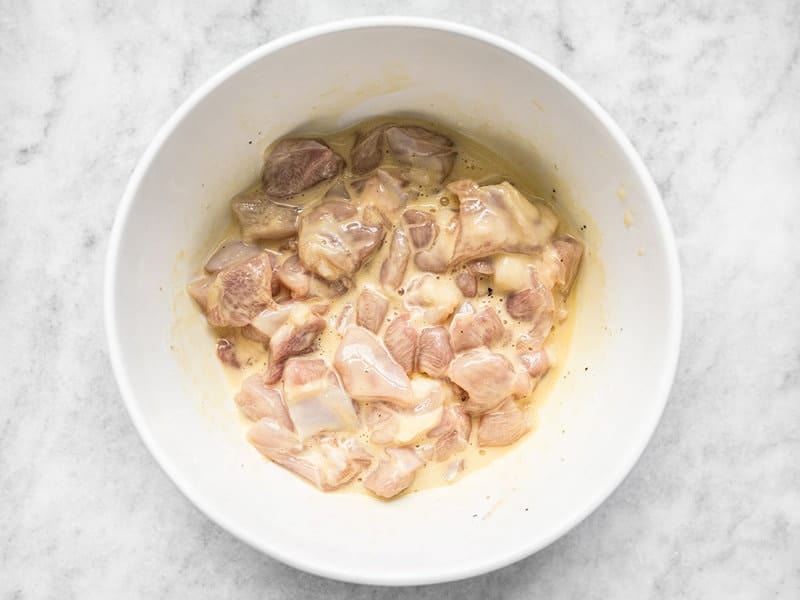
Add the cubed chicken thighs and stir them to coat in the egg mixture.
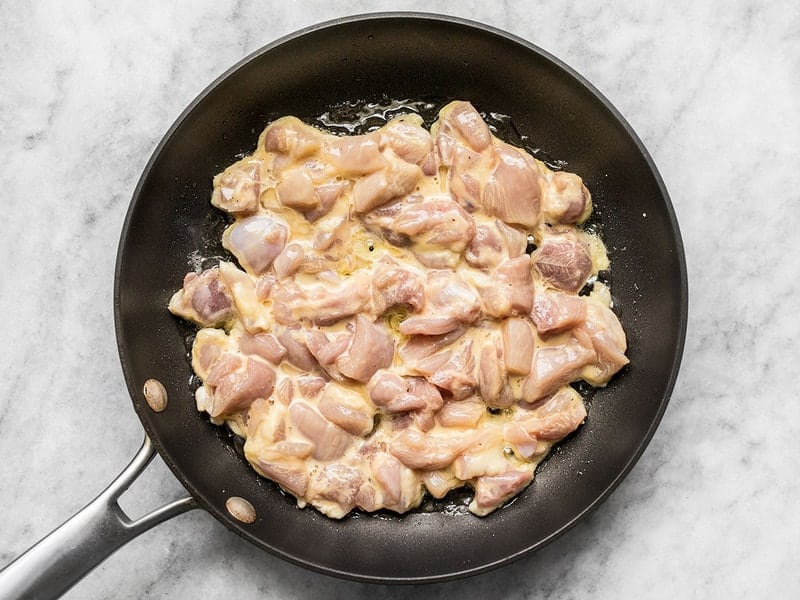
Add 2 Tbsp cooking oil to a large skillet and heat it over medium. Wait until it is very hot. This is VERY important. The skillet must be very hot! Once very hot, swirl the skillet to make sure the oil coats the entire surface, add the chicken, and make sure it’s spread out into a single layer. Let the chicken cook, undisturbed, until golden brown on the bottom. It will kind of cook into a single round pancake, but don’t worry, we’ll break up the pieces next.
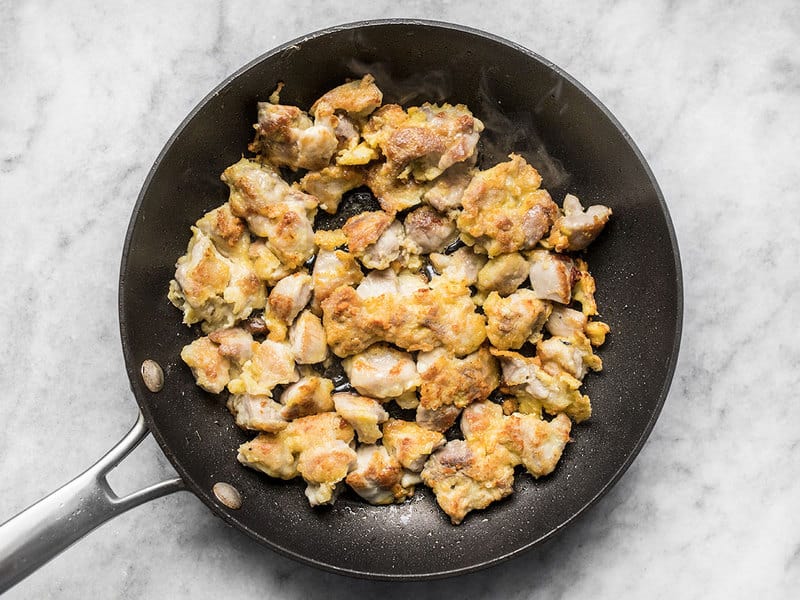
Then carefully flip the chicken pieces, breaking up them up slightly into smaller pieces as you flip. Cook on the other side until browned and cooked through. Make sure to not stir them too much, or you can cause the egg to come off the chicken. You can see that some of the chicken pieces are still kind of stuck together at this point. That’s okay. Just do not over stir.
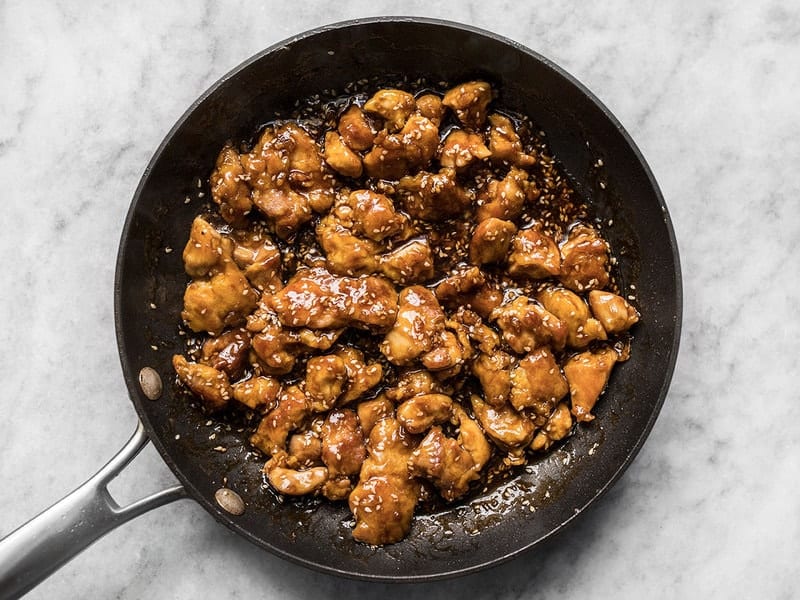
Finally, add the prepared sauce and stir to coat. Continue to carefully stir the chicken as the sauce beings to simmer and thicken. Once it’s thickened, turn off the heat.
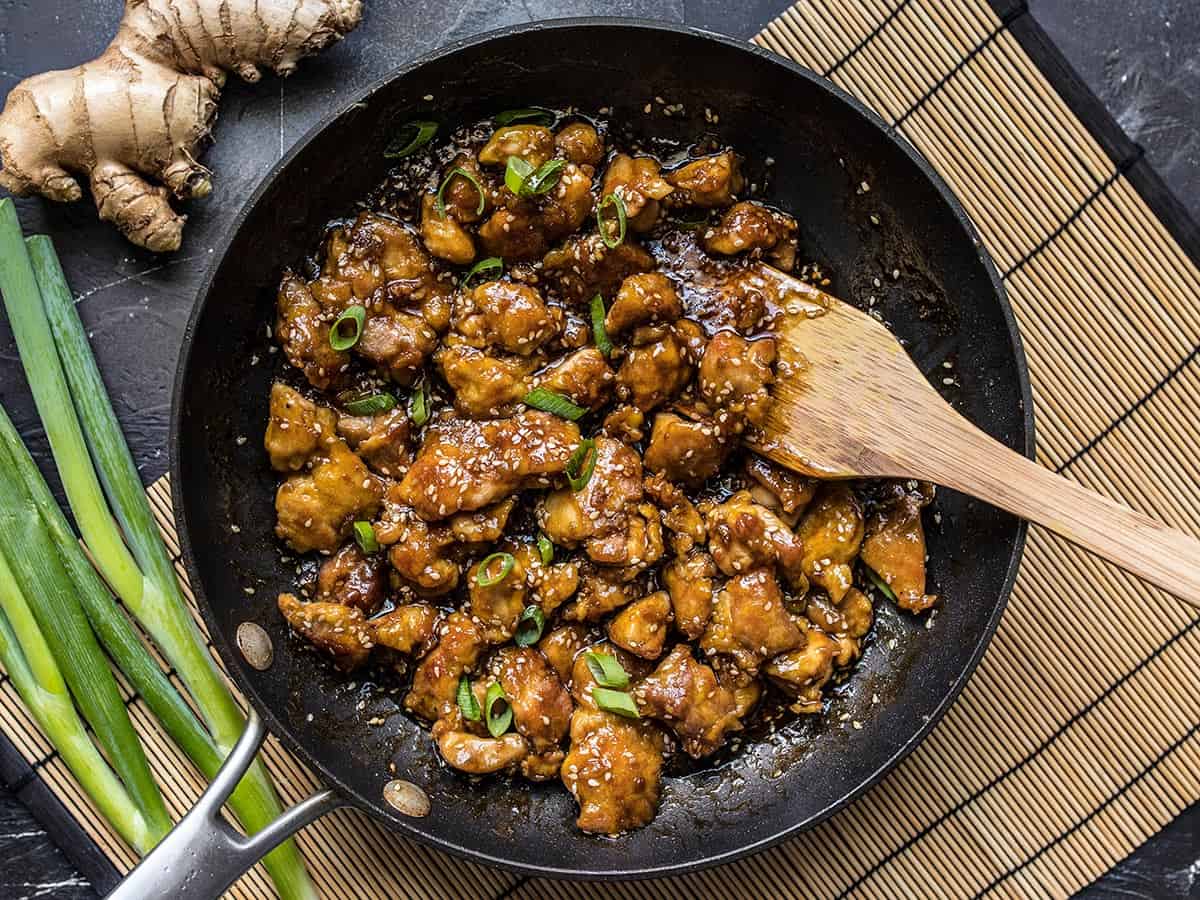
Sprinkle some sliced green onions over top and serve with warm rice. :) Doesn’t get better than this.
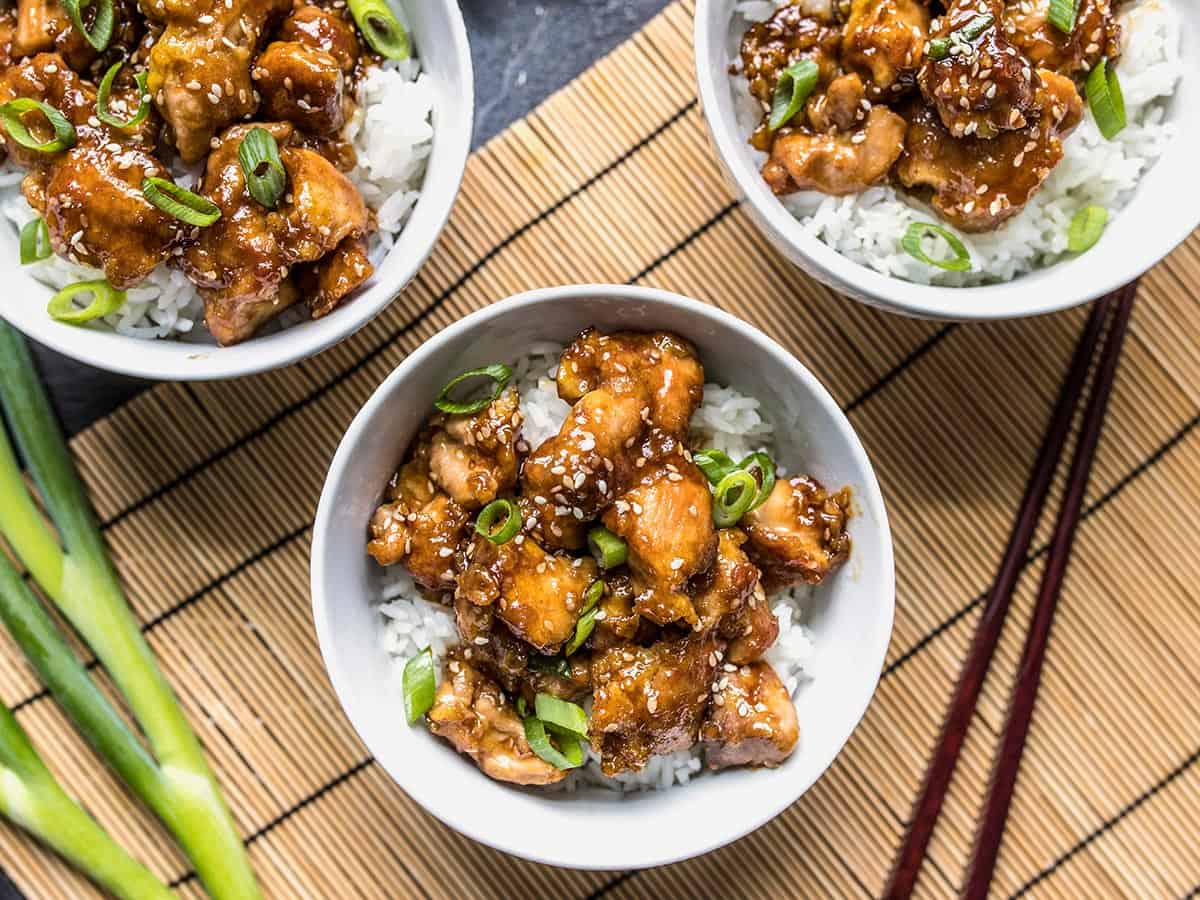
Easy Sesame Chicken – done in about 30 minutes, and NO DELIVERY FEE! :D





Another great recipe from Budget Bytes! Reminded us of the sesame chicken from Pei Wei. Thanks for sharing!
Yummo!!!!
Easy, cheap and delicious recipe. I was able to shave off a dollar by butchering a couple chicken myself. I was really intimidated by cutting up a whole chicken but it wasn’t that bad. Nothing like a couple of YouTube videos to get you through the process. If I can do it, anyone can.
Not sure if you still see the comments on these old pages but I just wanted to let you know how much I appreciate the site. As a young adult male who has never cooked much before and doesn’t have the largest budget to work with, I really love how doable these recipes are.
In my first week of starting to cook for myself, I’ve made black bean quesadillas and this sesame chicken recipe. Despite not being anything close to a great cook, the quesadillas turned out ok and the sesame chicken turned out fantastic. I’m sure I made a few rookie mistakes, but WOW, thank you so much! The sesame chicken I made thanks to you is so amazing. I’m going to enjoy it for the next few days! And in the more distant future of course.
Awesome! That’s what I always hope to hear. :)
I also just want to say thanks.
I love cooking, but on a college budget it can be very challenging. I make this on a weekly basis, I can’t thank you enough :)
I made this last week and it was delicious! We ate all of it and my son was still asking for more of the “yummy chicken” the next day. I’m all about prepping my meals in advance since my husband and I both work. I didn’t see it anywhere else in the comments, so I wanted to share that it works fine to prep the sauce and egg mix a few days in advance (separate bowls of course) to save some time. I was worried that the texture of the egg mix would get funky but after a few whisks it turned out just fine. I think the sauce was even better because the flavors had a chance to blend together. We’re making this again tonight – thank you for the great recipe!
Hi Beth,
Because I only cook for two (and often just for one) I was wondering if this recipe is freezable? At what point would you stop the cooking and freeze, I’m assuming you make the sauce the day of eating.
This one probably wouldn’t be very good for freezing. Cornstarch thickened sauces separate after freezing and the texture of the “breading” would change. You can make the sauce ahead of time and keep it in the fridge for about a week, but overall the recipe is super fast so it’s best to just make it fresh.
Beth do you think cut up rotisserie chicken would work for this, provided I cook in skillet at high temp to brown?
Hmmm, it might work! I’ve never tried the velveting technique (cornstarch and egg) with chicken that is already cooked, but since it’s such a fast cooking process, it might work! If you try it out, let me know how it turns out.
I just tried using cooked chicken, and it came out great! Just be sure not to overcook it, and it should be fine.
Made this tonight. I’m an ijit, and didn’t read all the directions…so, it took longer than it should have, b/c I was browning only a bit of chicken at a time, taking it out, blah blah blah. And, since I double every recipe known to man (7 ppl in the family) that took a bit.
But…oh, but.
Phenominal. Husband hoovered it, kids loved it, and even the not quite one year old needed more!
This was seriously PHENOMENAL. My husband and I were so amazed with how good this was. Honestly, better than take-out and most asian restaurants I have been to (yes, even PF Changs, which I love!) Okay, now on to the tips.
I did double the sauce per the previous comments suggestions. I added a smidge more soy sauce and a less sesame seeds because 2 tbsp was PLENTY for the sauce even when doubled. I also did not pour the chicken into the pan with all the batter. I simply coated it like you would any other fried chicken, placed each piece in the veggie oil and turned them over after about 3 minutes. They did stick together a little (what I am assuming everyone is calling the “omelet” problem) but they broke into individual pieces just fine if you separated them with a spatula. SO. GOOD.
Whoops, forgot one thing! I also omitted the ginger since I simply didn’t have any, and it didn’t detriment the taste in the slightest. (I’m also not a huge fan of ginger in the first place!)
:)
Delicious! Didn’t have a single issue. Used a wok, coconut oil for frying. Added a smidge of crushed red pepper. Awesome. No “omelet” problems.
After reading some of the reviews (which is sometimes helpful to see where others went wrong) I noticed a big problem people had was the temperature of the oil. Keeping this in mind, I got the oil just right and mine turned out amazing!!! Just like the pictures. Next time, I will add some sauted onions to the rice, maybe even mushrooms. I may also make some extra sauce without the cornstarch to drizzle over the dish at the end. All in all, it was GREAT! Better than the Chinese place my husband said :)
I made this recipe once and screwed up the texture because I didn’t follow the directions properly. Nonetheless, it was delicious, but I didn’t feel it had enough sauce. So, this time, I’m going to do it again, and follow the instructions correctly, and double the sauce. I am expecting this to be amazing!
I kind of messed this one up because I had so much chicken and I tried to brown it all together in one skillet instead of batches. Also, I may have had too much batter so it kind of got “omelet-y” I finally started up a second burner and transferred almost half of the chicken to a second skillet. BTW, It took me forever to trim the fat (but then again I had a lot of chicken). And I wish I had minced the garlic and ginger first. I waited too long to do that and I ended up scrambling to get my all my ingredients in. The second skillet came out better but I haven’t attempted this recipe again because I hate the fat trimming and cutting into bite sizes.
You could just use skinless chicken breasts next time.. I love the flavor of thighs but detest the fat trimming too
Finally tried this for the first time a couple weeks ago! I made it in my wok with 3 chicken thighs and ended up with a bit of the “scrambled egg bottoms” other people saw but it tasted delicious. This time I’m using a regular pan and less of the egg mixture and the chicken pieces are looking much better.
Your slow cooker chicken burrito bowls have become like a religion for me, so I tried this for something new. Aside from the fact that I clearly need new sesame seeds and oil (tasted off…just don’t use them enough!) I had a similar “chicken sticking” and “not enough sauce” issue. I didn’t use a nonstick pan, but it looks like you did? Maybe that would help on my next attempt! I liked the taste, though, even with the slightly “off” sesame!