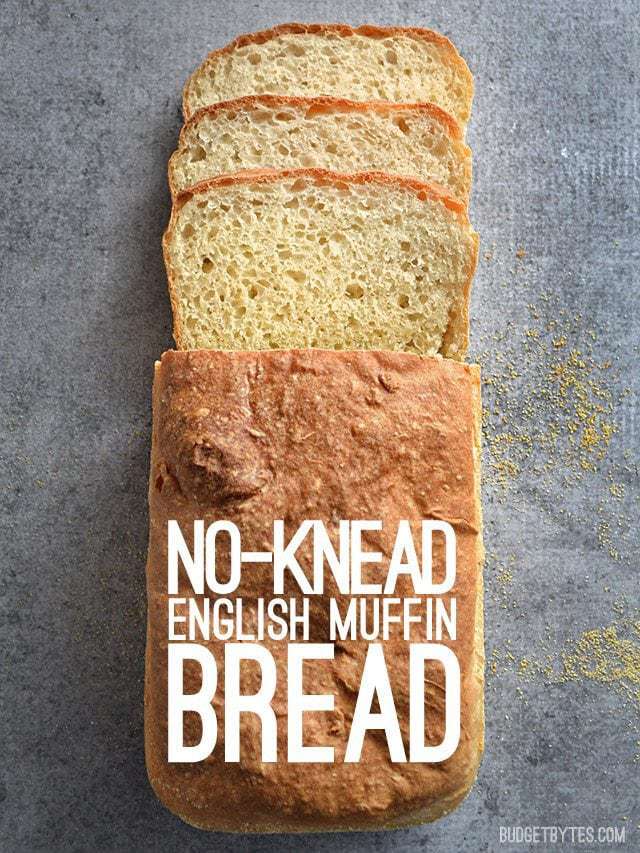
I haven’t baked any bread in a long time, mostly because I don’t eat bread very often lately. I do love to bake, though, so when I came across this recipe for No Knead English Muffin Bread on KitchenParade.com, I knew I had to make it, even if just for fun. If you’re a bread person and eat it often, making your own bread can be a huge money saver. An artisan loaf at the store will run you between $3-$4, but you can make it at home for less than a dollar. If you’re intimidated by baking bread, a “no knead” recipe like this is perfect to get you started and a little more comfortable with the bread making process.
This post contains some affiliate links, which means that we make a small commission off items you purchase at no additional cost to you.
What makes this bread “English Muffin” bread? I dunno, just the heavy coating of cornmeal and delicate crumb, I guess. To me English Muffins are a bit more “eggy”, but this bread is still great all the same. So, we’ll just call it English Muffin bread for fun, deal?
Want to try making regular English Muffins? Check out my Homemade English Muffins recipe!
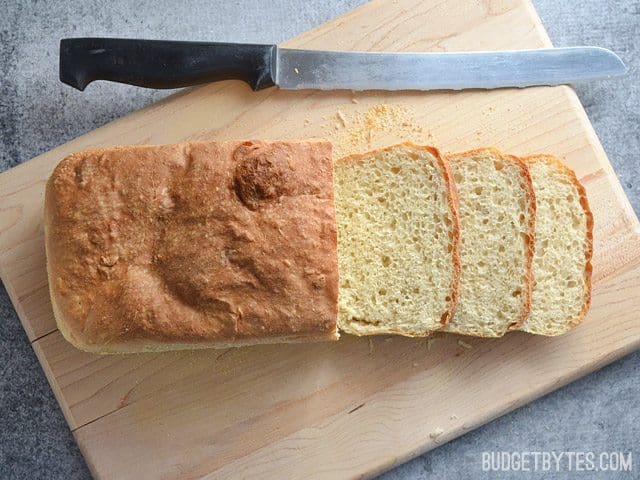
No Knead English Muffin Bread
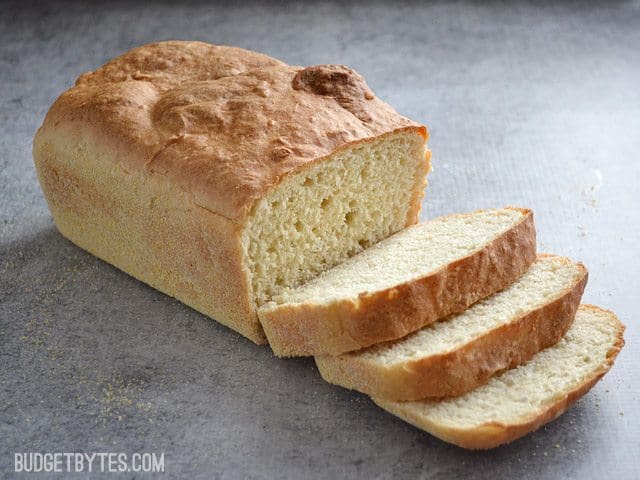
Ingredients
- 2 1/4 cups flour (plus some for dusting) ($0.38)
- 2 tsp (or one 1/4 oz. packet) instant yeast ($0.19)
- 1 Tbsp sugar ($0.03)
- 3/4 tsp salt ($0.03)
- 1 cup warm water ($0.00)
- 2 Tbsp cornmeal ($0.08)
Instructions
- In a large bowl, combine 1 cup of the flour with the yeast, sugar, and salt. Add one cup of warm water and mix with a hand mixer on medium speed for three minutes. Use a timer to make sure it is mixed for a full three minutes.
- Begin to add the remaining 1 1/4 cups of flour, a small amount at a time, until you can no longer use the mixer. At that point, use a large wooden spoon to stir the rest of the flour into the dough. The amount of flour needed may be slightly more or less depending on the moisture content of your flour, but you should aim for a very soft, pliable, slightly sticky dough in the end.
- Coat a loaf pan with non-stick spray, then dust the inside heavily with cornmeal (about 2 Tbsp). Sprinkle a little extra flour onto the dough to keep it from sticking to your hands and mold it into a rough loaf shape. Place the loaf in the pan, cover with a damp paper towel, and let rise for one hour, or until the loaf has risen higher than the top of the loaf pan.
- Preheat the oven to 400 degrees. Bake the risen loaf for 30-45 minutes, or until it sounds hollow when tapped. If the top begins to brown too much before 30 minutes, cover with foil to reduce further browning (I covered mine after 20 minutes).
- Remove the loaf from the pan and let it cool completely before slicing.
See how we calculate recipe costs here.
Nutrition
How to Make No Knead English Muffin Bread – Step by Step Photos
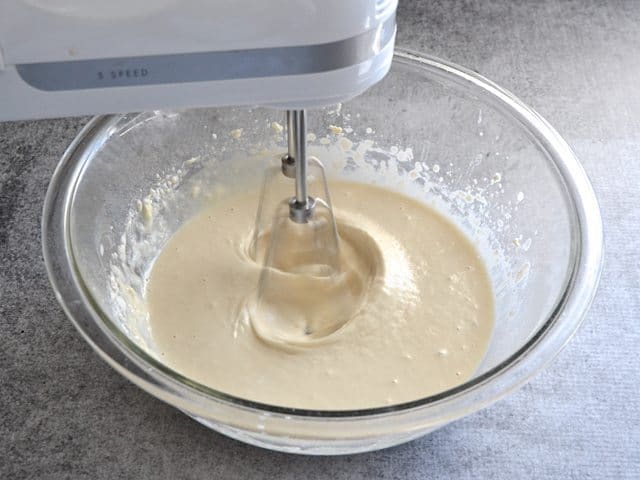
Start by combining 1 cup of flour, 2 tsp instant yeast (or one 1/4 oz. packet), 1 Tbsp sugar, 3/4 tsp salt, and one cup of warm water in a large bowl. Mix the ingredients using a hand mixer set on medium speed for three full minutes. A word to the wise, start the mixer on low then increase to medium once it starts to come together, so you don’t spray flour all over your kitchen. ;) This mixing action partially develops the gluten, which is a substitute for the kneading process.
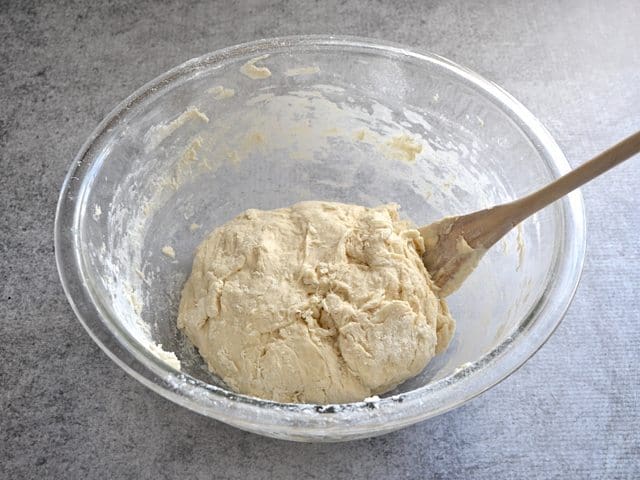
After mixing for three minutes, begin to add the remaining 1 1/4 cups flour, a little at a time. Once it becomes too thick to use the mixer, use a large wooden spoon to stir in the rest. The total amount of flour you need may be slightly more or less, depending on the moisture content of the flour. The end result should be a soft, pliable, slightly sticky dough (no piles of dry flour on the bottom of the bowl).
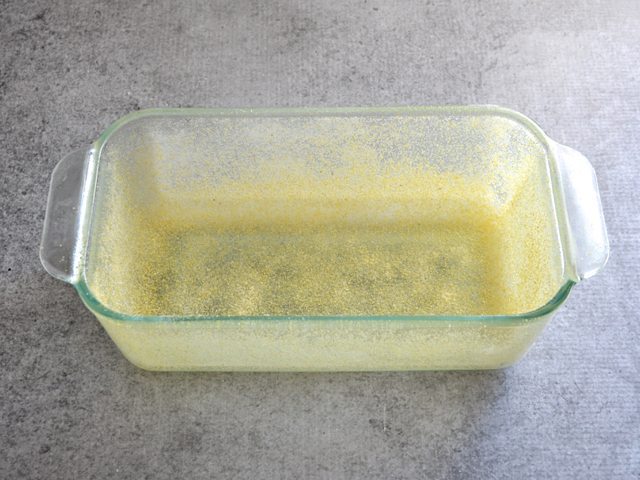
Prepare a loaf pan by coating it with non-stick spray, then using about 2 Tbsp of cornmeal to dust the inside. This creates a nice thick crust of crunchy cornmeal on the outside of the bread—just like an English Muffin!
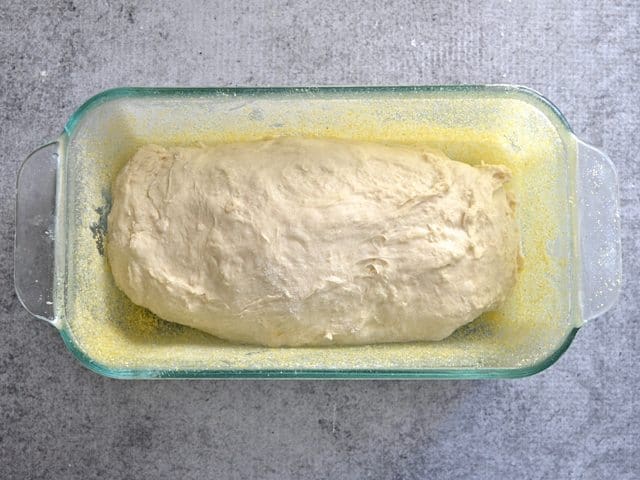
Sprinkle a little flour on the dough and your hands to keep it from sticking, then shape it into a rough loaf. It doesn’t have to be perfect. If you *want* to knead it a couple times, it will make the dough a bit more even and pretty, but it’s not necessary. Place the loaf in the prepared pan.
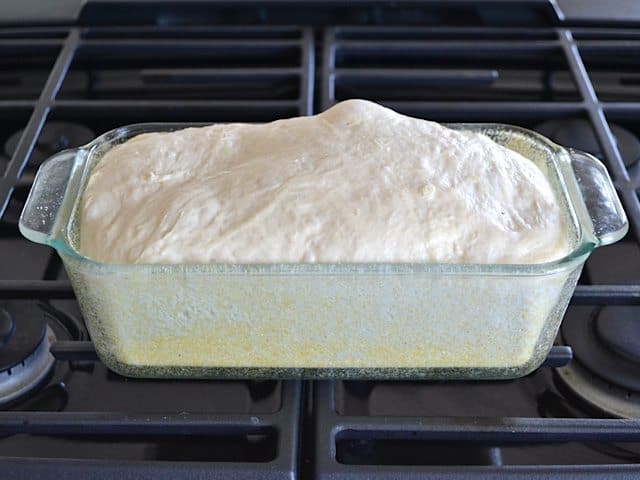
Cover the loaf pan with a damp paper towel and let it rise for one hour or until it rises up out of the top of the loaf pan. I let mine go for about 1 hour and 15 minutes because it was a tad chilly in my house. Again, the lumpy shape of the top can be eliminated by working the dough just a bit before shaping it into a loaf.
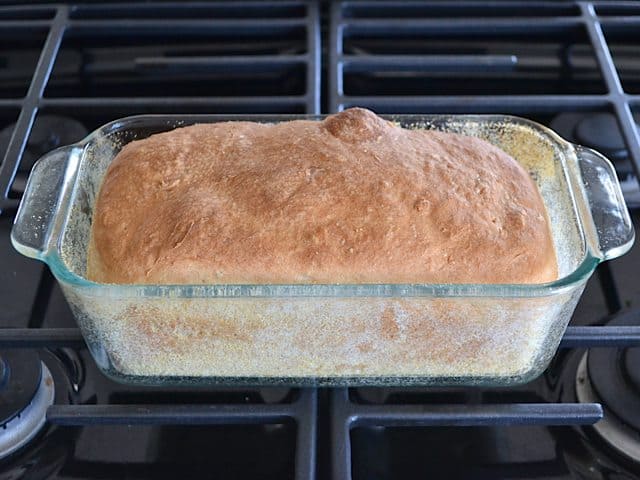
Preheat the oven to 400 degrees, then bake the English muffin bread for 30-45 minutes, or until it’s golden brown and sounds hollow when you tap the crust. If the top begins to brown too fast (it needs to be in the oven for at least 30 minutes), you can cover it with foil to slow the browning process. I ended up adding foil at about the 20-minute mark and baked for 30 minutes total.
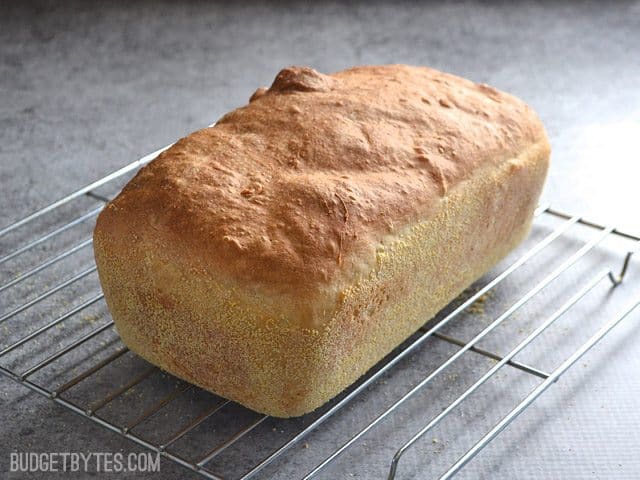
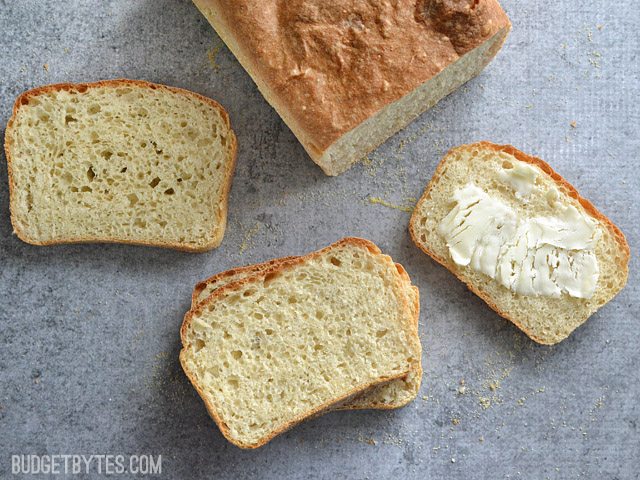
Letting the loaf cool completely before slicing it is one of the hardest things to do, but one of the most important. The english muffin bread is soft and squishy when warm and trying to slice it in that state will tear it apart or flatten it completely. Neither is good. So, let that bread cool!
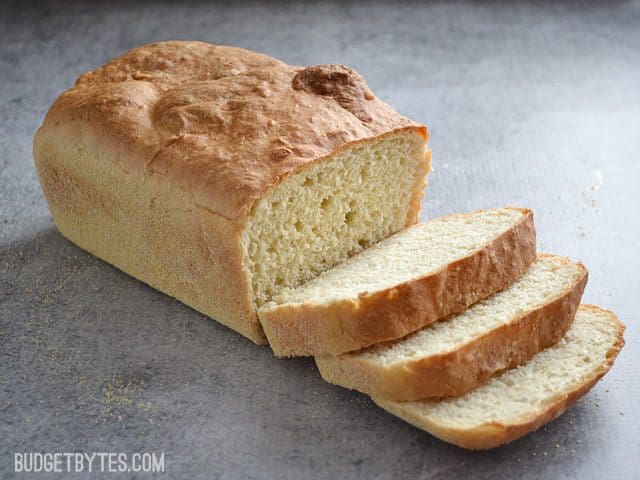
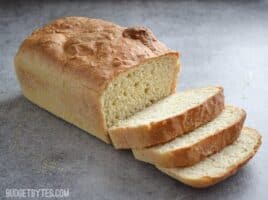
Once it’s cool, slice it, toast it, and slather it up with some butter and jam!
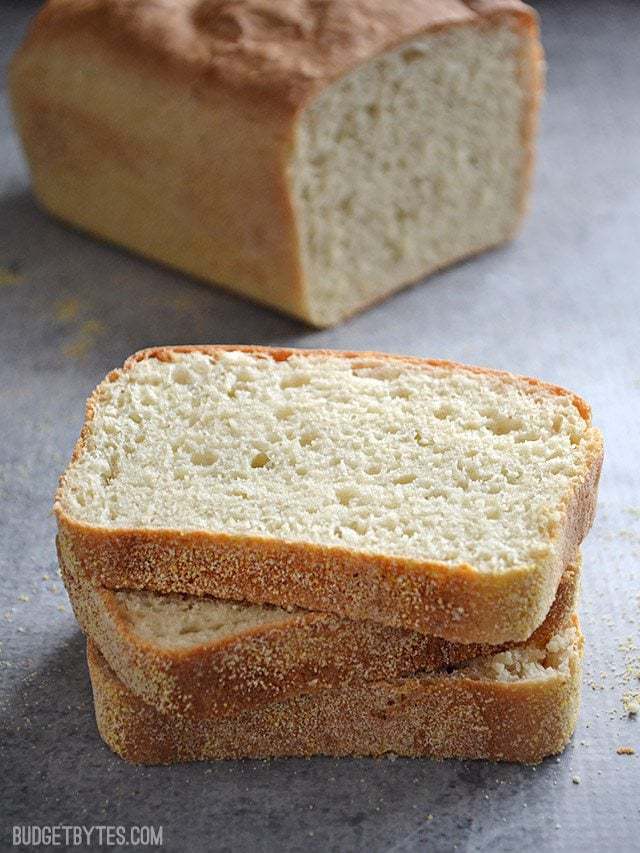
Homemade bread with no fancy machines and no fancy skills needed!


I just wanted to comment to say that I successfully made this with regular dry active yeast — I let the yeast bloom in 1 tsp sugar and 1/4 cup warm water, and then proceeded with the recipe, cutting the 1 cup in the recipe to 3/4 cup. Didn’t rise quite as high, but still turned out delicious!
Omitting the cornmeal on the bottom of the bread won’t change the integrity of the loaf, correct? I just don’t have any on hand right now, but I want to make this!
Correct! :)
I’ve been wanting to make my own bread for some time now. I just picked up a jar of “Traditional Yeast”, not instant. Would this still work?
Unfortunately you need instant yeast for these no-knead breads because they can be added to the flour mixture dry and don’t need to be proofed in warm water first. Traditional yeast needs to be “woken up” by mixing with warm water before being mixed into the dough. :)
I actually use regular active dry yeast for English Muffin bread all the time. I have never had a problem as long as the water/liquid I add is between 110-120F when I add it.
Mine didn’t sound hollow when I tapped it… And I cooked it for 20 mins without foil and about 18 mins with foil wrapped around. What am I doing wrong?! :'( It still tasted great, but I feel like I’m missing something when mine won’t do what it is supposed to do!!!
I’m not sure I’ll be able to diagnose the problem without being there to see it, but did it rise like mine in the photos?
I liked the texture of this bread, nice and airy and light; but it tasted very bland to me. I think because usually no-knead bread is left to sit for a long period of time to let the flavor develop, and this obviously didn’t require that. Maybe letting it sit overnight, then letting proof again in the pan will make it taste better?
You might want to increase the salt a bit. It’s amazing how a small amount of salt can really magnify flavors, especially in bread.
Mine didn’t rise as high as the photo so it was a tad dense but really good.
PS: this is one of the best breads i’ve made! everybody, including my picky hubby, loved it! i’m just now passing it on to a friend who loved it and wants to make some this afternoon.. i doubled the recipe and froze one cut up loaf. it toasts wonderfully, but is great any way. thanks!
Realized we were out of bread and was planning to make post Halloween brunch. This came together quickly and was amazing toasted on a panini press. It didn’t rise as high as the pictured bread but I may have added liquid that was a little warm as I used lactose free milk in place of water. I’ve made a similar recipe before and liked the tenderness the milk gave. I made it in the food processor but would definitely recommend the suggested mixer as the dough is sticky and harder to clean from the processor. Delicious with fried eggs and chicken maple sausage. Will definitely make again- probably this afternoon!
I used my Kitchenaid as my shoulders can’t handle the mixing by hand. Bread rise nicely, but the paper towels stuck to the tops and I’m having to let them rise again since they deflated while getting the paper off. Hopefully, they’ll quickly bounce back. I covered then with Saran Wrap as I do with all my breads. I oiled the wrap so wouldn’t stick this rising
Excellent recipe, directions, and results. I did a couple of things differently: Added a tbsp or two of unsalted butter; mixed everything by hand with large wooden spoon (I most often do that, anyway); baked at 375F for ~45 minutes—no foil needed. Used plain old all-purpose unbleached flour and 5/16 oz (8.75g) Hodgson Mill Active Dry Yeast. This is the best “English Muffin Bread” I’ve come across. About the hand-mixing: that takes a bit of muscle in this case…it’s not like the mixing you do for a quick bread or a cake.
Hi, Beth!
Do you think I could make this in the bread machine on the “dough” cycle, then proceed at step 3?
Hmm, honestly I’ve never used a bread machine, so I’m not sure. :(
Maybe if anyone has tried it they can let us know! If I give it a whirl I will post results.
Thanks for great ideas!
would this taste like sort of a rye bread if caraway seeds were added?
Probably, but I haven’t cooked with caraway, so I don’t know the best way to add them.
I love this bread! I make it all the time, and we use it for everything. I started making it because it’s not very demanding, and I have a new baby to focus on. I always double this recipe…sometimes I’ll do two double batches to stock my freezer and make the next few weeks even easier. That all depends on Baby’s napping! It’s easiest to slice just right after it’s been in the refrigerator for some time. Thank you for this recipe!!!!
Thanks for this recipe! I’ve got a 7mo to keep up with, and this is so quick, easy, and good! I doubled the recipe because fresh bread is devoured fast in our house. Now it’ll be a regular for us, just like your no knead pizza dough! Thank you!!!!
Breads are always fun. The first yeast bread I ever made came from a recipe in “Steal This Book” by Abbie Hoffman. In your recipe you go so far as to add the costs for water and the dusting of cornmeal but you don’t include the cost for the non-stick spray. It may be negligible but something that must be purchased none the less.
Have made this 3 times now, have yet to find my cornmeal so I just lightly grease and flour my silicone pan. Fabulously easy, which makes it dangerous….
I did remember my husband brought home Bread flour by mistake one time so switched to that too and found it needs more water (a teaspoon at most) to have it bind and rises a bit higher.
I find it is finished baking and perfectly brown in 20 minutes; don’t know if that is silicone related, but the fact that I can have fresh bread in an hour and a half is amazing.
Moving on to the soft pretzel recipe next.