Desperate times call for desperate measures. There’s nothing quite like a perfectly light, chewy, and crispy traditional pizza crust made with yeast, but right now we have to make do with what we’ve got and for many, yeast is hard to come by! And I don’t know about you, but I’m definitely not going to give up my beloved pizza just because I can’t find any yeast at the store. 😅So for the time being I’m making this super fast and easy No-Yeast Pizza Dough to get my fix. Make sure you scroll down and read about the differences between yeast and no-yeast dough to get a better idea if this type of dough will work for you!
This post contains some affiliate links, which means that we make a small commission off items you purchase at no additional cost to you.
What is No Yeast Pizza Dough Like?
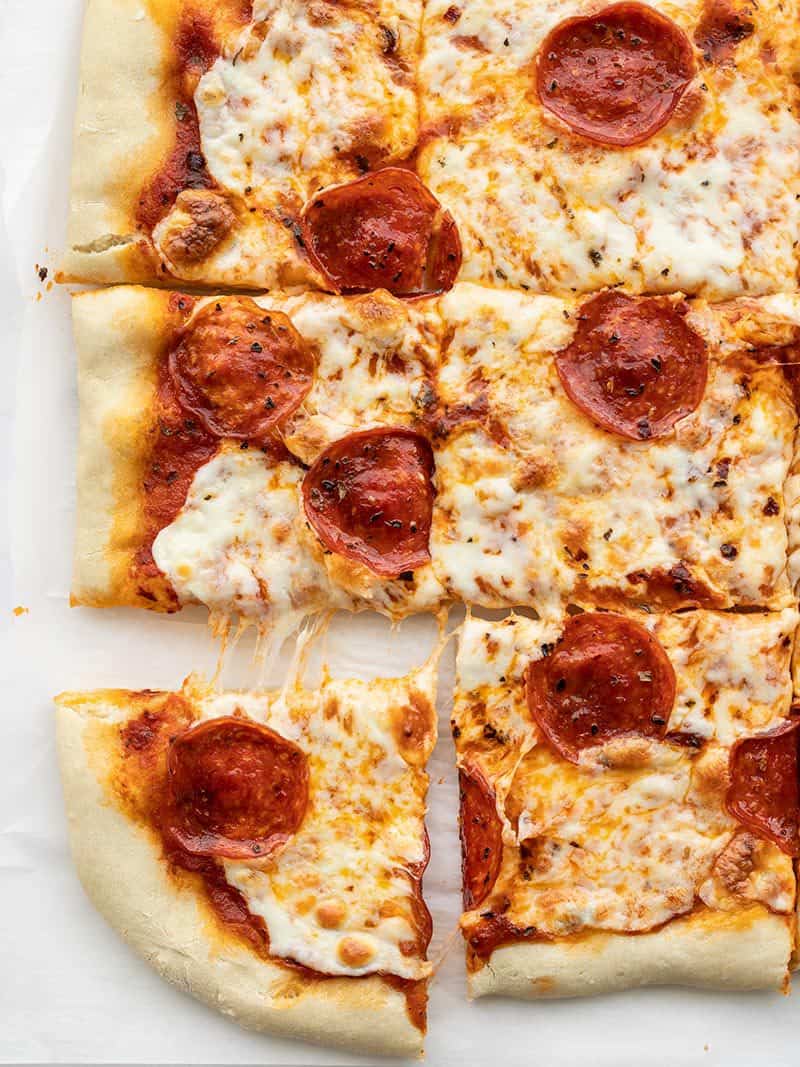
It’s important to understand that no-yeast pizza dough is not exactly like a traditional pizza dough made with yeast. No-yeast pizza dough does not go through a lot of kneading and rising, so it has a softer, fluffier, less chewy, and more bread-like texture. It’s not super crispy, it does not make those big delicate bubbles on the edges, and it doesn’t get very brown. It kind of reminds me of the old-school Dominos crust before they revamped their recipe, or some of the thicker-crust frozen pizzas. So, if you are a fan of either of those types of crusts, you might like this one as well!
Looking for a more traditional pizza dough recipe? Check out my classic Homemade Pizza Dough or Thin & Crispy Pizza Crust.
How Does No Yeast Pizza Dough Rise?
Instead of gas bubbles produced by live yeast, this pizza dough rises through gas bubbles produced by baking powder. Baking powder requires both water and heat to react, so you won’t see this dough rising as it sits at room temperature. That’s one of the great benefits of this no-yeast pizza dough—there’s no need to sit and wait for it to rise. Once it goes into the hot oven, then it springs into action!
Should I Hand Stretch or Roll Out the Dough?
As with most pizza doughs, using a rolling pin is a little easier, but it does create a flatter, more dense baked crust. If you gently stretch the dough by hand, more of the air bubbles are preserved in the dough and you’ll get a slightly more airy crust. So, take your pick based on your preferences!
What Kind of Pan Should I Use?
I baked the pizza below on a sheet pan lined with parchment because on this day I was favoring convenience over texture. A parchment lined sheet pan produces a softer bottom crust, but makes cleanup super easy. If you bake on a perforated pizza pan or a pre-heated pizza stone, you’ll get a crispier bottom crust, but you’ll need to take extra care to prevent the dough from sticking (a good dusting of flour or cornmeal under the dough).

Want some pizza topping ideas? Try my White Pizza with Parsley Pesto Drizzle, Eggs Florentine Breakfast Pizza, or Garlicky Kale and Ricotta Pizza.
No-Yeast Pizza Dough

Ingredients
- 2 cups all-purpose flour ($0.61)
- 1 Tbsp baking powder ($0.12)
- 3/4 tsp salt ($0.03)
- 1 Tbsp olive oil ($0.16)
- 1 cup water ($0.00)
Instructions
- Preheat the oven to 425ºF. In a large bowl, stir together the flour, baking powder, and salt.
- Add the olive oil to the water, then pour them both into the bowl with the dry ingredients. Stir until a shaggy ball of dough forms and no more dry flour remains on the bottom of the bowl. If the dough does not come together in one piece or there is still dry flour in the bowl, add a small amount of water (1 Tbsp at a time) until the dough comes together.
- Turn the dough out onto a clean, lightly floured surface and knead just a few times, or until the dough feels evenly mixed (no hard or dry pieces). Let the dough rest for about 5 minutes to relax the gluten.
- Stretch or roll the dough out into your desired shape, making sure not to stretch it to less than ¼-inch thick.
- Place the dough on your preferred pan (prepared with either parchment or a good dusting of cornmeal or flour), then top the pizza with your favorite sauce and toppings. Bake the pizza for about 15 minutes, or until the cheese is melted and slightly browned on top. Slice and serve immediately.
See how we calculate recipe costs here.
Equipment
- Splatterware Sheet Pan
- Parchment Paper
- Rolling Pin
- Liquid Measuring Cup
Notes
Nutrition
Scroll down for the step by step photos!
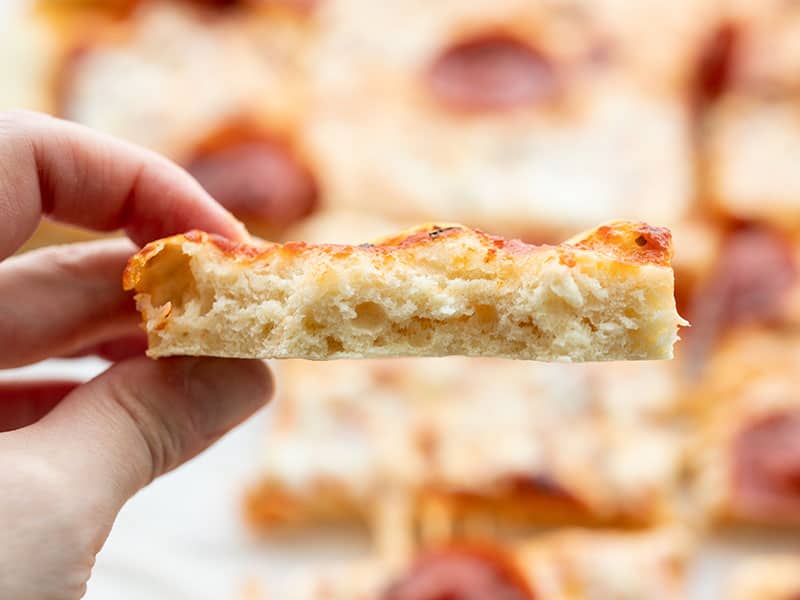
I thought you might like an inside look at the texture of this no-yeast pizza!
How to Make Pizza Dough Without Yeast – Step by Step Photos
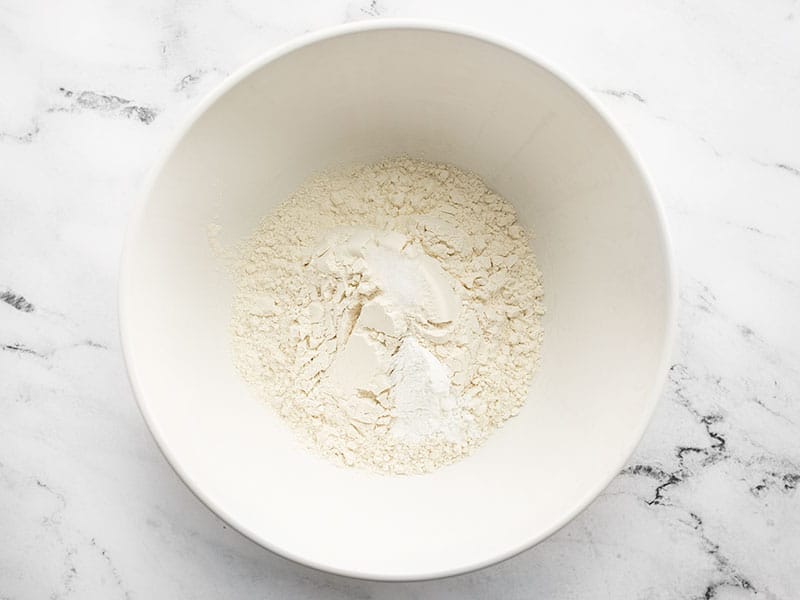
Preheat the oven to 425ºF. Add 2 cups all-purpose flour, 1 Tbsp baking powder, and ¾ tsp salt to a large bowl. Stir until these ingredients are well combined.
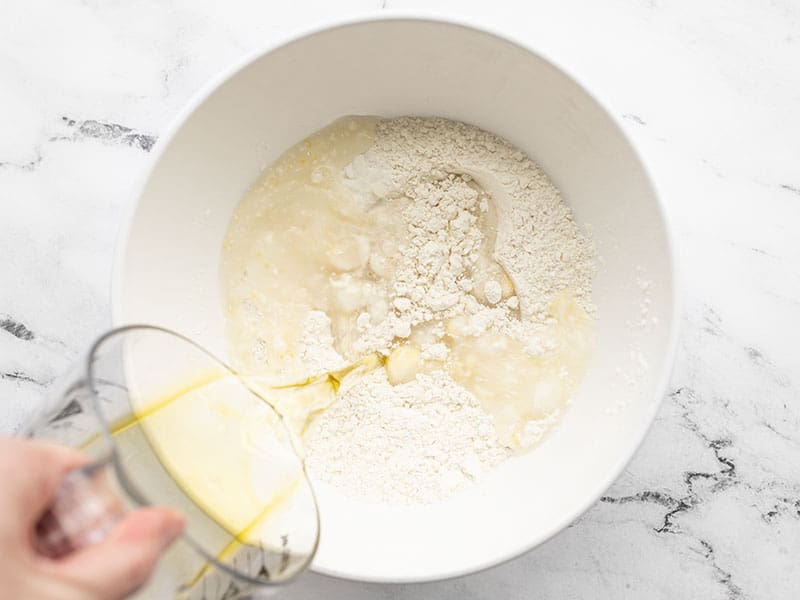
Add 1 Tbsp olive oil to 1 cup water, then pour them into the bowl of dry ingredients.
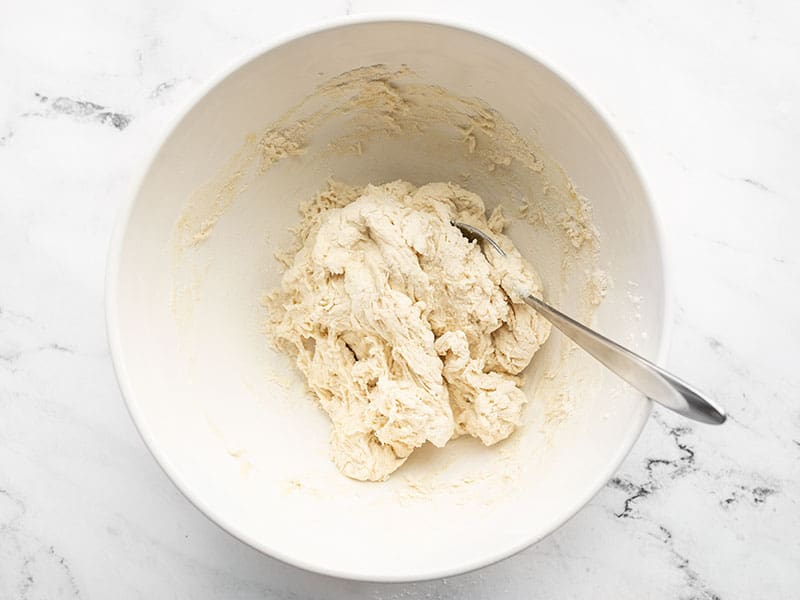
Stir the ingredients together until they form a shaggy ball of dough and no more dry flour remains on the bottom of the bowl. If the dough is too dry and does not come together in one piece or there is a lot of flour left on the bottom of the bowl, add a little more water (1 Tbsp at a time), until the dough comes together.
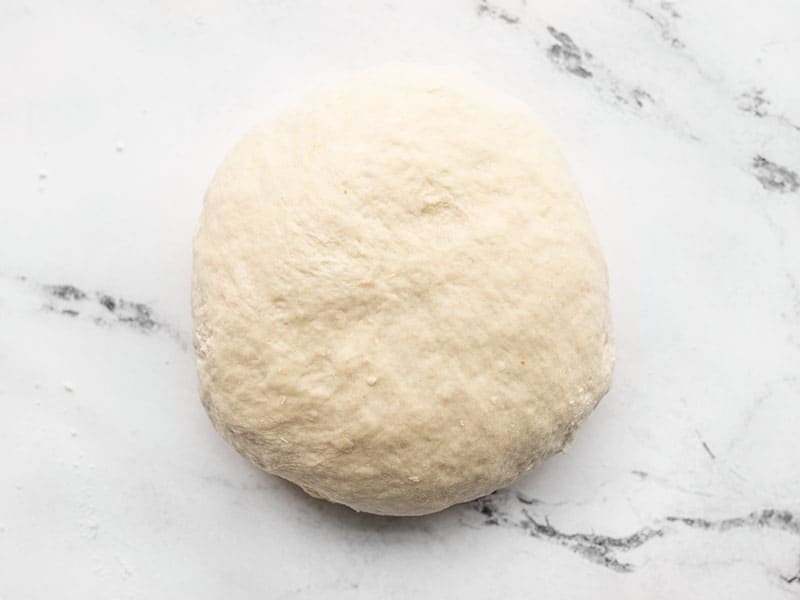
Turn the dough out onto a clean, lightly floured surface and knead just a few times until the dough feels evenly mixed (no hard or dry pieces). Let the dough rest for about 5 minutes so the gluten relaxes, which makes it easier to roll or stretch out.
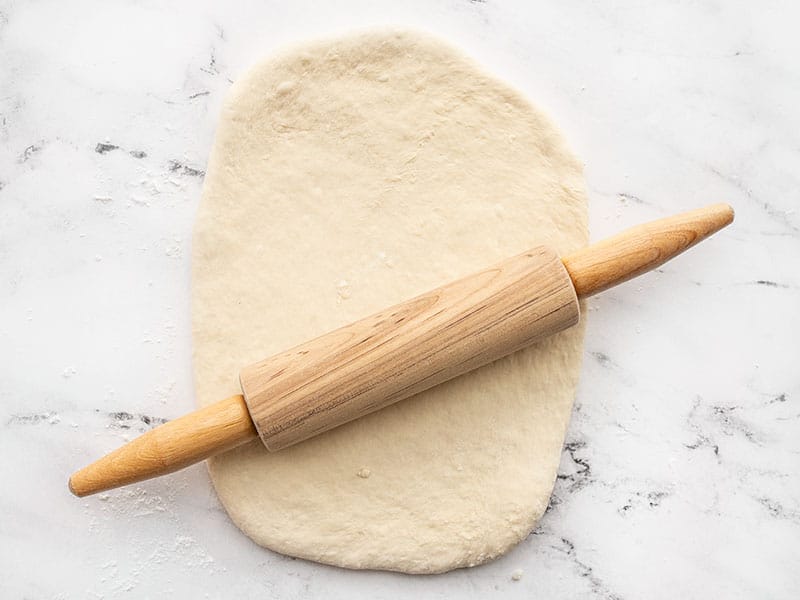
Roll or stretch your dough out to the desired shape or size, making sure not to stretch it to less than ¼-inch thick. Remember, while rolling is easier, it produces a flatter slightly more dense dough. Stretching makes a slightly lighter, fluffier crust. I rolled my dough about half way, then hand stretched the rest of the way.
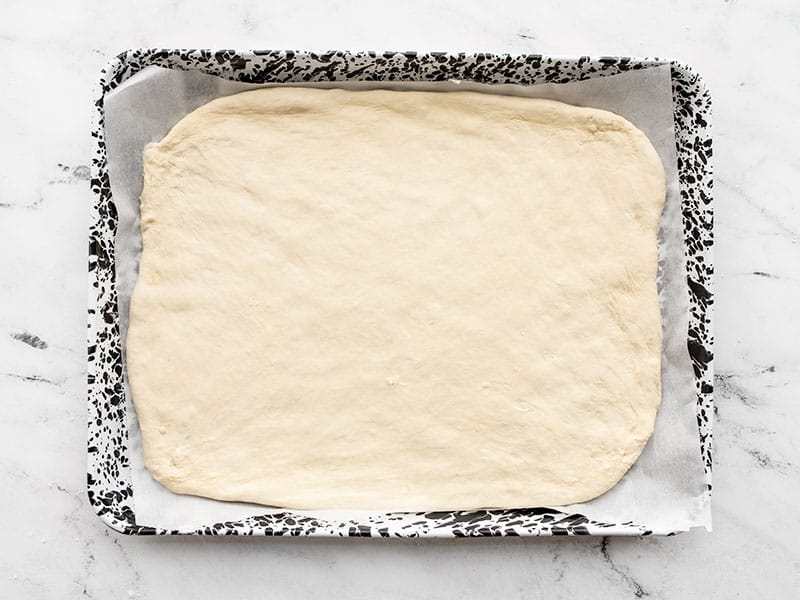
Transfer your dough to your preferred type of pan (notes on the results you’ll get from different pans is above the recipe). I used a parchment-lined sheet pan, which will result in a softer bottom crust, but is waaaaay easier to clean up.
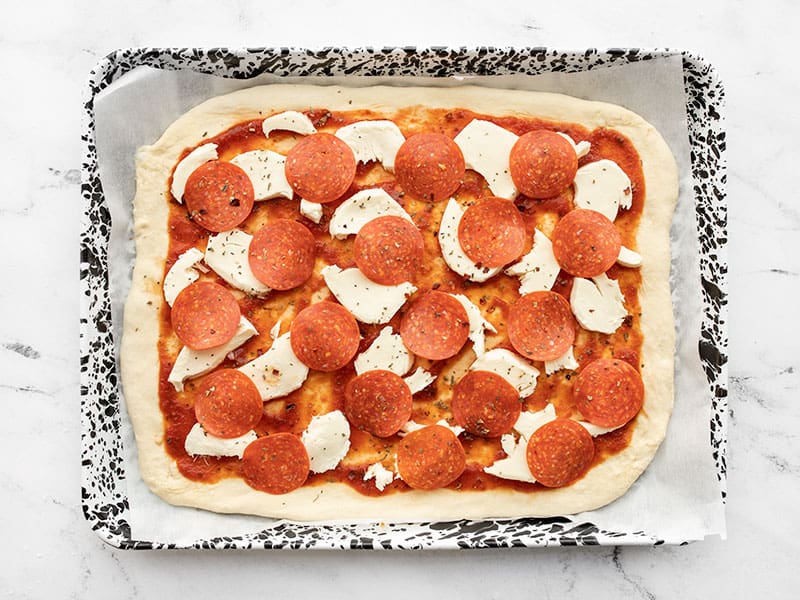
Add your preferred sauce and toppings (Homemade Pizza Sauce, fresh mozzarella, pepperoni, dried oregano, and crushed red pepper in photo above).
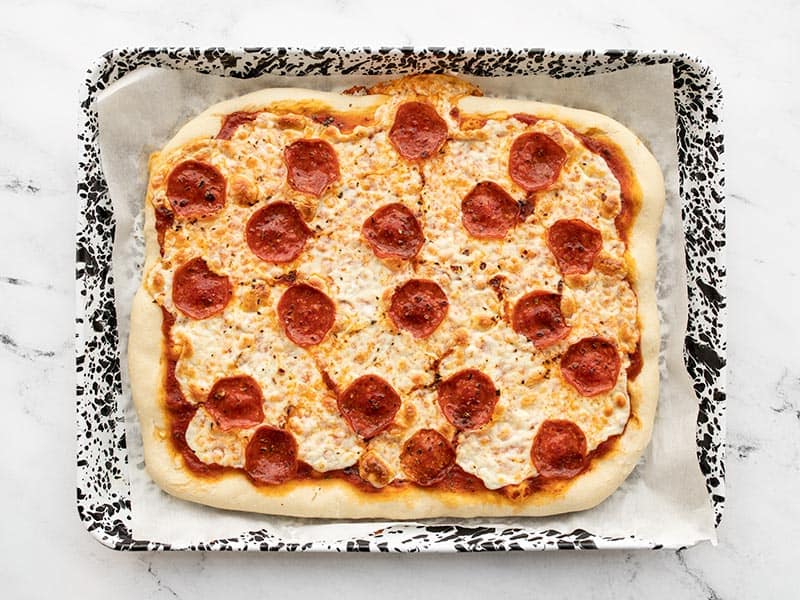
Bake your pizza for about 15 minutes, or until the cheese is melted and slightly browned on top.

Slice and serve immediately! 🍕🍕🍕


I’ve been looking for a nice thick crust dough recipe.
If I leave the dough an inch or so thick, will it work?
That may affect the cooking time. I’d need to try it first before letting you know for sure. :)
This is a base I use, it came out VERU sticky and wet the first time I made it (I don’t think I used liquid measure tho), second time I had the same problem even when measured right. I found 2.5 cups of flour works really well for me and I add garlic powder, Italian seasoning (or whatever herbs of the sort you like) and personally love black pepper so that’s definitely added lol as well as the Parmesan cheese you get in the shaker containers. I had looked into what helps yeast less dough be more palatable as it’s definitely not the same and that’s the advice I got. Hence why I said “base” and not follow to the tea. I just added flour till it felt right the first time. But I do make this pretty regularly! Only doin three due to how much I’ve found altering it helps.
Can I use Bob’s 1 to 1 gluten free flour in place of the all-purpose flour?
Unfortunately, I haven’t worked with that flour, so I’m not sure how it would perform in this recipe.
As a new cook, it seemed fun to try out some recipes on the web. This however, in my humble opinion, left me with a dirty taste in my mouth. The sticky, raw taste that was supposed to be a normal pizza crust, albeit without yeast, lingered for several dirty hours in the crevices of my mouth. This is why I give the recipe 1 star, although.. you know
Dough is so sticky you can’t work with it
I made this two different times. The first it came out more of a viscous liquid than a dough and spread beyond where I’d floured the pan. The second I halved the recipe but made no other changes and it was a dough. What the heck? It was delicious both times, but I’d like to know what the change was because it was extremely convenient to just pour it on the pan without needed to knead or stretch it. Maybe the water temperature or something?
It sounds like you don’t have quite enough flour or are adding too much liquid. I would guess it’s a difference in how you are measuring out the ingredients. (Take care to use measuring cups for the flour and a liquid measuring cup for the water.) To fix it, I’d suggest using the step-by-step process shots as a visual guide. Also, rather than adding all the water/oil at once, add about 3/4 cup and mix as well as you can. Then add the rest in a tablespoon at a time until it looks like Beth’s. Alternatively, if you add all the liquid and it still ends up too wet and spreads too much, you can knead in a little extra flour until you get what you’re looking for! I hope that helps. ~ Marion :)
I ended up with a very wet dough also, even using a liquid measuring cup and dry measuring cup as needed. I’m letting it rest after adding more flour and a bit of basil and garlic powder just in case the extra flour affects the intended taste. We’ll see how it goes!
I’ve made this recipe probably 50 times since it was posted! Always so good and one of my go-to’s. Thank you for coming up with this!! I sometimes use half whole wheat flour which is yummy, or add herbs de Provence or other spices to the dry mixture. Also, if you make the dough then refrigerate and roll out the next day, it’s easier to handle and you can get it really thin (and make two pies with one recipe). Love this!!
Quick, easy and delicious.
I tried this recipe since the grocery was out of the Chef Boyardee pizza kit I usually use. The taste is almost identical! It totally stuck to my sheet pan since I didn’t use parchment paper though so next time I might spray the sheet pan with cooking spray. As far as stretching it, it’s a lot easier if you pour some olive oil on your hands and rub them together before trying to get the dough in place on the pan.
I made this less than a few hours ago and I loved how it turned out. I was just wondering if I could make the dough ahead of time and freeze it?
You can absolutely freeze it while it’s raw. You’ll want to lightly grease the inside of a freezer bag, place the dough inside, and squeeze out as much air as possible before sealing. However, for ease of use and the best results, I recommend rolling it out and par-baking it before freezing. Roll the dough out on parchment paper, and par-bake on a sheet pan at 450 degrees Fahrenheit for about 5 minutes. Cool the parbaked crust on a wire rack. You can even add toppings at this point and make a full-on frozen pizza. Place the cooled par-baked crust (or pizza) in the freezer for an hour or two. Once it has frozen solid, wrap it in plastic, and then again in aluminum. Use within three months. XOXO
Wow! This was so easy and delicious! We typically go to a local pizza place on Fridays. However, we were just pounded by the winter storm that hovered over Ohio for almost three days. Not only are all restaurants closed, but it’s illegal to be in the roads now. Translation? We have to make due with what’s in the pantry! I also made your pizza sauce, which smelled devine while it simmered. Thank you for such delicious, easy recipes that don’t require special ingredients.
Thanks for the info Karen!
Can you freeze this pizza crust
I haven’t actually tried to freeze this type of crust before, so I’m not sure.
We discovered my husband can’t tolerate any yeast a couple years ago and it’s created a real challenge with burger and pizza recipes and restaurants. And gluten-free doesn’t cut it… so I learned one excellent pizza dough recipe, (very similar to your naan recipe), but I don’t always have greek yogurt on hand… This recipe solves that problem! I don’t know why I didn’t discover it sooner… I must have been distracted by some big even happening around that time ;)
Very good!! Followed recipe exactly. Makes in no time at all. Will be making this again. Thank you😊
Good recipe – thanks for the alternative to yeast pizza dough. This is quick and easy to throw together for a weeknight dinner.
I added a sprinkle of garlic powder and 1/2 Tbl nutritional yeast to the dough to add a bit more flavor and it turned out well. I also used 100% white whole wheat flour with the same ratios in this recipe, which worked pretty well.
I made this almost every week this spring and keep coming back to it. My favorite quick recipe for a great easy pizza! Thanks!!
Great recipe. Very quick and tasty. The only thing I will do next time is to pre bake the crust a bit in order to get a crispier crust.
Sorry tried this Recipe…. I find the bottom doesn’t brown… no taste in the dough…made another dough with yeast and was way better.