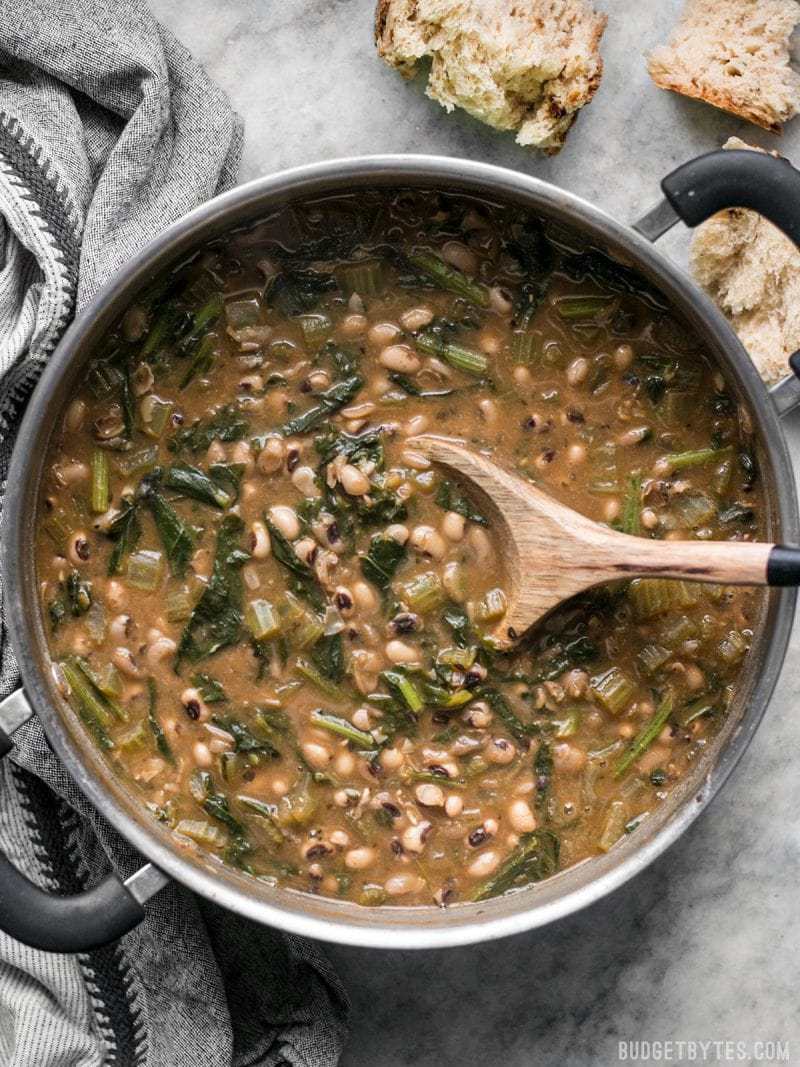
Oh, January. You fill me with such conflicting emotions. It’s so cold and grey outside, so I want to eat nothing but comfort foods, yet my brain is screaming, “New year, new you!” Haha! I want to eat healthy, but I also want something that will make me feel warm and full. These Slow Simmered Black Eyed Peas and Greens did both. #win
This post contains some affiliate links, which means that we make a small commission off items you purchase at no additional cost to you.
Total Comfort Food
There’s something ultra comforting about having a pot of savory goodness simmering on the stove all afternoon. So even before I got to dive into a bowl of these slow simmered black eyed peas this afternoon I was feeling extra cozy, despite the grey drizzle outside my window. These peas are an all day event, so make a big pot of them on the weekend as you take care of your chores, lounge in your PJs, or just hang out with your loved ones, and you’ll not only be making yummy food for the week, but cozy memories of “home” on cold winter days.
Goes great with No Knead Bread.
How to Serve Your Black Eyed Peas with Greens
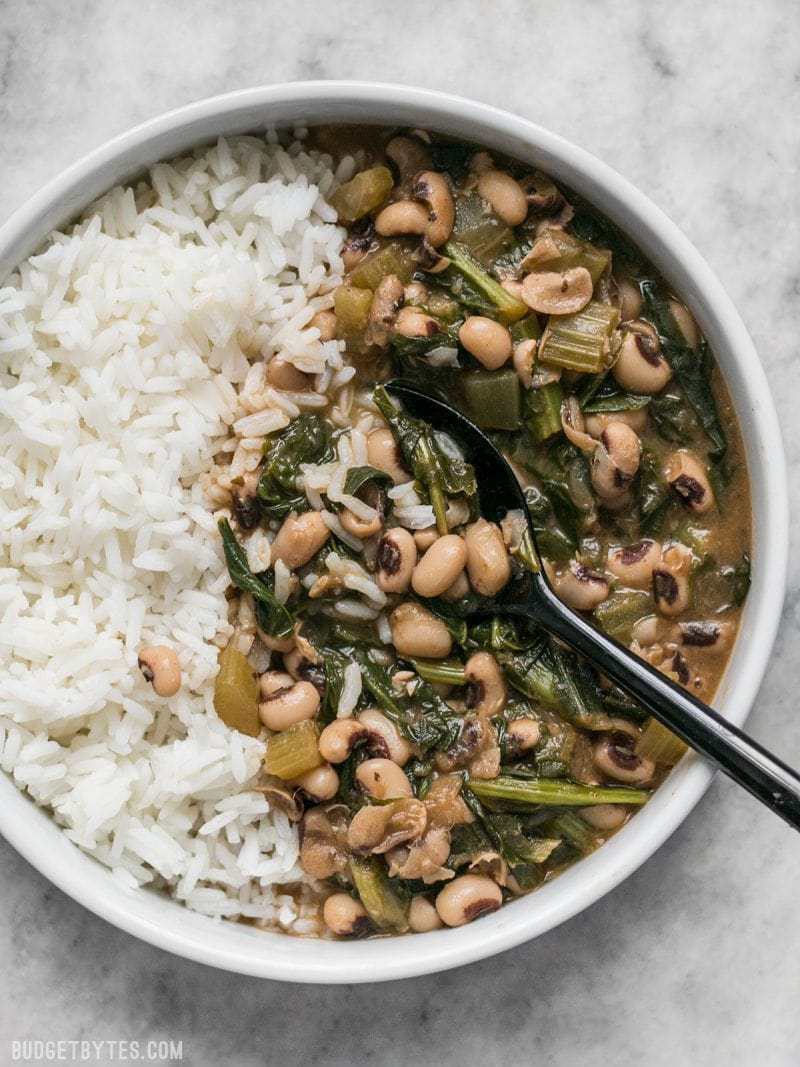
You can serve these slow simmered black eyed peas and greens almost like a thick soup with a piece of crusty bread for dipping, or with some cooked rice scooped into the same bowl to soak up all the delicious liquid. Or, keep it simple and just crumble some salting crackers into your bowl. This is easy food. No rules.
What Kind of Greens to Use
I used mustard green as the “greens” in this dish because that’s what was available at the store, but you could use just about any hearty green, like collard greens or kale. You could use spinach, if you prefer, but definitely wait to stir them in at the end because they are much more delicate and don’t need to simmer to soften.
Can I Use Canned Peas?
The recipe below is written for using dry beans, which require a lot more liquid and a much longer cooking time than canned peas. BUT, I know a lot of people don’t have the amount of time needed to dedicate to dry beans, so I also have a “quickie” version of this recipe that uses canned black eyed peas. Check out my Quickie Black Eyes Peas and Greens recipe for instructions.
Slow Simmered Black Eye Peas and Greens
Ingredients
- 1 lb. black eyed peas (dry) ($1.69)
- 2 Tbsp olive oil ($0.26)
- 1 onion ($0.32)
- 3 cloves garlic ($0.24)
- 1/2 bunch celery ($0.70)
- 1 tsp oregano ($0.10)
- 1/2 Tbsp smoked paprika ($0.15)
- 1/4 tsp cayenne pepper ($0.02)
- Freshly cracked pepper ($0.05)
- 1 bay leaf ($0.15)
- 6 cups vegetable broth ($1.28)
- 12 oz. fresh greens* ($2.00)
Instructions
- The night before, place the black eyed peas in a large bowl or container and fill with cool water (there should be at least three times as much water as peas). Allow the peas to soak overnight in the refrigerator.
- When you’re ready to begin cooking, add the olive oil to a large pot. Dice the onion, mince the garlic, and slice the celery. Add the onion, garlic, and celery to the pot and sauté over medium heat until the onions are transparent.
- Drain the soaked peas in a colander and rinse them with cool water. Add the rinsed peas to the pot with the vegetables. Also add the oregano, smoked paprika, cayenne pepper, some freshly cracked pepper (about 20 cranks of a pepper mill), bay leaf, and vegetable broth. Stir to combine.
- Add a lid to the pot, turn the heat up to high, and bring the pot to a boil. Once it reaches a boil, turn the heat down to low, and allow it to simmer for 1 hour.
- After one hour of simmering, the black eyed peas should be tender. Add the greens to the pot and stir them in until wilted. Smash some of the peas against the side of the pot as you stir to help thicken the liquid.
- Turn the heat up to medium to bring the pot back up to a simmer, and allow the peas and greens to simmer for 30 minutes more, without a lid. After simmering for 30 minutes, the greens should be tender and the peas should have broken down further and thickened the liquid even more. Taste the peas and add salt to your liking (I added about 3/4 tsp, but the amount needed will depend on the salt content of your vegetable broth). Serve with crusty bread or over rice.
See how we calculate recipe costs here.
Notes
Nutrition
How to Make Black Eyed Peas and Greens – Step by Step Photos
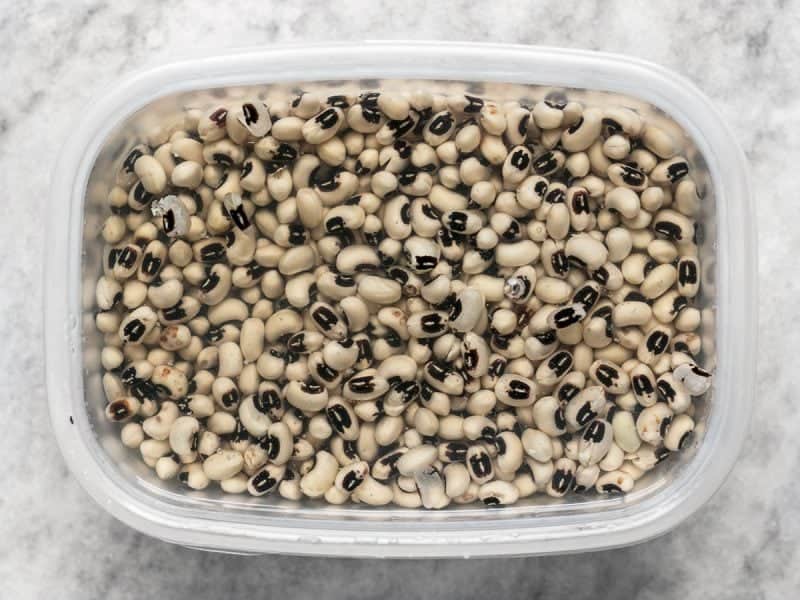
Begin the night before by placing 1 lb. black eyed peas (dry, uncooked) in a large bowl or container and filling it with cool water. You’ll want at least three times as much water as peas because they’ll soak up quite a bit! Soak the peas in the refrigerator overnight. This photo is after they had soaked overnight.
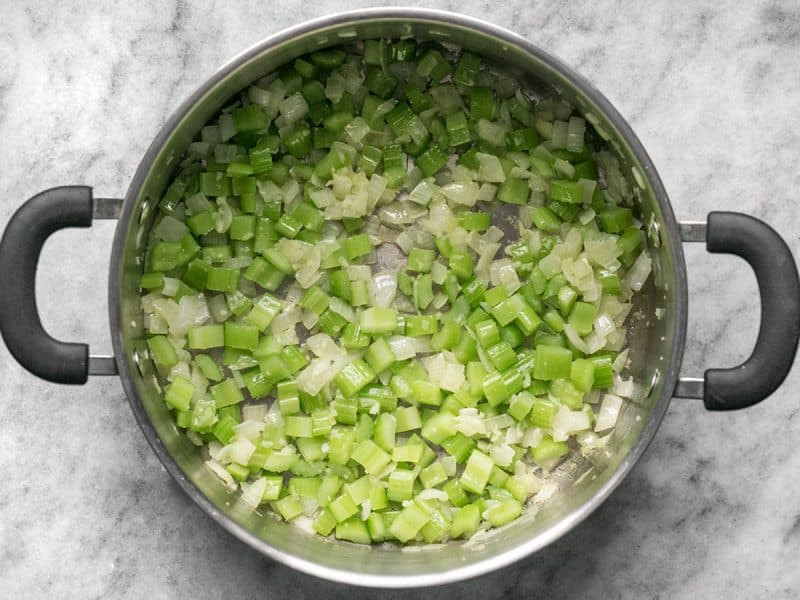
The next day when you’re ready to start cooking, dice an onion, mince about 3 cloves of garlic, and slice half a bunch of celery. Add them to a large pot with 2 Tbsp olive oil and sauté over medium heat until the onions are soft and transparent.
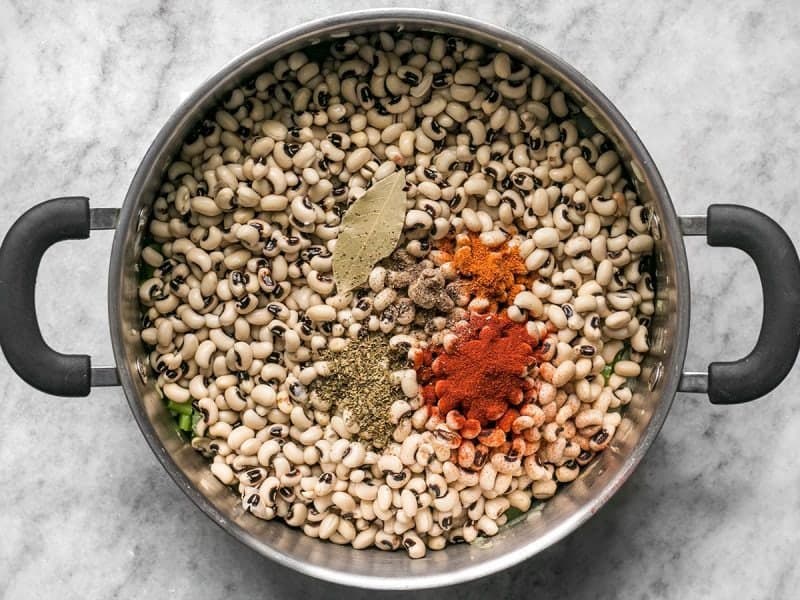
Drain and rinse the soaked peas in a colander, then add them to the pot. Also add 1/2 Tbsp smoked paprika, 1 tsp oregano, 1/4 tsp cayenne, some freshly cracked pepper (about 20 cranks of a pepper mill), and one bay leaf.
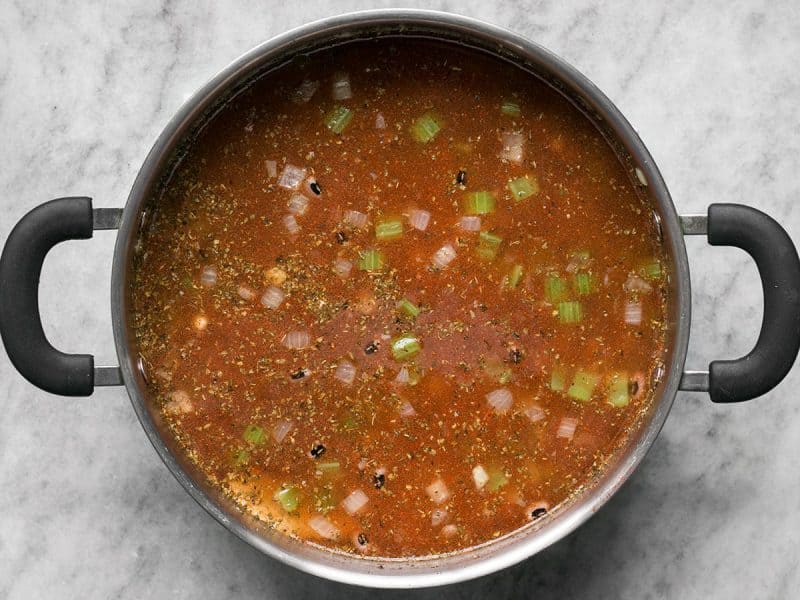
Finally, add 6 cups of vegetable broth and stir everything to combine.
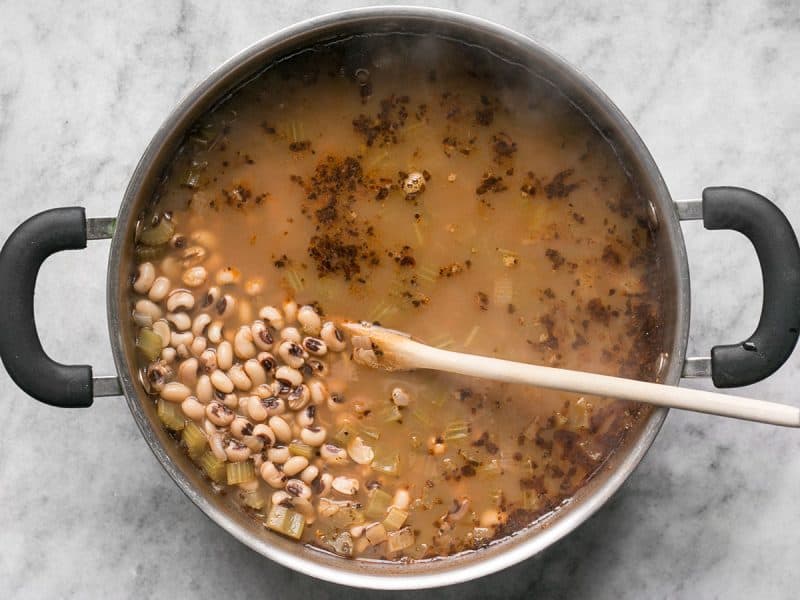
Place a lid on the pot, turn the heat up to high, and let it come to a boil. Once it reaches a boil, turn the heat down to low, and let it simmer on low for one hour. After one hour it will look a little something like the photo above and the peas should be tender.
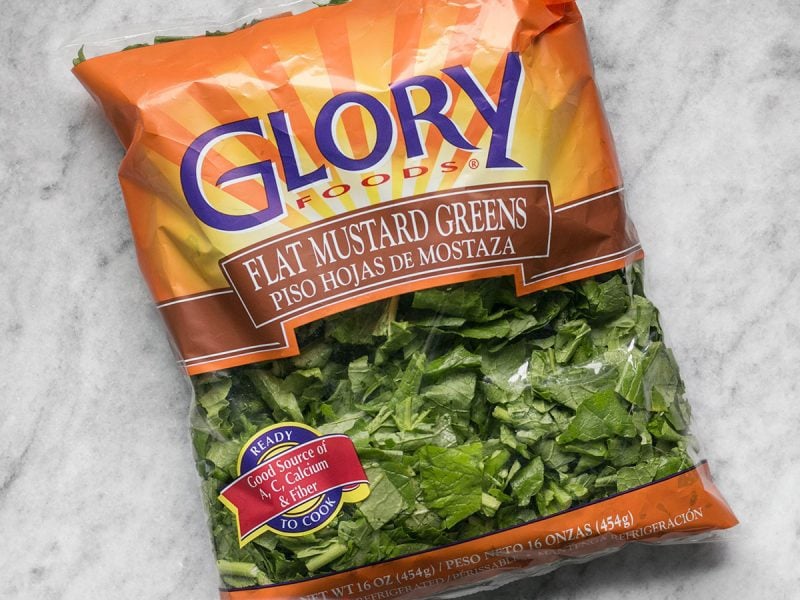
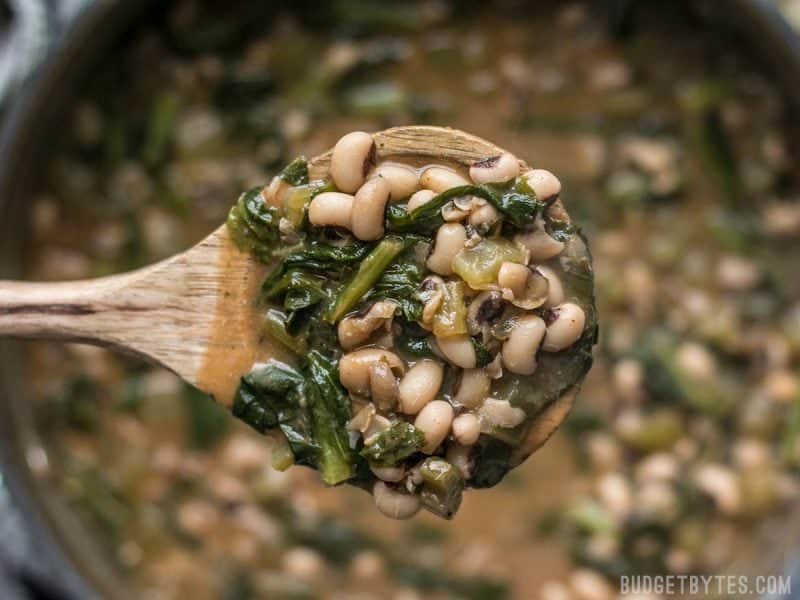
Now it’s time to add the greens! I used these bagged, pre-chopped mustard greens because they’re super easy and still very inexpensive. I ended up using about 3/4 of this bag, but you could totally use the whole thing if you prefer. This part is very flexible. You could also use collard greens or kale if you prefer.
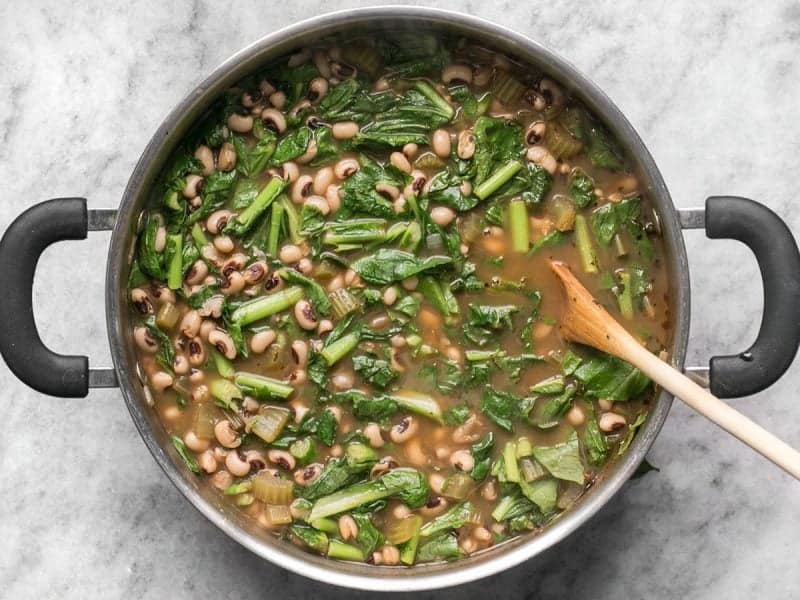
Stir the greens into the peas until they are wilted. As you stir, smash some of the peas against the side of the pot to help thicken the liquid. Then, turn the heat under the pot up to medium and let it come back up to a simmer.
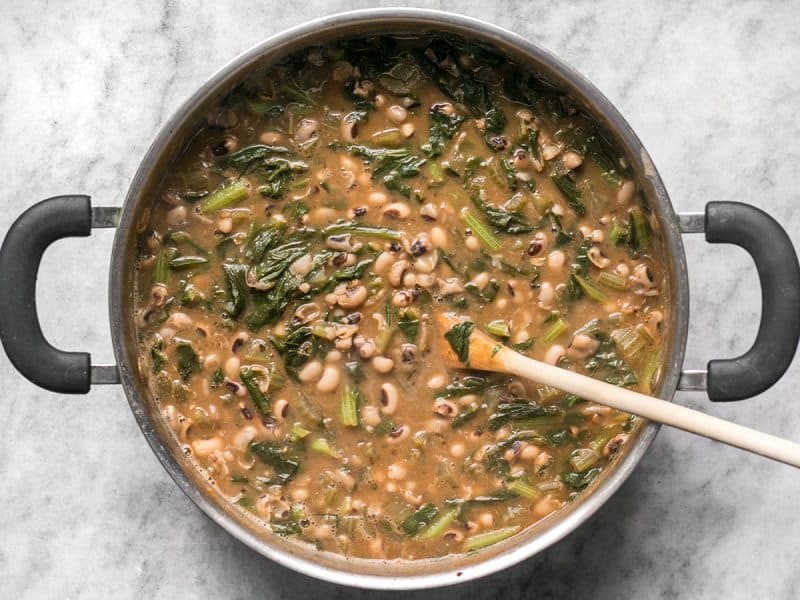
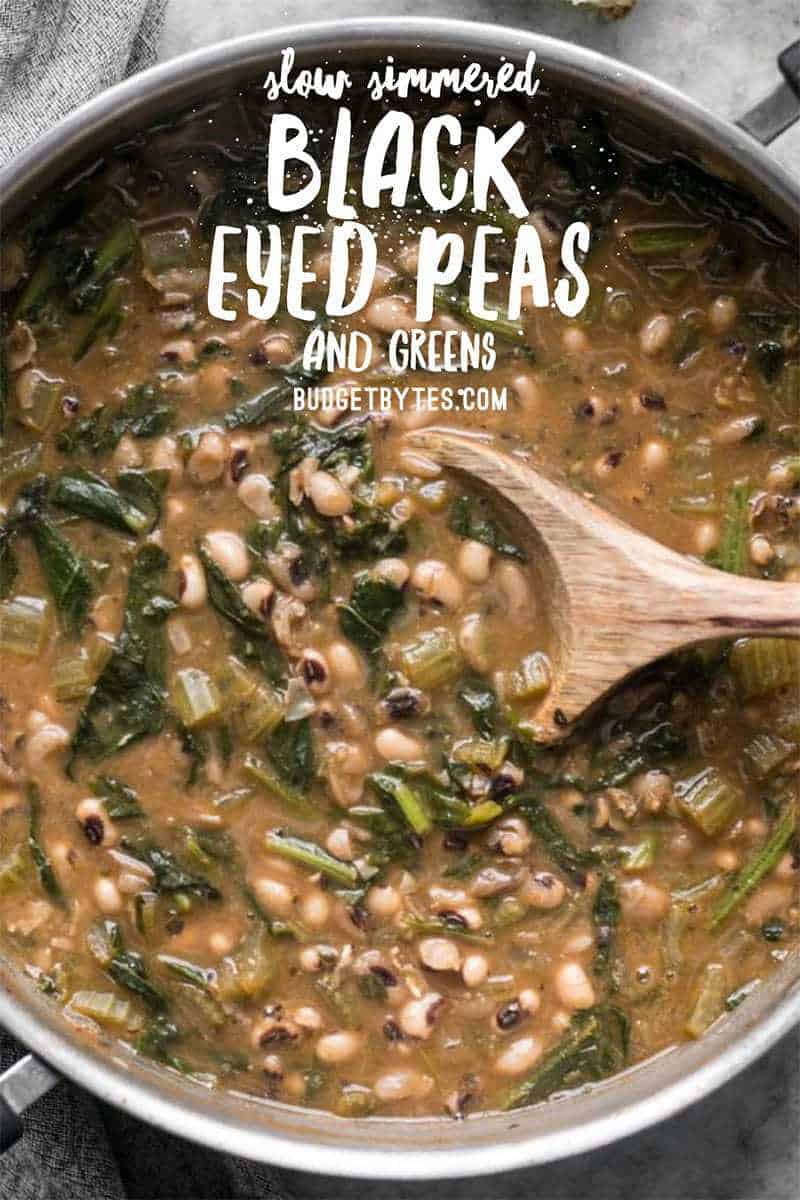
Let the peas and greens simmer, without a lid, for 3o more minutes. This helps break down the peas more and thicken the liquid, and tenderizes the greens. If you’re using an even heartier green, you may want to simmer even just a bit longer to get the greens to the texture you like. And then the pot is thick and glorious like this. Give it a taste and add salt as needed, which will help make the flavors pop. I added about 3/4 tsp, but it will depend on the salt content of the broth you used.
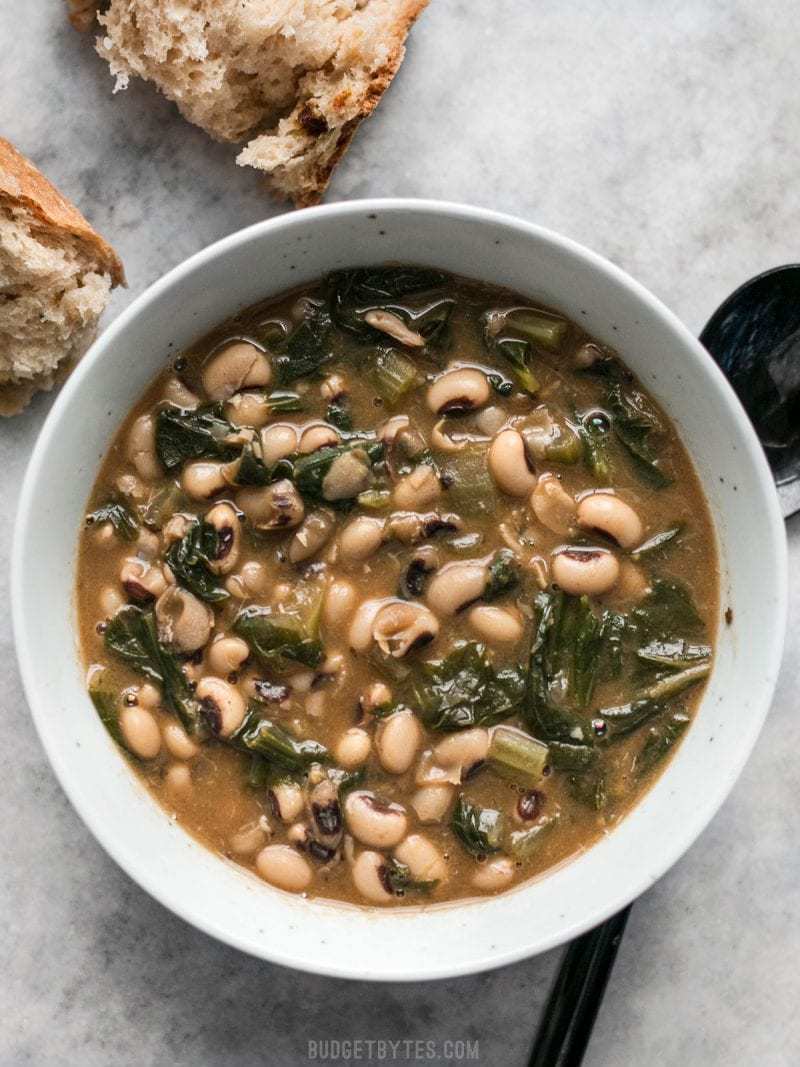
Serve your cozy Slow Simmered Black Eyed Peas and Greens with some crusty bread, or ladled over rice.


A good and flexible recipe. I used water (ran out of broth) and needed nearly 2 tsp salt. For the greens, I tried a 15 oz bag of frozen, chopped turnip greens, which worked well and were very convenient. Next time, I’ll try adding sliced carrots with the greens. Thanks for another winner, Beth.
Hi there,
Can I use a regular baking dish for the sweet potato bread? I don’t own a cast iron pan … Thanks
Yes, I would suggest a 9×9″ square dish.
HI Beth, making this a second time since I love it so much but I was wondering what do you think about adding a quart of canned tomatoes?
Sometimes acidic ingredients can make beans tough, so I’d add them later after the peas have softened. Otherwise I think the flavor would be fine, although I probably wouldn’t use a whole quart. Maybe half that.
Hey Beth – how would this recipe change if I were using frozen black eyed peas? Love your blog!
It probably would change, yes. Frozen black eyed peas are usually fresh instead of dried, so they don’t take as long to cook (more like 15 minutes instead of hours) and they will not absorb as much liquid. So it might be kind of tricky to make that substitution. I don’t think I could offer specific instructions without testing it out.
My dad always eats black-eyed peas on New Year’s and described them to me as “not exactly a flavor sensation,” so I was a little cautious about this recipe. But it turned out spectacularly for me! I used vegetarian “chicken” broth, a pretty heavy hand on the cayenne in particular, and added a little lemon juice and mustard at the end as other commenters suggested. It pairs beautifully with some bread drizzled with a little more olive oil. Thanks again for another great dinner!
Do you think this recipe would work in the slow cooker?
I think that would probably work. :) I don’t have specific instructions though, since I haven’t tried it.
I made this for the second time yesterday, and I made small some alterations that really made it pop for me.
For the greens, I used one bunch of Swiss chard. The salty flavor from the chard was enough that I didn’t have to add any salt to taste. I also did 30 cranks of pepper instead of 20.
Thank you for this killer recipe, this is one of the tastiest things I’ve ever made.
This is probably the first bean soup I’ve ever made that actually made my stomach feel full for hours – usually I’m hungry after a little while, even when I serve it with some bread. But this was so thick and comforting – I added kale and carrots from the farmer’s market and made some onion focaccia to go with. Made a huge pot that fed me for days, stashed a few servings in the freezer, and packed some up to take to Thanksgiving dinner. A perfect winter meal!
I have been reading your blog for years and love it. I made this soup yesterday on a whim since I was working from home. It is delicious. I added a ham hock when I added the beans since I had one in the freezer. Man was this filling and delicious. I served it with cheddar corn bread muffins. The sweetness of the corn really went well with this soup. Oh and I added carrots. It made so much and is so filling that we are feeding my in-laws with it since I literally have no room in my freezer for more soup.
Sounds amazing! I’m glad you liked it. :)
This was delicious. I did not have veggie broth, but water worked just fine. I added sliced carrots to the onions and celery and we ate it with cornbread. Amazing!
This is such a great recipe. It’s so simple and unpretentious but it’s also delicious and has become a favourite comfort food of mine. I made it yesterday as kind of a last minute decision and didn’t have any hearty greens so I used spinach and that was good too.
Excellent flavor and very filling. I didn’t have vegetable broth so I used chicken better than bullion and water. We ate it with cornbread and everyone in the family enjoyed it. I will make it again for sure!
This is a very surprisingly flavorful soup. I made it as directed. The next time I think I may add additional stock and maybe used a baby kale/spinach blend. I used pre-cut Kale and it seemed to over take the soup for my taste. I will definitely make again. Just a little tweaking.
This recipe sounded so wonderful that I had to try it! And it was wonderful!! I couldn’t find smoked paprika, so I used regular paprika but I added a bit of liquid smoke to make up for it. People who ate it were really satisfied despite it not having any meat! I love this recipe and I will be making it again and again! Thank you so much, Beth! This is just what I needed since I am disabled and living on a very tight budget.
My husband thought I had made this before because it’s similar to a dish in Mollie Katzen’s Still Life with Menu. However, this has more complex seasonings than that simple dish, and we both really liked the difference. I served it with Beth’s sweet potato cornbread–a great match!
Thank you! Even my two year old and 10 month old enjoyed. Mustard greens are awesome too. Never tried them before but I think they make the soup.
I solely went by the photos and the ingredient list before making this dish last night. I totally glanced over the “These peas are an all day event…” part. I started the cooking portion last night at 6:30pm after work! Haha, needless to say we did not eat this for dinner, but I did finish it so that we had lunches for the week. I never had black eyed peas or even collard greens. This was very yummy and comforting! Not to mention easy and a smaller ingredient list. I will make it again (on a weekend).
Hello! I am such a huge fan, I make your recopies all the time. I have some frozen black eyed peas and frozen greens I want to use up, what would I need to change about this recipe to do that? Thank you!
This sounds amazing! And having a boyfriend who doesn’t believe a meal is a meal without any meat, this could easily be made a side dish. Might grill up some chicken breasts to have with it for dinner and then I’d have plenty for lunch the next day.
I just made this, cannot believe how yummy! I made it in my Instant Pot, with just a few mods from previous commented recipe tweaks. First, after sauteing the celery & onions, I added the spices for about a minute before adding everything else (peas, stock, bay leaf, black pepper). I put the peas on high pressure for 10 minutes, did a natural release for 10 minutes, then a quick release to take the top off and add the lacinato kale that I had chopped up. I stirred in the kale, put the top back on, and put it on high pressure for 5 minutes. After turning it off, I let it naturally release for 5 minutes before doing a quick release, popping the top off, and ladling a nice big bowl full. I didn’t bother mashing any of the peas, they were nice and smooshy already. Honestly, the peas were done after the first 10 minutes at high pressure, so if someone prefers more toothy peas, one could cook peas and greens together for 10 mins high pressure + 10 minutes natural release and be quite happy (I’ve done a different recipe with that timing). I went for the extra 5 minutes specifically for the smooshy mouth feel.
This was great! I’ve had a bag of black eyed peas sitting around for a while, and they needed to get used!
I’ve been following your blog since I was in college, and a lot of your recipes are staples in my weekly routine. This recipe (like many others) was absolutely bomb. I love a good, healthy, cheap meal, and you never fail me! Just like the other commenters, I did modify it a little bit. Trader Joe’s didn’t have any mustard greens, so I did a power greens mix and baby kale. Also added in a little hot sauce, lemon juice, cajun seasoning, and a squirt of yellow mustard to give it a little spice and tang. Ate (way too much of) it atop brown rice, and left the leftovers for lunches for the week. Thanks so much for another filling vegetarian meal!
This was so flavorful and delicious!! So great with some brown rice to sop up the liquid. For my husband, who can’t do vegetarian all the time, I sautéed some smokey sausage in little cubes to put on top. He went back for seconds! Success!
I made this in a crock pot set on low for 8 hours. I dumped in all the ingredients except the greens. I added those in the last hour.
I used collard greens. The taste wasn’t quite what I liked so I added in 2 Tbsp lemon juice and 1 tsp dry mustard. The mustard added a tangy note.
I added this recipe to my “definitely make again” list.
Made this as instructed – holy moly flavor country! Love love loved the smokiness and beans were perfect texture. Instead of rice I put a couple spoonfuls of quinoa in to up the protein and use up leftovers – this was a good nutritious move, just FYI. Thanks!
Turned out great! I added some hot sauce to give it more spice and a touch of acid. Comfort food is just how I would describe this. Great job!
I made this, with a few changes, in the instant pot by sautéing the onions for a couple mins, adding the garlic for a min then adding the celery (I used frozen plus I added fresh carrot) for a couple mins. I hit cancel, added everything else (I used a mix of pinto and white beans – dried and not soaked – since I didn’t have black eyed) and threw in 2 blocks of frozen spinach then put it on manual for 30 mins. Turned out great and everyone loved it!
Yum, this was great. I liked that it was warm and comforting while still being relatively healthy (it worked well for my husband who is doing WW). I used my instant pot- 20 min on high with a natural pressure release, then added the greens (kale and spinach). Served over rice with some salsa on top. Looking forward to the leftovers for lunch!
Oh, and I forgot to say that since I was using the IP, i was able to cook the beans from dry without a pre-soak.
Awesome!! Thanks for sharing the settings and time for the IP!
Thank you so much! We really enjoyed these with cornbread! I wanted to make them in the Instant Pot, so I reduced broth to 5 cups and cooked the (unsoaked) peas with the other ingredients — except greens — for 15 minutes at high pressure with a natural pressure release (20 minutes or so). Then I added the greens and mixed in to allow them to wilt.
This was the recommended timing I found in other recipes for IP blackeyed peas. But I have to say the peas were a tad overdone. Maybe this is the desired consistency — the recipe does say “Smash some of the peas against the side of the pot as you stir to help thicken the liquid.” and “the peas should have broken down further” — but to me it seemed a little too mushy, so next time I am going to try 15 minutes + quick release with unsoaked peas.
Mostly I just wanted to say thanks for posting this delicious and economical recipe!
Thank you for sharing how you did it in the IP! :)
Do you think it would taste good with carrots added along with the celery?
OOooh, yes, definitely! Good call.
Thanks! Trying this tonight with some carrots and a couple of leeks added (because I needed to use them up). Can’t wait to taste it!
Do you think canned black eye peas would work???
Well, this recipe is designed to cook dry beans, so if you use canned, which are already cooked, you’ll need to reduce the amount of liquid used and you won’t need to simmer them for so long because they don’t need additional cooking, just heating. The flavor probably won’t be as deep since they won’t be absorbing everything as they cook.
Tastes delicious! Made it in my large iron skillet/dutch oven and added some extra cayenne. YUM. Perfect texture, perfect taste.
This looks so good. I’m going to make this for dinner with baked sweet potatoes.
Making this tonight! Looks amazing. I was wondering- would the quick boil method for beans work with these black-eyed peas?
Yes, it does. :)
Do you think I could use spinach in place of the mustard greens?
Hey! Not the main person, but I just made this (and have made other versions in the past). You could probably sub it, but mustard, collard and kale have a spicy/bitter flavor profile. So, they add a nice kick to the recipe, in my opinion.
Yes, I would stir it in at the very end since it wilts very quickly. :)
When should I add the ham hock?
I didn’t use a ham hock in mine, but you certainly could. I would add it when you add the beans so it can simmer along with the whole pot.
This looks delicious!
Do you think this would possibly be adaptable to the InstaPot?
Hey I just made this using an instant pot and it turned out pretty well. I did the first step (replacing the hour long simmer) as 20 minutes high pressure and 10 minutes natural release. Then I mashed some peas, put the greens in, and left it on keep warm for about ten minutes. I think you could use the saute function to get it to simmer but I didn’t want to have to watch the pot. Hope that helps!
Hi! Do you have any suggestions on how to make this a crock pot recipe?
If I were to try this in a slow cooker, I’d toss everything (except the greens) in the slow cooker and cook it on low for 8 hours or high for 4 hours, then do the step where you stir in the greens and smash the beans, and let it go for another half hour to an hour to cook the greens. Of course, that’s just a guess. I’ve never tried it in a slow cooker. :)
I cook all my bean soups in the slow cooker and that is exactly how I do it . I don’t soak the beans prior to cooking. The long cooking time makes it unnecessary. I don’t use vegetable broth when cooking beans in the slow cooker. The beans, aromatics and seasonings make a very flavorful broth.
Black-eyed peas are the only legume I’ve found that I truly dislike. I’m going to have to try this with another bean, maybe cannellini or cranberry beans.
I had the same question as Andrew because I wanted to make this on a weeknight. After reading the comments from Beth and Sally I made this in the crockpot and it came out great! I pre-sauteed the aromatics the night before, then combined them with the beans, spices, and water in the morning and set it on low for 8ish hours. Then added the greens and let it go probably another hour or so. Per Sally’s suggestion I used water instead of vegetable broth, and I also upped the salt accordingly, and it was perfect. My dish wasn’t quite as liquidy as the picture, so if you want it soupier I’d suggest 7 or 8 cups of water instead of 6, but 6 was fine!
I LOVE black eyed peas. :-)