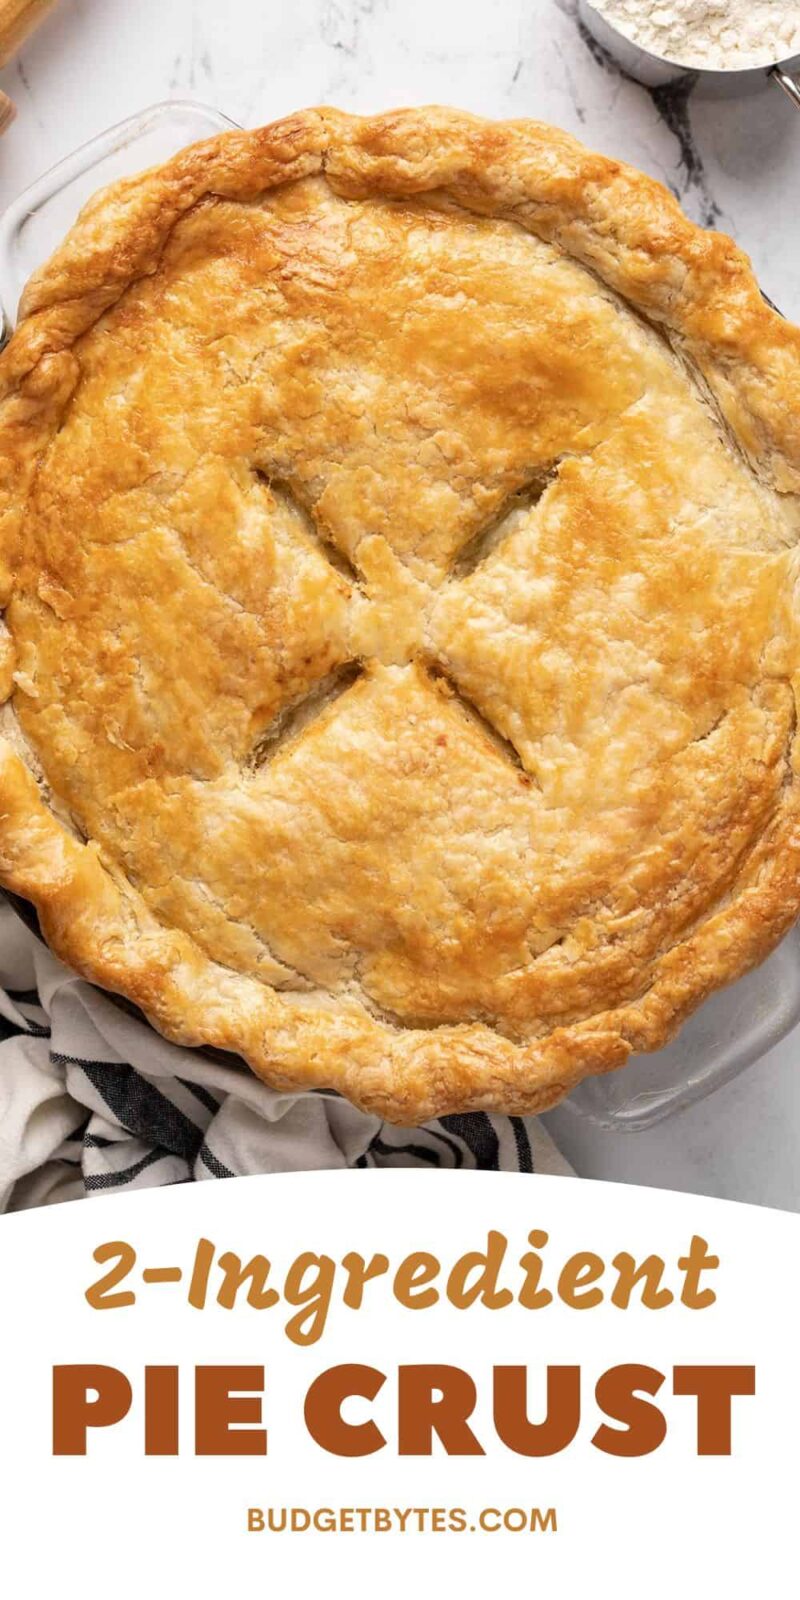
This scrumptious and super easy pie crust recipe comes together in minutes and has just three ingredients: flour, butter, and water. You don’t need any special tools to make it, just a little know-how. That’s right. Contrary to popular belief, making pie dough from scratch isn’t complicated or expensive. It costs under $3.00 to make two crusts, which is less than you can buy it for at the store.
This post contains some affiliate links, which means that we make a small commission off items you purchase at no additional cost to you.
This is by far the easiest crust recipe I have tried and delicious! I’ve never had a crust turn out so well and be so flaky!
Maris
Pie crust is an essential tool for every baker, and this 3-ingredient recipe is the easiest and cheapest way to make it. I used all pantry staples (no fancy flours or European butter here!) to keep things simple and inexpensive. This is a recipe I recommend making a lot of and freezing for later because it’s just so useful!
Ingredients
Here’s what you’ll need to make 3-ingredient pie crust:
- All-Purpose Flour: This is the easiest flour to get your hands on, and I have found that it works just fine if you keep your ingredients cold and don’t overwork it.
- Salted Butter: I prefer using butter as opposed to other fats because it adds rich, creamy, nutty notes to the dough. You just can’t get that with shortening and other fats, which often leave a tasteless greasy film on the roof of your mouth. If you don’t have salted butter, add 2/3 teaspoon of sea salt to your flour.
- Water: This helps moisten the flour and bind the dough. I like to add a few ice cubes to the water to keep it nice and cold.
Recipe Tips
- The secret to a good pie is never to break the golden rule: keep everything cold. I won’t get too deep into the science of it all, but if you’re interested, check out How to make perfect pie crust with the power of science. I like to put all of my ingredients and tools in the freezer.
- I like to measure the flour using the spoon-and-level method (after sifting it!) to ensure I don’t add too much flour, which could cause the crust to become dry.
- I have found that grating the butter helps it incorporate the fastest without melting, but you can also cut it into small squares, chill it, incorporate it, and chill again.
- Don’t overmix the dough; it shouldn’t be particularly smooth but instead a bit craggy. Smooth dough is usually overworked.
- Because it only stays fresh in the fridge for 3 days, I keep WAY too much of this dough tucked into my freezer, where it keeps for up to 3 months. To prevent freezer burn, double-wrap it in either plastic or beeswax and then keep it in a freezer-safe container. Thaw it out in your fridge a day before you plan to use it.
- You can even use the scraps to make the most amazing little cookies, which I should totally share with my kid, but instead, I stash them away because every mom needs her secrets. (If you know, YOU KNOW.)
Serving Suggestions
This 3-ingredient pie crust is so versatile. You can use it to make a double-crust Apple Pie or a savory Turkey Pot Pie, or use half for a single-crust pie like our Pecan Pie. The dough is flexible enough for Sausage and Cheese Hand Pies and sturdy enough for a galette, like our awesome Blueberry Lemon Cream Cheese Galette.
Easy 3-Ingredient Pie Crust
Ingredients
- 2 3/4 cups all-purpose flour (plus some for dusting) ($0.34)
- 2 sticks salted butter, frozen (1 cup) ($2.00)
- 1/2 cup chilled water* ($0.00)
Instructions
- Sift the flour through a fine mesh sieve and then spoon 2 3/4 cups of flour into dry measuring cups. Use the back of a butter knife to level the flour before adding it to a large bowl. Place in the freezer to chill while you grate the butter.
- Grate the butter sticks on the box grater's large holes. When the butter becomes challenging to handle, chop what's left of it into dice-sized pieces.
- Add the butter to the flour. Use a spoon to toss the butter and flour like you would a salad. Work quickly until the butter is completely covered in flour and the mixture resembles a shaggy, coarse corn meal.
- Spoon four tablespoons of chilled, icy water onto the flour/butter mixture. Mix quickly with a fork, incorporating the flour gathered at the bowl's bottom.
- Continue to add water tablespoon by tablespoon, mixing between each addition, until you can lightly pinch the flour/butter mixture and it holds together in a dough.
- Use your hands to press the shaggy bits of dough into a ball quickly. Then, lightly flour your work surface and shape the ball into a flat disc, about six inches in diameter and three to four inches thick.
- Wrap the disc of dough tightly in plastic or beeswax. Let it rest in the fridge for at least two hours, preferably overnight.
- Use the pie dough in your favorite recipe or keep the pie dough in the refrigerator for up to three days or frozen for up to three months. This recipe is for a double crust.*
If Making a Double Crust Pie
- Slice the rested dough an inch above the center line and shape both halves into a disc. Place the larger half on a lightly floured work surface. Roll from the center up, down, left, and right. Lift the dough, rotate 15 degrees, and repeat the sequence until it’s 14 inches in diameter and the thickness of an ear lobe
- Place your rolling pin on the bottom edge of your crust and roll it onto your rolling pin. Place the pin on the top edge of a greased pie plate, centering the crust. Unfurl the dough towards you, then press it into the plate.
- To prevent steam from forcing the bottom crust to bubble up, use a fork to dock the dough, pressing the tines all the way through. Optional if using a liquidy filling: separate an egg and beat the white until frothy. Brush a thin layer over the bottom crust to seal the crust. Rest the pie plate in the freezer.
- Roll out the top crust to 11 inches in diameter. Take the pie plate out, add your filling, and brush water on the outer edges of the bottom crust. Place the top crust over the filling, fold the bottom crust over it, and pinch the two together to seal.
- Optional: Beat the remaining egg yolk with a tablespoon of cream or milk and brush it onto the top crust. This will help with browning. You can also use plain milk or cream.
- To prevent the pie crust from bubbling up as it bakes, cut steam vents into the top crust. Rest the pie in the freezer for fifteen minutes.
- Place your chilled pie on the middle rack of a preheated oven and bake according to recipe directions.
See how we calculate recipe costs here.
Equipment
- Grater
- Mesh Sieve
- Measuring Cups Spoons
- Rolling Pin
Notes
Nutrition
How to Make Homemade Pie Dough – Step by Step Photos
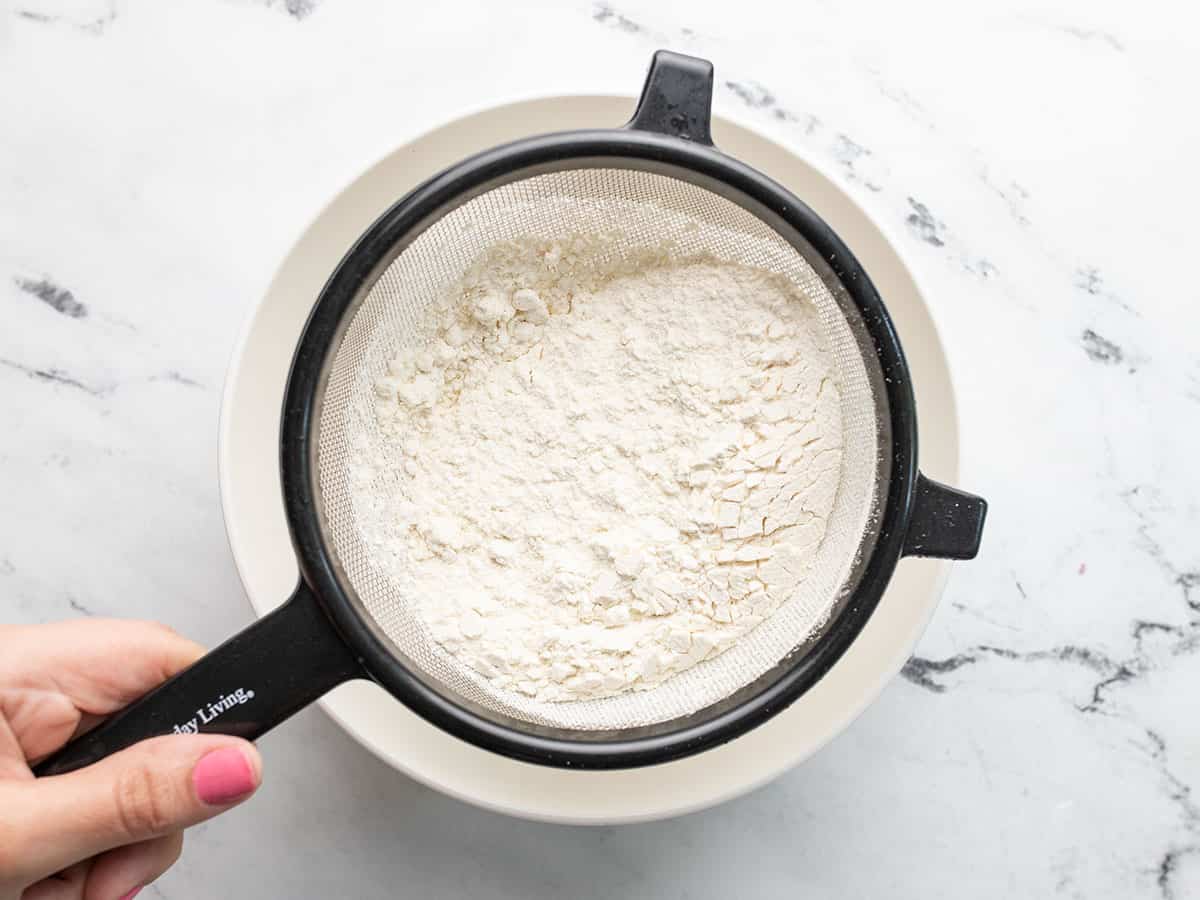
For an accurate measurement of volume, sift your flour, and don’t scoop it into your measuring cups. Spoon 2 3/4 cups of sifted flour into the cups, and then use the back of a butter knife to level it off. Place it in a large bowl and put that in the freezer while you grate the butter.
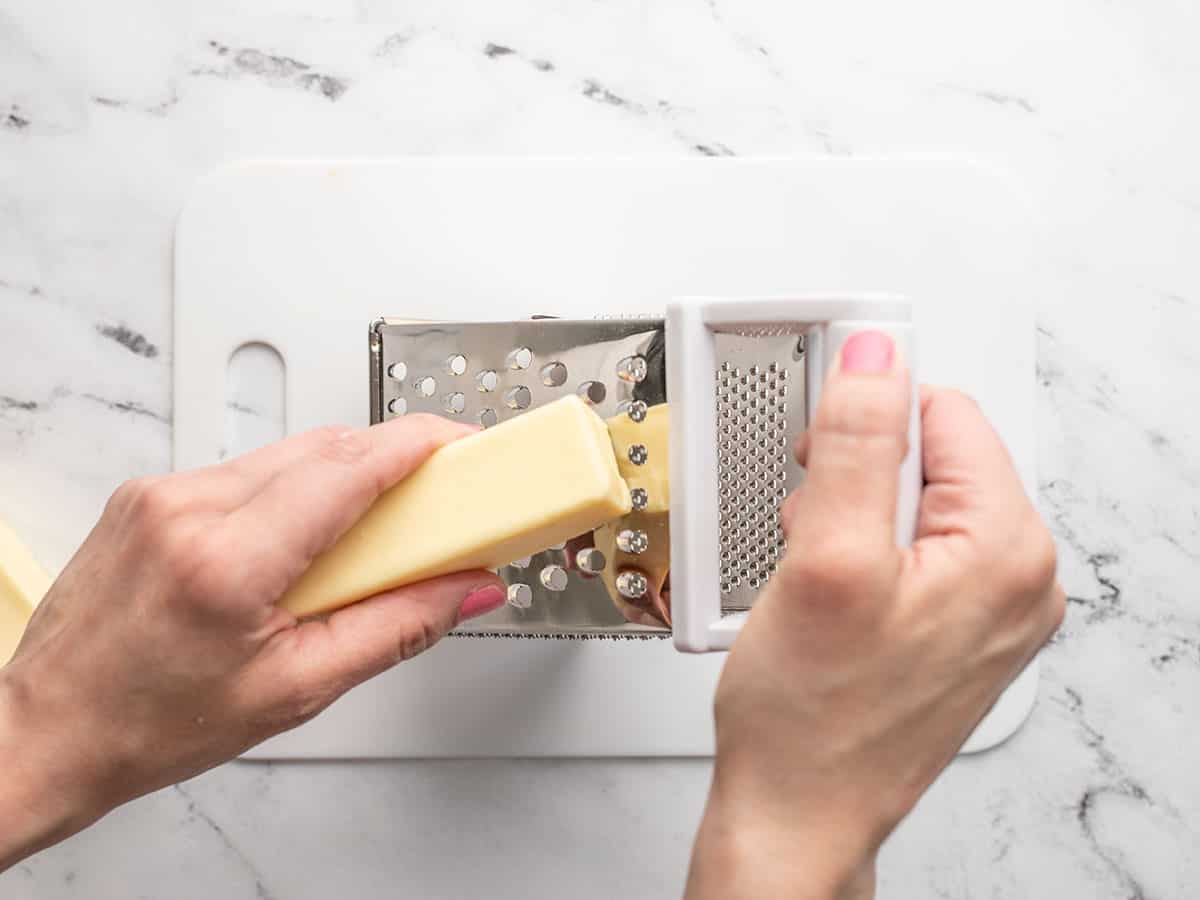
Grate two sticks of salted butter that have been frozen solid. When you get down to a three-inch knob of butter, and it’s getting tricky to keep your knuckles out of the party, chop the remaining butter into diced-sized pieces.
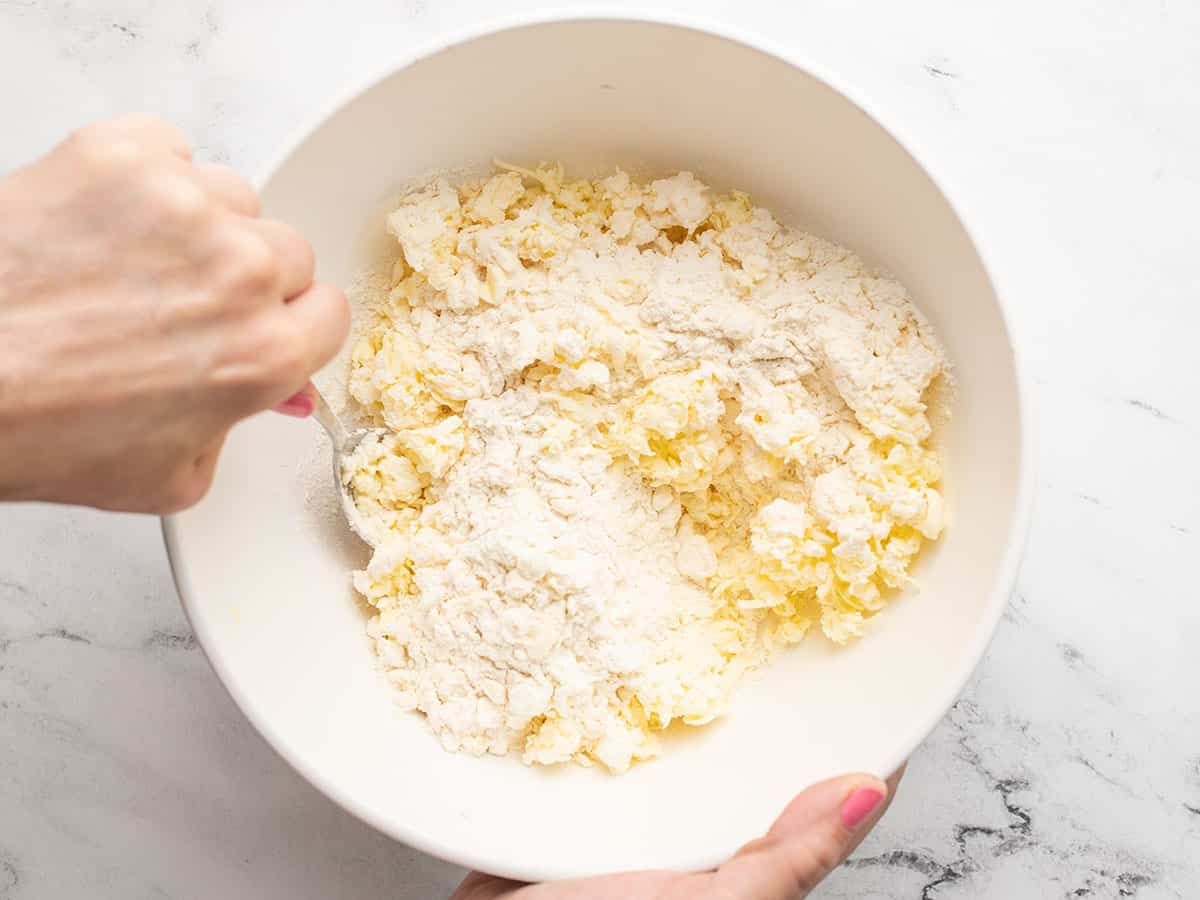
Take the bowl of sifted flour out of your freezer and add the grated butter. Use a spoon to mix the flour and butter as if you were tossing a salad. Mix until all of the butter is coated with flour.
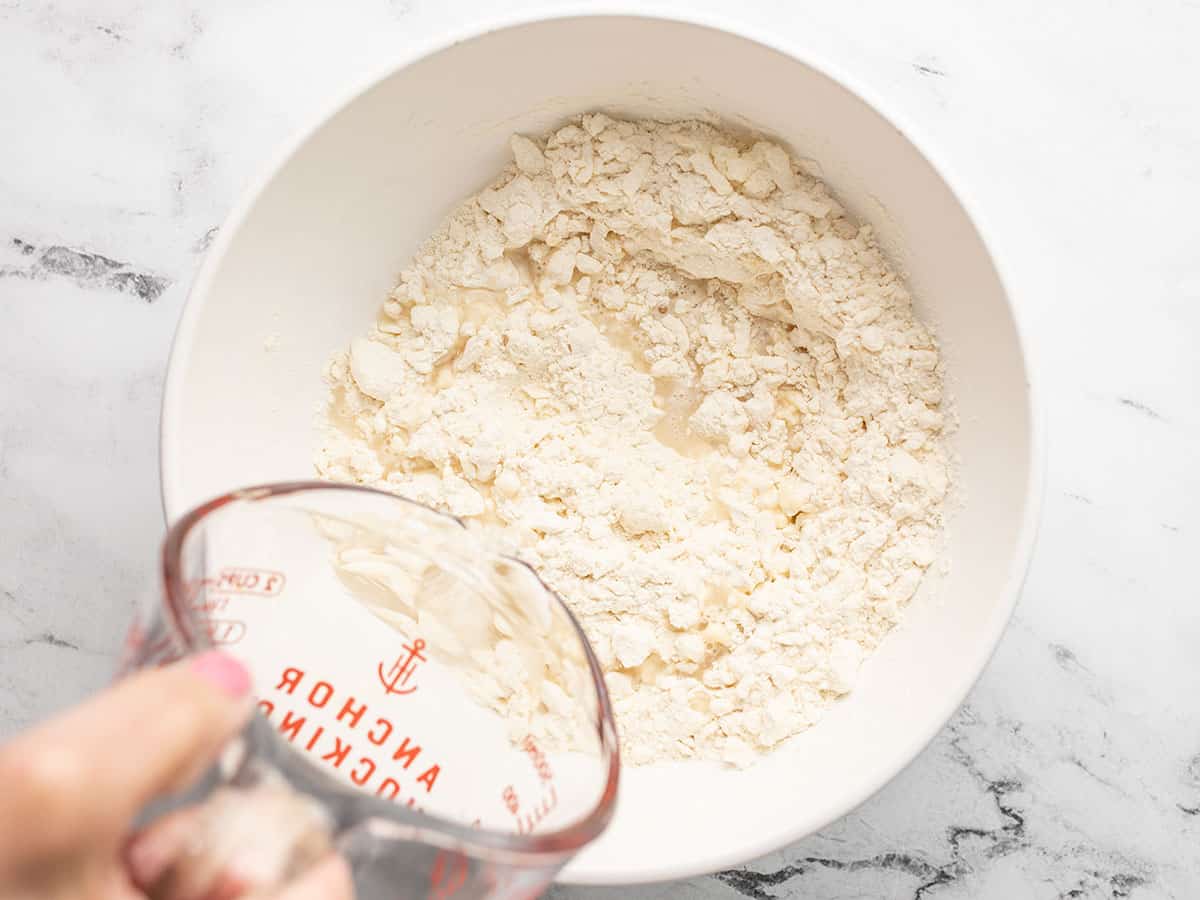
Add 1/4 cup of chilled water to the flour and butter mixture. Use your spoon to toss the mixture and incorporate the water. Continue adding water, tablespoon by tablespoon, tossing between each addition and incorporating flour that has shifted to the bottom of the bowl.
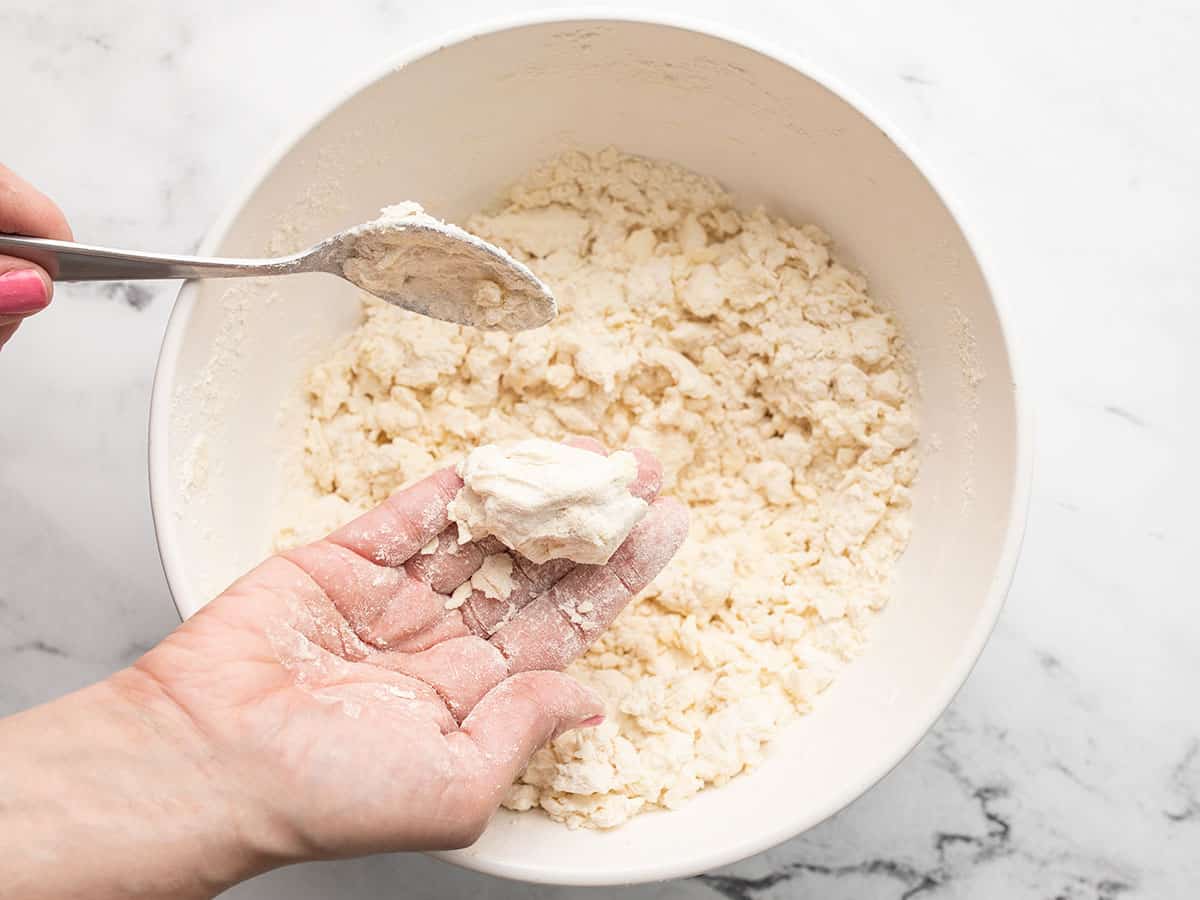
Once most of the flour has started to clump together with the butter, grab a bit and pinch it together. It should form a dough with a texture like play-dough, neither dry nor wet. If your dough is crumbly when you pinch it together, continue to add chilled water.
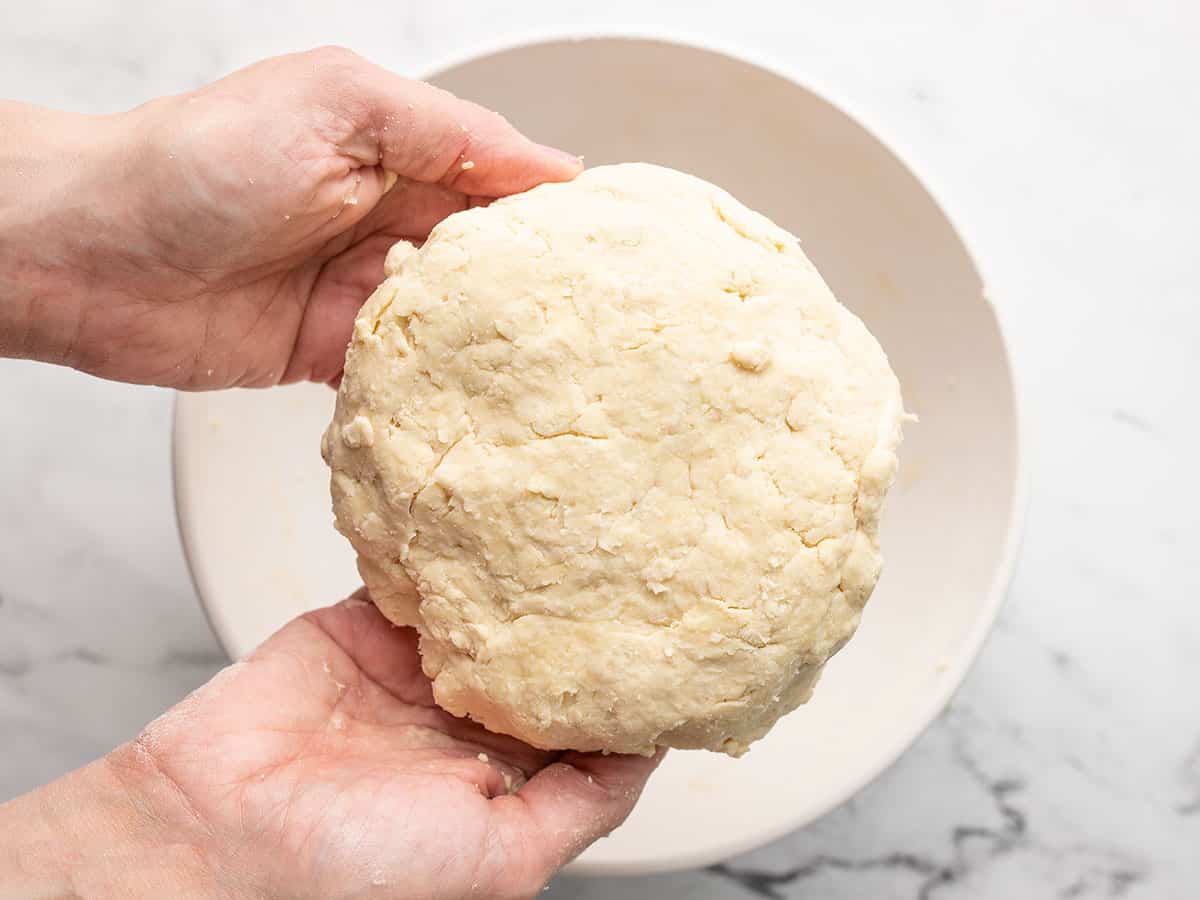
Press the bits of dough together into a ball and flatten it into a disc about 6 inches wide and three inches thick. Wrap it tightly in plastic or beeswax cloth and set it inside an airtight container. Let it rest in the fridge for at least two hours, preferably overnight.
How to Roll Out Pie Dough
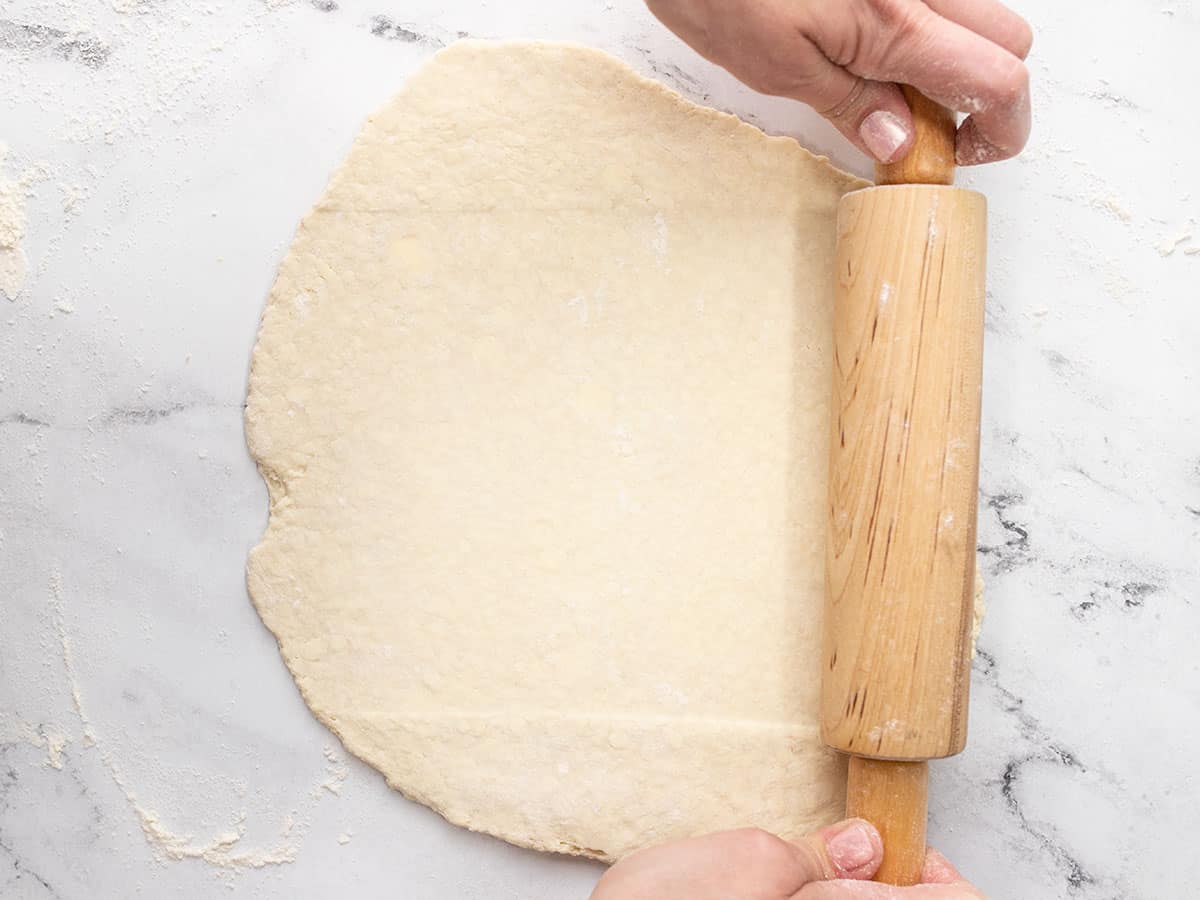
Slice the rested dough an inch above the center line and shape both halves into a disc. Place the larger half on a lightly floured work surface. Roll from the center up, down, left, and right. Lift the dough, rotate 15 degrees, and repeat the sequence until it’s 14 inches in diameter and the thickness of an ear lobe.
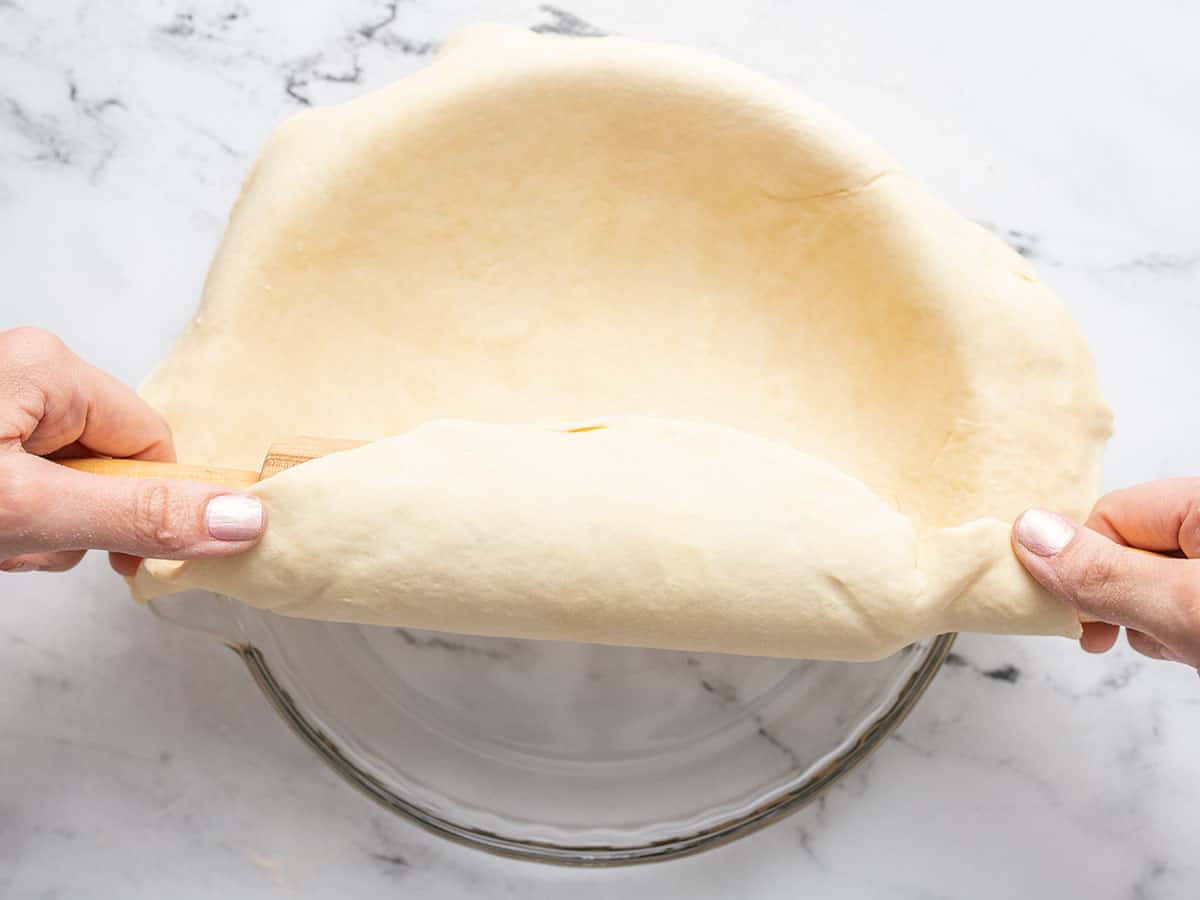
Place your rolling pin on the bottom edge of your crust and roll it onto your rolling pin. Place the pin on the top edge of a greased pie plate, centering the crust. Unfurl the dough towards you, then press it into the plate.
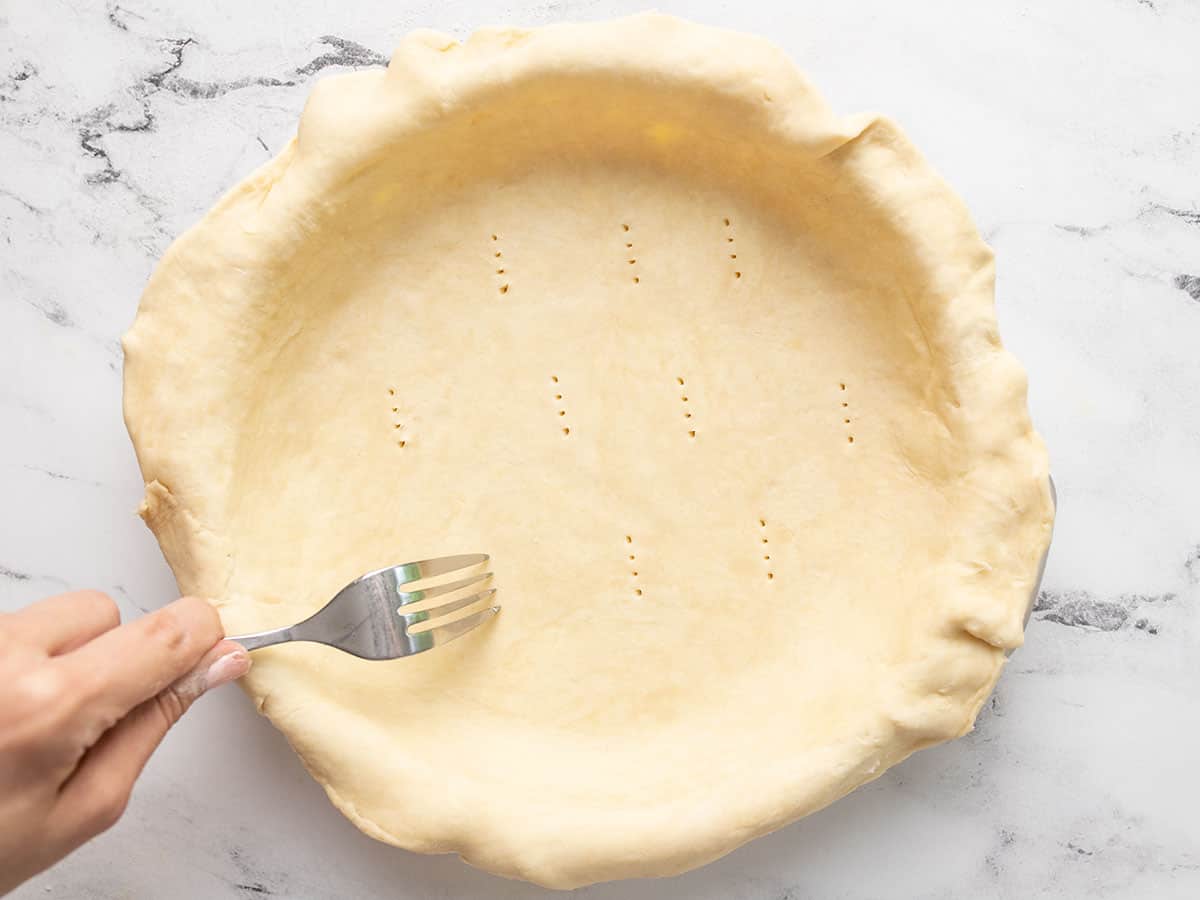
To prevent steam from forcing the bottom crust to bubble up, use a fork to dock the dough, pressing the tines all the way through. Optional if using a liquidy filling: separate an egg and beat the white until frothy. Brush a thin layer over the bottom crust to seal the crust. Rest the pie plate in the freezer.
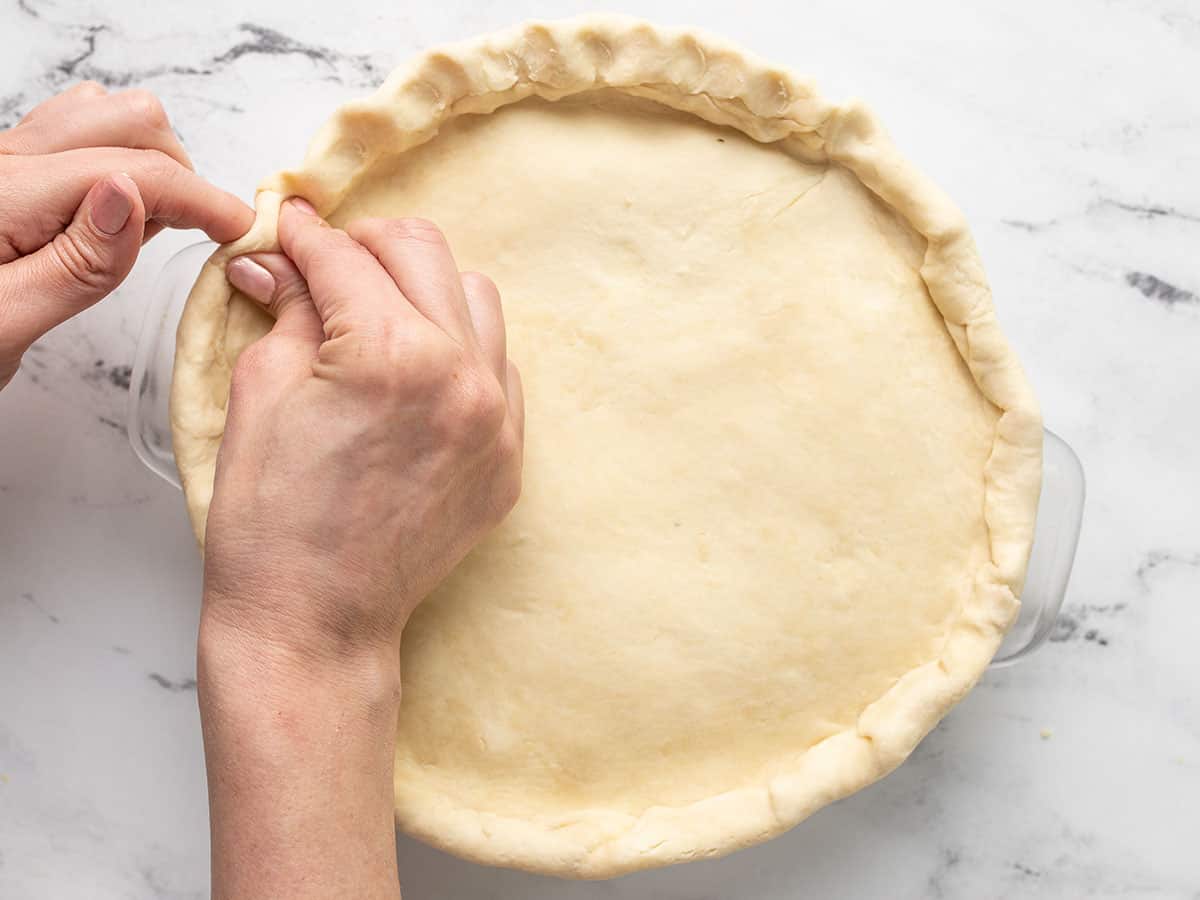
Roll out the top crust to 11 inches in diameter. Take the pie plate out, add your filling, and brush water on the outer edges of the bottom crust. Place the top crust over the filling, fold the bottom crust over it, and pinch the two together to seal.
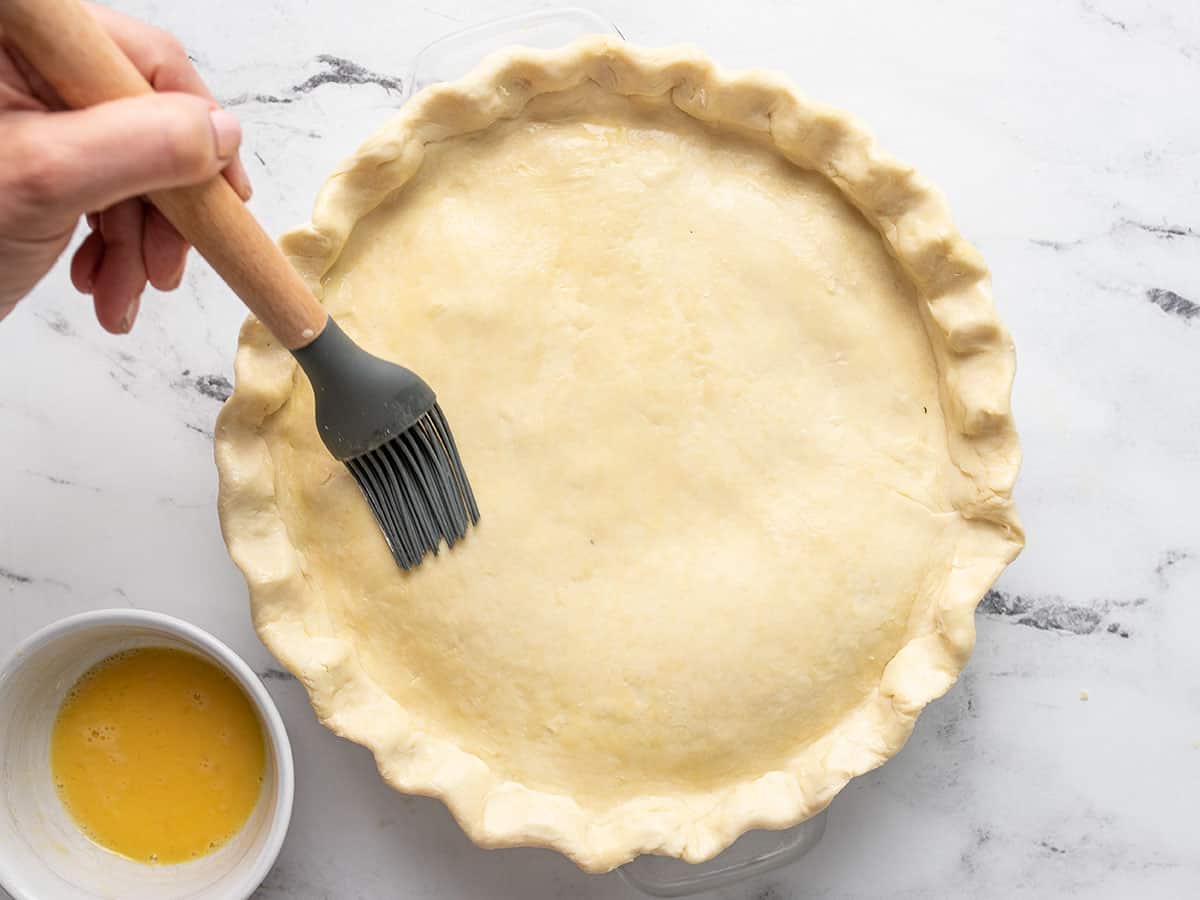
Optional: Beat the remaining egg yolk with a tablespoon of cream or milk and brush it onto the top crust. This will help with browning. You can also use plain milk or cream.
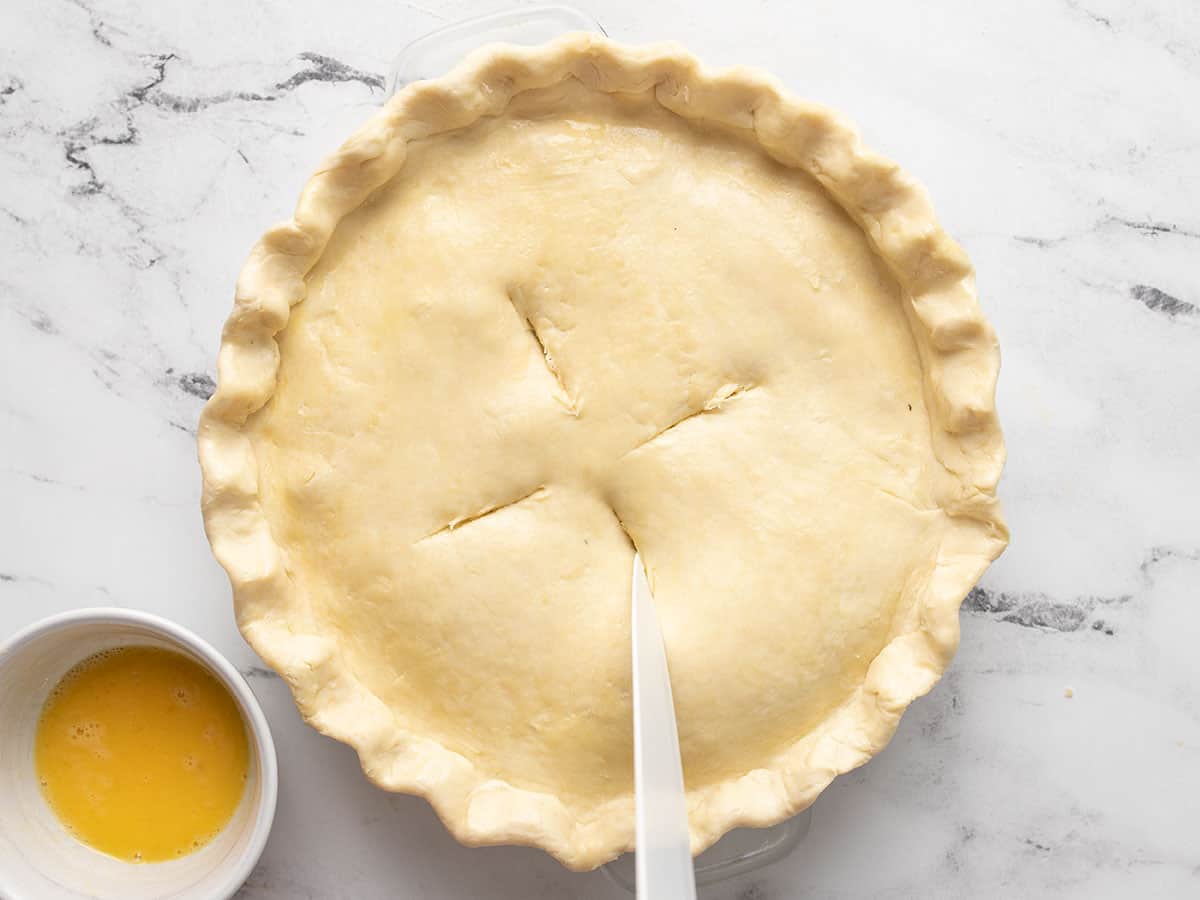
To prevent the pie crust from bubbling up as it bakes, cut steam vents into the top crust. Rest the pie in the freezer for fifteen minutes.
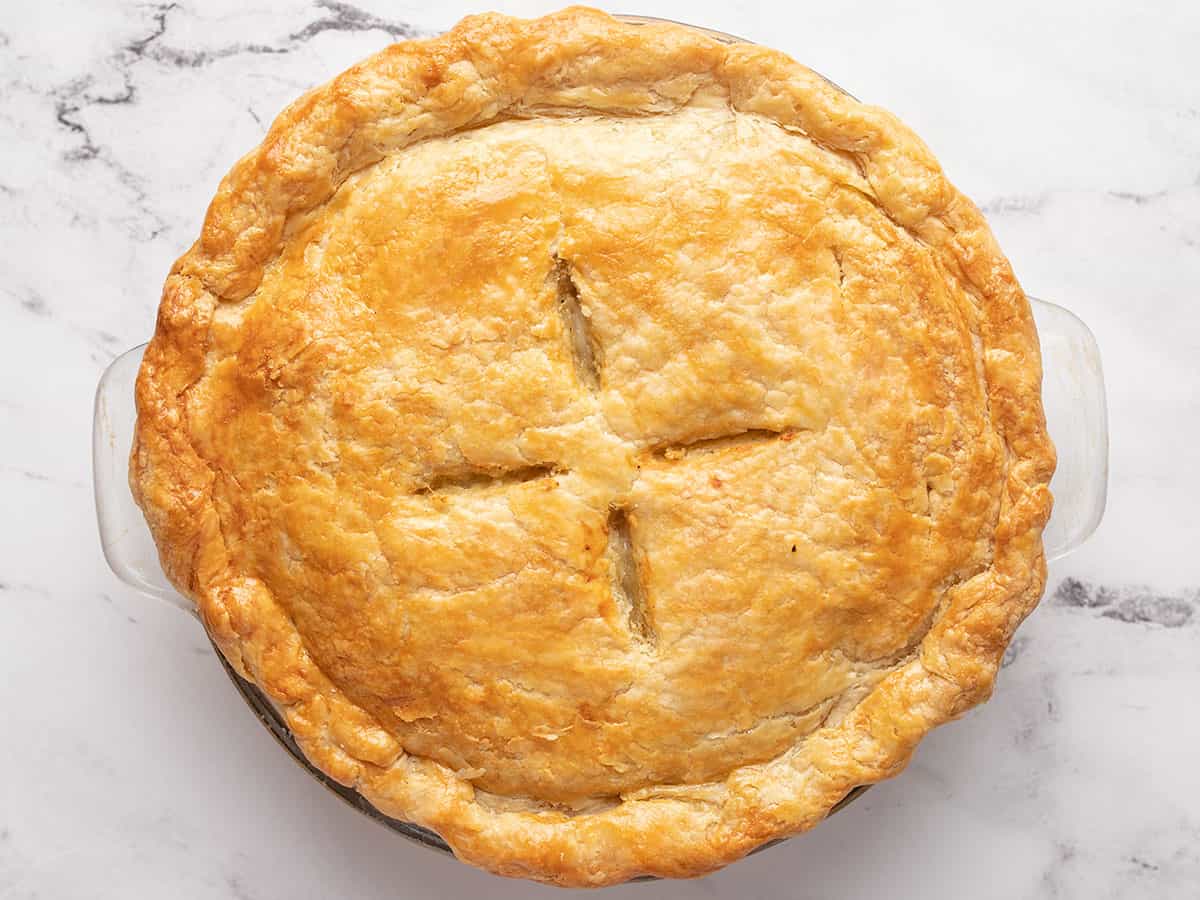
Place your chilled pie on the middle rack of a preheated oven and bake according to recipe directions.
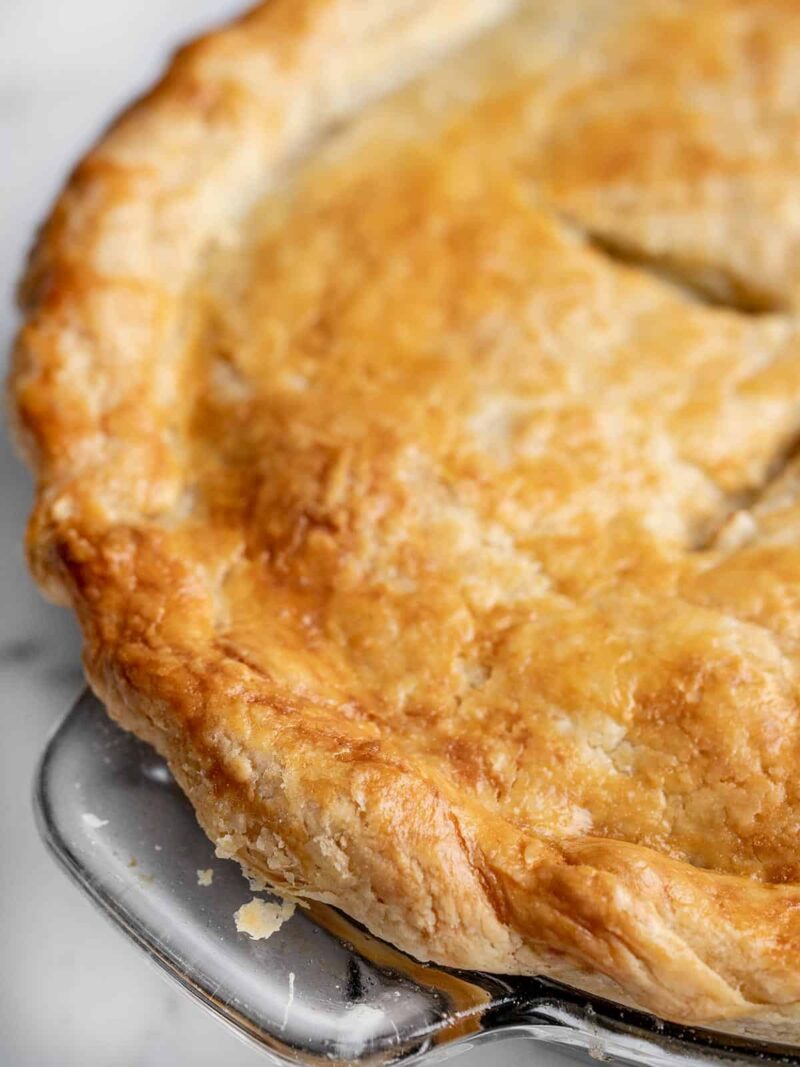
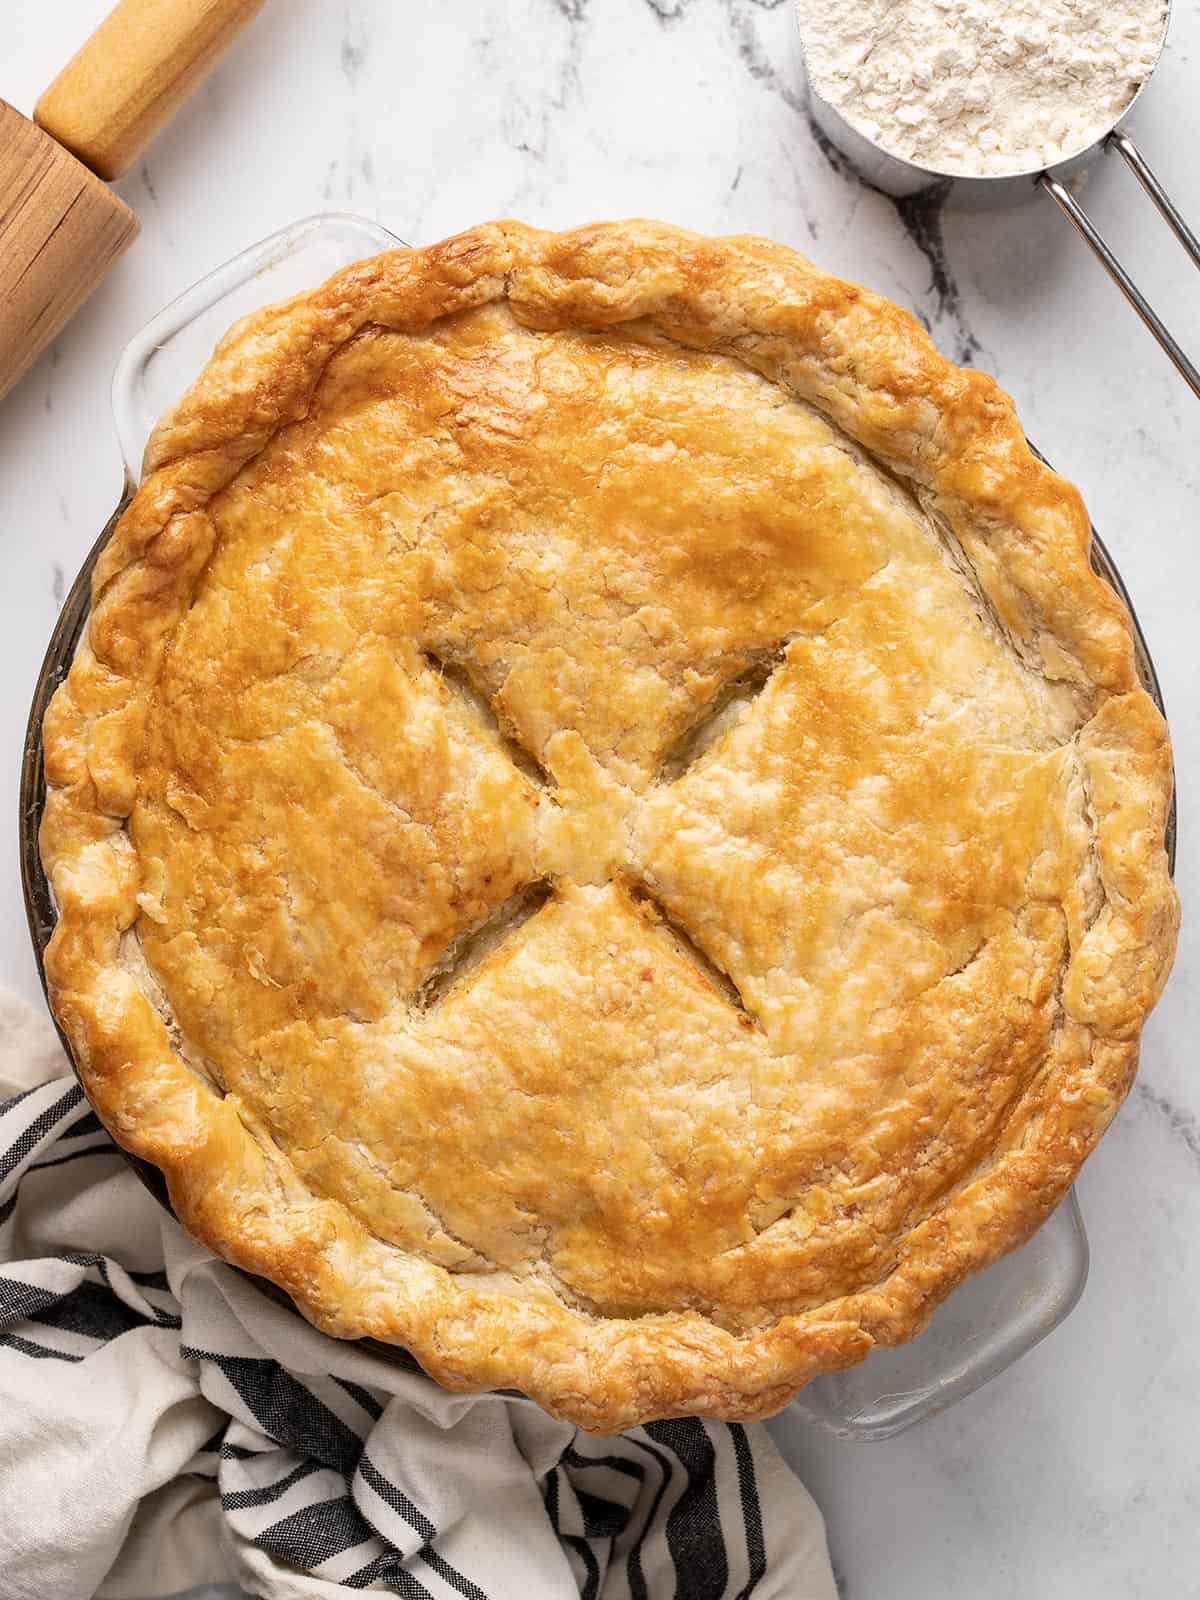
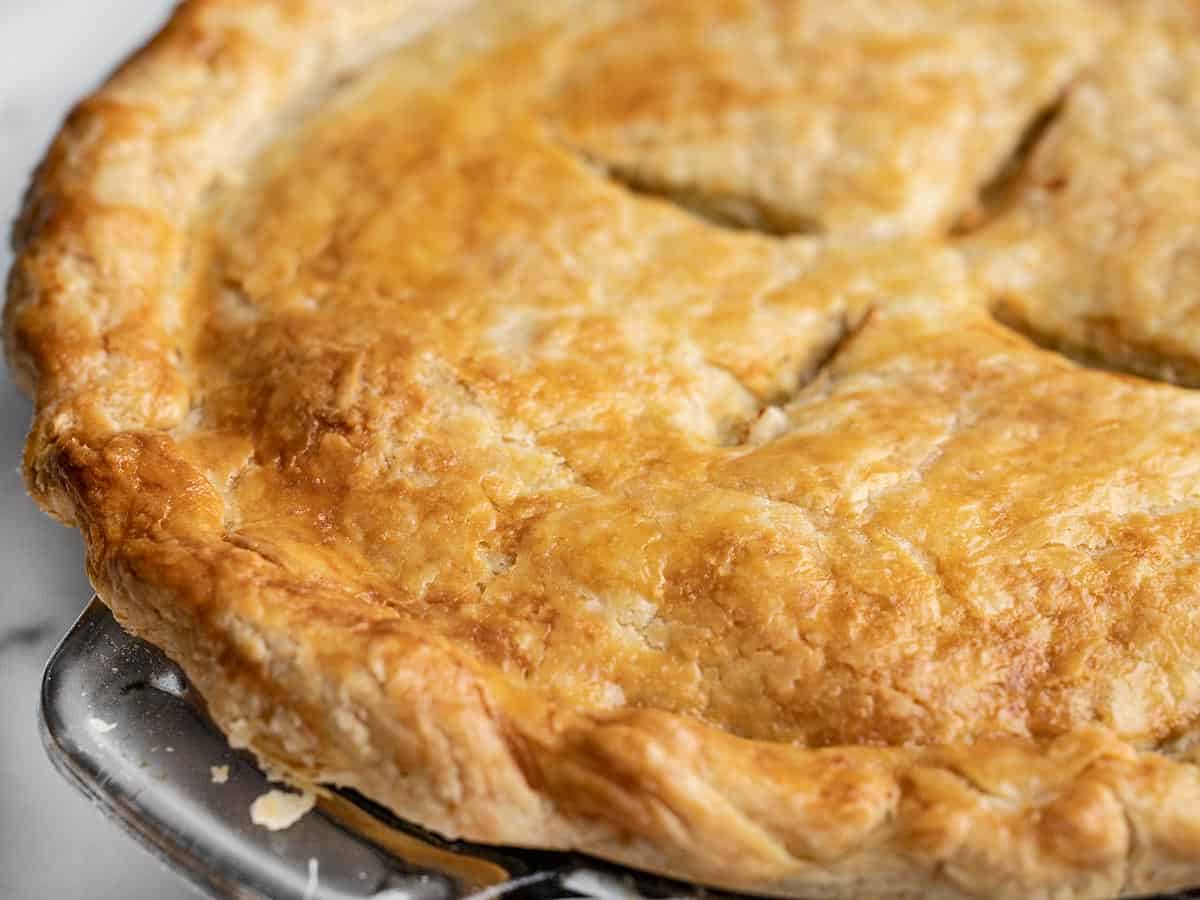
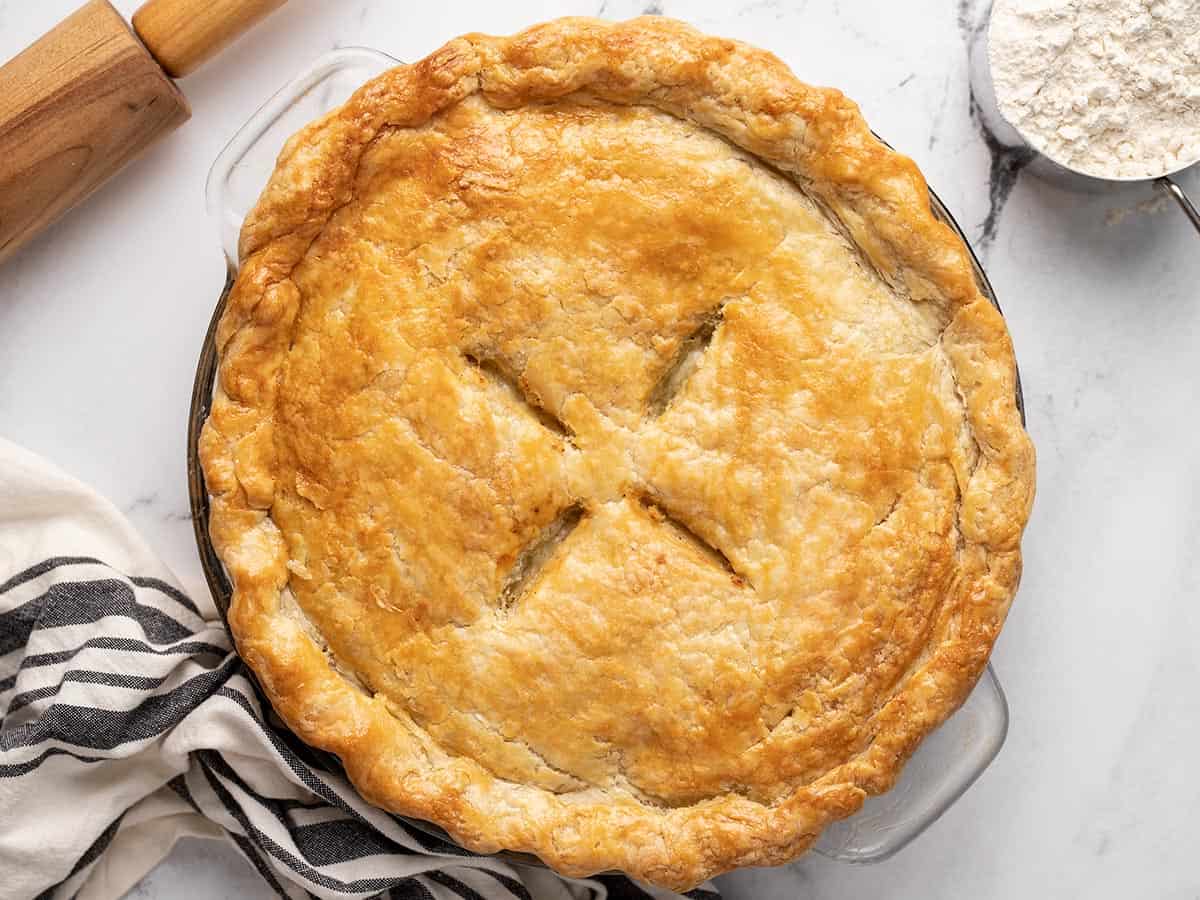
Look at all that flaky goodness for a little over a dollar! Yum!!


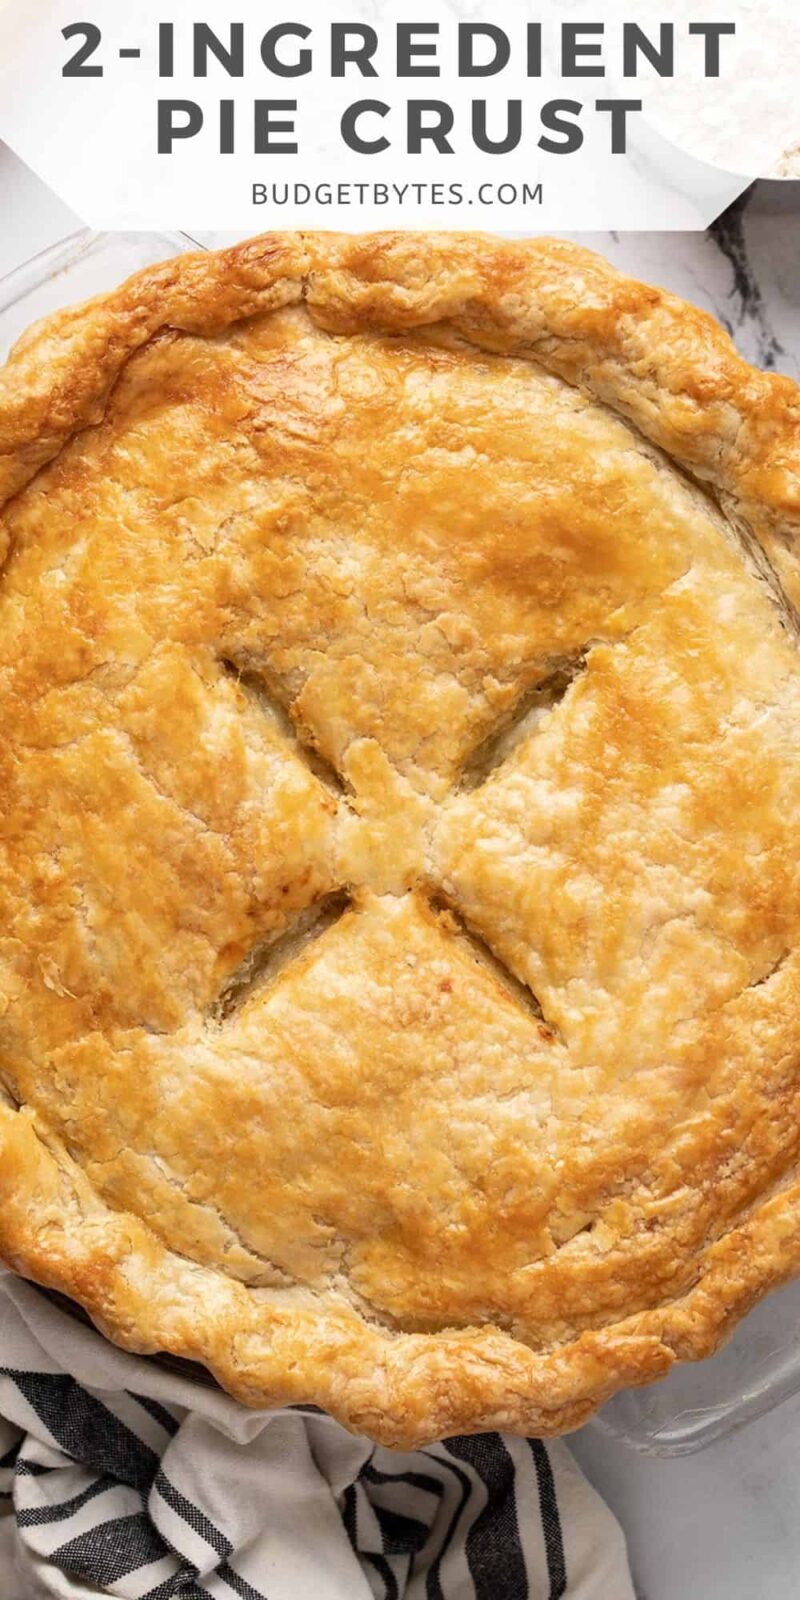
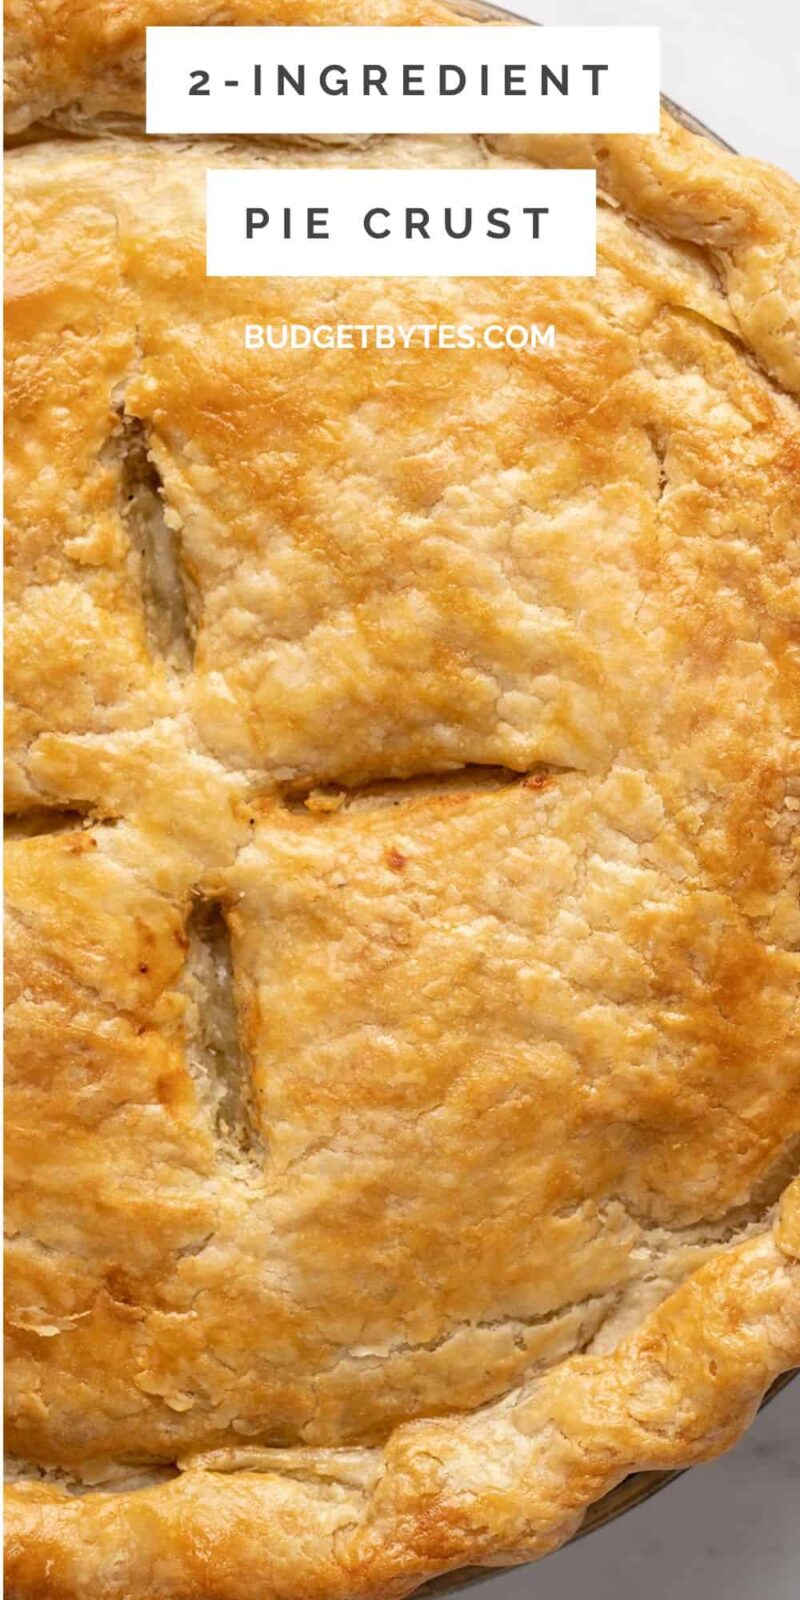
This is the best pie crust recipe I have ever used. The dough is easy to make and all the steps produce a lovely flakey light crust. The crust is also easy to roll out and work with.
I use this pie crust recipe whenever I make pies, and I always get compliments on the crust. This was super easy and helpful.
Do I cook the pie crust first before putting in the filling?
It depends on the specific pie you’re making! Most chilled pies you’ll blind bake the crust, but for some warm filled pies you don’t need to, but the instructions of the pie recipe you’re using should tell you!
I will certainly try this recipe,I have some homemade apple slices and sweet potato mixture and sure to use them both, Thanks
Love your recipes
Great tips for food love it 😍😍
I’ve must be overlooking the temperature to bake the crust. I apologize .
do you mind telling me the temperature and the time a crust should be cooked?
Thank You very much for your time.
Beverly
You can blind-bake this dough at 350°F for about 40 minutes. Make sure to use pie weights to prevent bubbling and a foil ring to prevent burning. If you are making a filled pie, temperatures and bake time will vary, depending on the filling and the thickness of the required crust.
This recipe turned out well and was easy to follow. My only suggestion would be including ingredient weights so that people could use a scale to measure.
THE best pie crust ever!
Very important the butter and flour are chilled. I made a fresh blueberry pie and it was dynamite.
Thank you for sharing
Eleanor in Spring City, PA
This is by far the easiest crust recipe I have tried and delicious! I’ve never had a crust turn out so well and be so flaky!
Life saver
I only had 2 butter sticks and needed a quick delicious recipe for my apple pie !
Its perfect flavor I added a pinch of salt and sugar and cinnamon because it was for a pie. Thank you
The results were good, a bit tough but I’m sure that was because I overworked the dough, rather than any fault of the recipe. I didn’t take any stars off for that. The reason for the low rating is because the written instructions stopped after refrigeration concluding with the unhelpful advice to ‘use the crust.’
I can’t tell you how frustrating that was for a novice like me who was using this recipe as a first foray into pot pie. I had glanced at the picture instructions (which actually do explain HOW to ‘use the crust’) on PC while searching for the recipe a few days before the attempt but didn’t think to scroll down when I realized I was screwed from a lack of instruction when actually in the midst of cooking the filling and prepping the pie. I assumed I must have been looking at a different recipe when I saw appropriate instructions and printed out the wrong recipe when the time came to make the pie.
You already wrote out the appropriate instructions on how to get the pie put together for the picture instructions. WHY did you not copy paste that into the written instructions. I’m sure there’s more people than just me who rely on those printed text instructions so they don’t have to touch a phone screen with dirty cooking fingers in order to see each successive step.
Please consider fixing that, because it doesn’t matter how good the end results are for YOU. If you cannot properly convey the instructions to produce those results to your audience, it is a bad recipe. End of story.
Hi Heather,
The pie crust can be used for dozens of different applications, from pies and cookies, to turnovers and pot pies etc. That’s why it is linked in those recipes. Unfortunately, there isn’t enough room in a recipe card to cover all of the ways it can be used. All you have to do is go the recipe card you are using the pie crust for (IE the pot pie), and instructions are there for you. Since you are a novice in the kitchen, reading this article on “10 Tips For Recipe Success” might also be helpful for you. https://vitalityholisticwellnessguide.com/10-tips-for-recipe-success/
This is frustrating beyond words. I’m a novice to pie, not the kitchen, and I’m not saying that you should include all possible ways to use the crust recipe, just the information THAT YOU INCLUDED IN THE STEP BY STEP PORTION. Otherwise, information that people expect to be in the recipe will not be in the printed version, despite being on the webpage for the recipe. That’s just poor website design. That you’d choose to talk down to me, rather than fixing the problem is both frustrating and baffling.
Hi Heather, Sorry for the confusion. I had originally instructed Monti to not include the rolling and shaping instructions in the recipe card because, as she had mentioned, you can use pie dough in several different ways. I understand where you’re coming from so I’ve added that information into the recipe card. :)
Very good
This recipe is currently making a buttery mess out of our oven, which is just so frustrating. :( I followed all of the instructions and comments: grated frozen butter, kept the flour in the freezer while grating, refrigerated for several hours (roughly 7), used icy water, docked the bottom crust…and still, I had to put another baking sheet under the pie pan, and I’m pretty sure my pot pie is going to be ruined.
The only thing I can think is that me taking the crust out and rolling it 10-15 minutes before filling my pie and baking it may have made the dough too warm. But if that’s the case, I think it should be added to the instructions that the dough shouldn’t be removed/rolled until RIGHT before baking. 15 minutes is not a long time.
Hi Renee,
You were correct in your analysis. When you roll out pie dough, you must let it rest in the pie pan for at least an hour in order for the butter to solidify again before baking. I’m sorry you had a rough go of it. XOXO -Monti
This was the easiest and best pie crust I have ever made! Honestly, I will never buy a frozen crust again – I followed the directions and it was perfect. Thank you!
I’ve made this pie crust three times. Twice with a chicken pot pie and once with an apple pie. I am a terrible baker but this turned out amazing all times. Buttery, flaky and delicious. I did have some chunks of butter in the dough but it once baked, these went away. It’s pretty easy to throw together with so few ingredients.
Also, as I am reading through the comments- seems as if the butter needed to be frozen, but it doesn’t say that in the recipe. This could be where the confusion is.
Hi, Kristy! You are CORRECT! As Monti mentions in the first paragraph of the recipe card, “By incorporating frozen, salted butter into the mix, I kill two birds with one stone.” If anyone is having trouble with messy, melty butter, they either suffer from “hot hands” or that means it hasn’t been in the freezer quite long enough. It will still soften pretty quickly, so you can freeze it overnight. (I actually keep all my extra butter in the freezer, since it will keep that way for up to four months!)
I’ve also updated the recipe card to make sure that it is absolutely clear that frozen butter is needed to make this technique work.
– Marion :)
The grated butter was really messy, hard to handle and did not mix well. I ended up with chunks of butter in the dough.
Hi, Kristy! Sorry you had some problems with the butter. I’d recommend making sure your butter is as frozen as possible when you start to grate it. If there are any larger chunks left over, toss them in the flour mixture and then press them flat the into the flour with your fingers until they are pea-sized. You do want some flecks of butter in the dough (to help create flaky layers), but too big and they will melt out of the dough. — Marion :)
Just like the other commenters, I followed the recipe to the letter. The dough looked beautiful when I was finished, with little bits of butter scattered throughout but when I baked it, butter absolutely overflowed the pie plate and I ended up with a buttery, smoky oven and two ruined pies. I’m hoping I have enough ingredients in the house so I can try to make Thanksgiving pies again tomorrow. It’s the first disappointing result from Budget Bytes.
Hi Ginny, I have been making this crust for over a decade. I have won awards for this crust. I am writing a book based on it. The crust recipe works. There are a number of things that could be going wrong.
1. Your butter chunks are too big. Grate the frozen butter into shredded cheese-sized chunks. Grate as much of it as possible, and then chop the rest into pea-sized pieces. Leaving large chunks of butter will force it out of the crust as it melts.
2. Your crust is too thick. This is a recipe for a double crust. If you are rolling it into just a single crust, it will be too thick, and the butter will melt out of it as it heats. The crust should be no thicker than 1/4 inch.
3. Your oven is not at the right temp. Please use an oven thermometer. I don’t care how new or how fancy your oven is- 90% of ovens aren’t calibrated. Using a cheap $5 oven thermometer will guarantee that you are baking at the correct temperature.
4. You are not baking on a middle rack. The crust needs to have enough room away from the heating elements to bake evenly. A middle rack also allows for better circulation of air.
5. You are not docking your crust. You must dock the crust, to allow the steam created when the butter melts to escape.
I hope this helps. Happy holidays.
XOXO -Monti
I appreciate the detailed hints and I’ll try the recipe again after the holiday. My butter pieces were very small, around pea-sized and I did use one batch of the recipe for two crusts. My mistake was the docking! I printed the recipe for the crust and worked off of that since I don’t have a handy way of viewing a website in the kitchen. The instructions for docking were only in the step-by-step photos and not in the printed recipe and I skipped that step. I will also try the egg white wash since the two pies that were ruined were sweet potato and pumpkin. Thanks for the tips! I’m looking forward to trying it again.
I’ve made this twice now (both with Monti’s apple pie), and both times came out amazing – rich, flaky, and *very* buttery. The first time, I rested the dough in the fridge for two hours, and the second time I rested it overnight; it came out equally well both times, so it’ll be good to know that I can make this ahead or on the day of, as needed.
Thank you so much for making my recipe Rose!! I love that pie crust. It’s super clutch- and so easy to remember. XOXO -Monti
I made this with the chicken pot pie recipe. After 50 minutes in the oven the pie was absolutely swimming in a boiled butter bath and wouldn’t finish cooking! I ended up having to drain about 1/4 cup of melted butter from the dish before sticking it back in the oven.
I can’t tell where I went wrong! I triple checked that I used the amount of butter it called for. Any ideas?
I made this crust on the weekend for an apple pie. Sadly same as Patricia mine was swimming in a boiling butter bath, crust would not cook properly and I wound up throwing the whole thing out. Shame.
It sucks that happened. It’s so much work for a disappointing result. Did you grate the frozen butter? If the butter isn’t cut to an appropriate size it will leak. Let me know. I’ve made this crust literally hundreds of times. I’m curious what could have gone wrong as I have never once had an issue. XOXO -Monti
I grated the butter right out of the fridge, made half recipe for single crust pie, only refrigerated the dough about 20 min before rolling out and I had no trouble at all with the finished product! My crust was totally fine, no boiling butter nor any of the other problems others encountered. I made a persimmon pie (similar to pumpkin) and it was perfect.
Hello! Quick question – I did not realize the butter needed to be frozen and I used it right out of the fridge. Currently the dough is in the fridge resting overnight, but before I make my chicken pot pie tomorrow did I mess it up completely by not using frozen butter?
It’s hard to say as I wasn’t there and didn’t see how much you worked the dough. The key is to still see chunks of butter in the dough. As these melt in the oven, the steam they give off creates flaky layers. But if you overworked the dough and coated all of the flour in butter, you won’t have a flaky result. Instead, you will have a cookie-like consistency- which still doesn’t suck! Congrats on being fearless and making your own dough! XOXO -Monti
This recipe works so well for savory things and my sister and I use it often! Do you recommend adding sugar for sweeter things such as fruit and pumpkin pies? I also find that adding sugar can help create a flakier crust. Thank you for the recipes, we use them all the time!
Thanks for using it Caitlin. You can add sugar if you want. I usually brush jam on the inside to help create a barrier and add sweetness. XOXO -Monti
Hi! Any changes or tips for this recipe for high elevation?
Increase the liquid by a couple of tablespoons. And check out this article: https://www.epicurious.com/expert-advice/high-altitude-baking-tips-article XOXO -Monti
How would this be for a chicken pot pie?
Great minds!! We used it for a chicken pot pie recipe and it was MAGNIFICENT. Recipe should be coming your way in September. XOXO -Monti
Hi Monti, can I ask how you make the cookies from the pie crust scraps? I made apple pie with this. It’s the first time I’ve ever made pie from scratch. Definitely will make it again (though maybe not in the immediate future haha)!
Hi CS! Congrats on making your first apple pie! It’s such a feeling of accomplishment, isn’t it? It sounds like it was a success. My first apple pie got pulled from the oven when my smoke alarm went off. LOLOLOL!! To make the pie crust cookies, first, pre-heat your oven to 350. Mix a little brown sugar, granulated sugar, and cinnamon in a mason jar. Press your scraps into a ball and then roll into a rectangle shape about 1/4 inch thick. Brush the dough with melted butter, sprinkle with the cinnamon sugar, and roll it into a log. (Like you would a cinnamon roll) Cut the log into 1/2 inch thick medallions and bake for about 15-20 minutes until golden brown. Drizzle them with a glaze of confectioner’s sugar and milk. Here is a ratio for the cinnamon sugar and butter that you can use for one ounce of left-over pie crust.
1 tablespoon unsalted butter
1.5 teaspoons granulated sugar
1.5 teaspoons brown sugar
1/4 teaspoon cinnamon
3 tablespoons confectioners’ sugar
1/2 teaspoon whole milk
Thanks so much for sharing!! This sounds to die for and I can’t wait to try it. The apples pie was pretty good considering it was my first ever pie.
P.s. Also, I have two kids so I hide in the pantry to eat cookies or wait until they are asleep for dessert bc I don’t want to share.
BAHAHAHAH!!! Amazing!! Thanks for sharing your dessert adventures! #momlife
Hi pastry looks amazing but what are the metric conversion plz.
Hi Gillian, Here is a link to a converter calculator that you can use for all of our recipes. Happy cooking! https://www.thecalculatorsite.com/cooking/cups-grams.php XOXO -Monti
What degree do you bake it and how long
Hi Jill! Thanks for your question, You can blind-bake this dough at 350°F for about 40 minutes. Make sure to use pie weights to prevent bubbling and a foil ring to prevent burning. If you are making a filled pie, temperatures and bake time will vary, depending on the filling and the thickness of the required crust.
I have been making pies for years and have never tried some of these things. I am certainly going to try them a try. Thanks so much for your great ideas! Much appreciated
Janet!! We’re obsessed with you. Beth and I talked about how great your comments are yesterday! Much love and have an awesome day! XOXO -Monti
Hello! This recipe looks great! I was wondering how this would work for a 9 x 13 pan/dish? Would you use the whole recipe, or 3/4 of it? I’m thinking of using this crust for the cornmeal crust chicken pot pie. I love your writing style – it’s very “Beth-like” :) I didn’t realize it wasn’t Beth until I saw the kid comment. Is Beth on vacation or working on other projects? Thanks!
Hi Anita!! The pie dough is for a double crust and will work on a deep dish 9 inch pie plate, so it will be fine for a 9X13. No need to make less. Beth is going on a well-deserved vaca soon and the blog is expanding. She’s sitting next to me right now and says hi! XOXO -Monti
Hello from Ukraine! :)
Thank you for such a wonderful and affordable recipe. Do I understand correctly that the dough DOES NOT need to be kneaded for a long time, but only quickly mix with a spoon and then, without kneading, quickly make a ball?
Correct. You don’t knead pie dough, as the action of kneading creates gluten. These strands of protein are great if you’re making bread, but not so much for a tender crust. XOXO -Monti
I was very happy and impressed with the details of your instructions and notes but I can’t understand how you misstated the thickness of the disc of dough at the beginning of the rolling process. I assume you ment 3/4 inch thick. Is that correct?
Hi Gary, the disc of dough is 3 to 4 inches thick. It was written correctly. You are simply shaping the dough into a disc at this stage, not rolling it out. The more you fuss with pie dough, the more gluten that’s created, and the tougher it gets. Thanks so much for being here and for checking out the recipe! XOXO -Monti
Hi Monti, thanks for the recipe, but I have to agree with Gary. You have 4.25 cups of ingredients, and the recipe says that it will make a disc 6 inches in diameter and 3 to 4 inches tall. That’s a volume of 6 to 8 cups. Youtube videos with similar volumes don’t reach 6 inches wide by 3 inches tall. Most are maybe 4 inches wide and 3 inches tall. It might help to change the recipe to make a disc slightly wider than it is tall rather than explicitly call out a size as it won’t make sense if the recipe is scaled up or down.
How many grams is a stick of butter please?
Hi Titter! One stick of butter is equal to 1/2 cup, or 4 ounces, or 113 grams. XOXO -Monti
Can I substitute the butter for olive oil? If yes, how much should I put?
You can sub olive oil, but it will not give you a flaky pastry, but rather a dense, mealy one. You will need to freeze a cup of olive oil before adding it to the flour. I would do it in ice cube trays and chop it or grind it in as you would the butter. Again this is going to be a mealy dough. It will not roll out as easily as the butter dough. It will shrink, and you will need to work VERY QUICKLY. XOXO -Monti
My only takeaway from this (but the recipe looks delicious) is…YOU HAVE A KID??? Congratulations I had no idea!
ahhh Beth didn’t post this. I didn’t realize you added new authors – hi!
Hi, Sarah! Thanks for introducing yourself and for checking out the recipe! XOXO -Monti
Haahahahah!! My name’s Monti and I’m the new Senior Food Editor for Budget Bytes. My kid just turned thirteen. Pray for me. XOXO -Monti
I never made pie crust with more than 3 ingredients, unless you count salt, which you have dodged by using salted butter. I know there are recipes out there that call for vinegar, but I’ve never tried one. This recipe also calls for an egg, #4 ingredient, although it isn’t incorporated into the pastry. I use an egg wash, too, in order to get that lovely golden color. I’d probably use a bit of salt in this recipe, maybe 1/8 tsp. I forgot to add salt to the first piecrust I made as a new wife–with that canned white shortening as the fat. It looked flaky and wonderful, but tasted like wallpaper paste. Butter is always better–too bad it’s doubled in price during the past 2 months.
Warning! Do not put a very cold glass pie dish, ie straight from the freezer, into a hot oven. Big risk of cracking! Tempered glass does better, but even so, I’d use a metal pie pan for that transition.
Hi Janet! Great tips! Thank you for pointing out that glass is temperamental. I use ceramic and cast iron pie dishes and have never had a problem going straight from the freezer to the oven, and I make a ton of pies. (I’m even writing a book about it.) PS If you haven’t made a pie in cast iron I can’t recommend it enough!
You’re right, though. Glass is best brought up a few degrees if you’re pulling from the freezer, though room temperature might be going too far. Your butter will meltand that will ruin everything . It might be best to go straight from finishing the top crust right into the oven if you’re using glass. Ooh and a little gossip, as I’m sure you can appreciate this, Beth just bought a new Pyrex and it cracked as she was washing it!! Apparently, it’s happening to loads of people. (Do you remember when Pyrex was the best around?)
On pie dough, many doughs use a blend fats, (shortening, butter, yolks) a mix of flours (cake, ap, whole wheat), multiple liquids (water, broth, vinegar, alcohol) as well as sugar, salt, and spices. But I love the simplicity of salted butter, flour, and water for a basic everyday crust. I don’t count the egg as an ingredient because it’s optional, and there’s enough butter in the dough to get quite a bit of browning. I just love the glossiness of a wash, though. Don’t you?
Glad to meet a fellow pie-nerd here!! Make sure to tag us in your social platforms if you post pics of your pies! XOXO -Monti
I’ve never made pie crust from scratch before and this one seemed pretty straight forward so I gave it a try. I was really worried about messing it up, but to my surprise it came out great!! I used this crust to make a strawberry pie with organic strawberries that were going bad. While I enjoyed this recipe, because I’m pretty lazy, I might save it for special occasions only and go with the store-ready ones if I’m just making something for the week. Great recipe!
Thanks for making it! XOXO -Monti